3 Quick Tips
Depinning Automotive Connectors
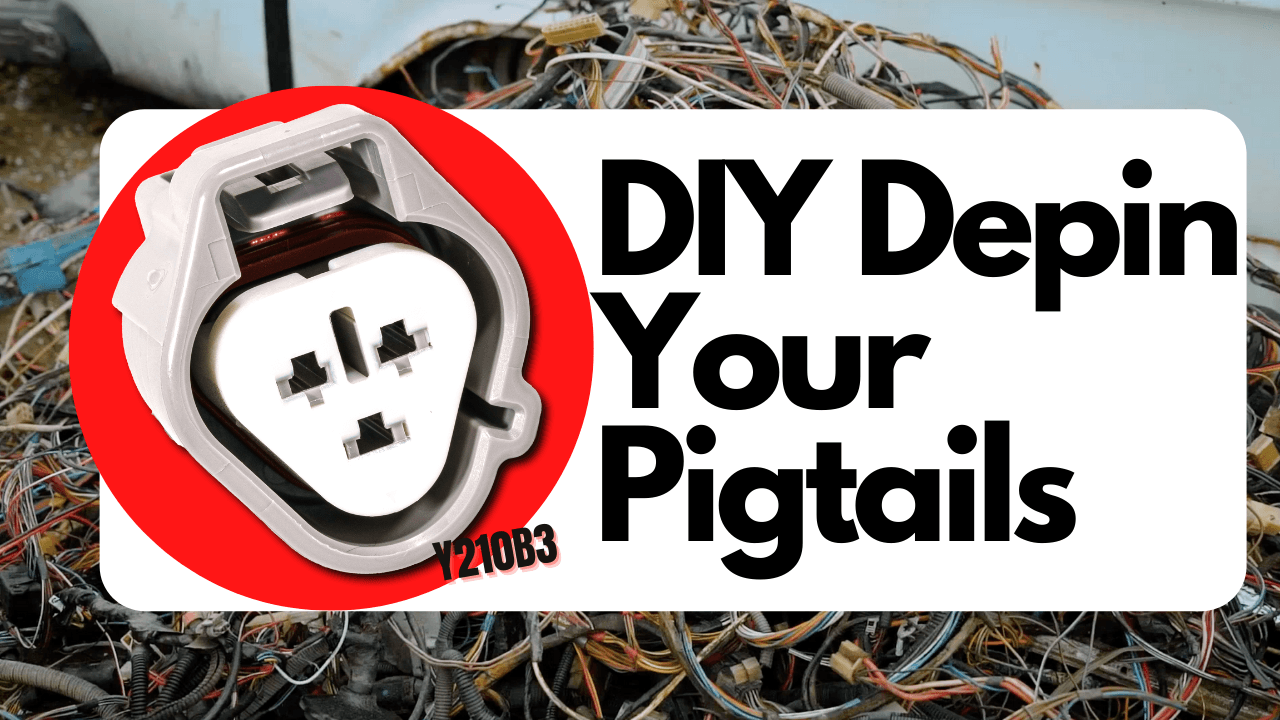
In this how-to, we are using automotive connector Y210B3. Here are the fitments and functions, below (scroll over each logo)

-

Most Nissan Models
Front turn signal
-

Most Toyota, 2 Lexus Models
Front turn signal (Also Lexus)
AC Compressor (Lexus)
-

Outlander, Lancer
Daytime running lamp
-

SUVs, Trucks, Van
Front turn signal (Also Acura)
Tail lamp for RDX
3 tips to de-pin automotive connectors
To get started, you need to make sure you have the proper tools.
Time Needed: 15 minutes
Y210B3 Cost: USD 79.99
Things Needed ?
Required tools:
Steps to de-pin your auto connector
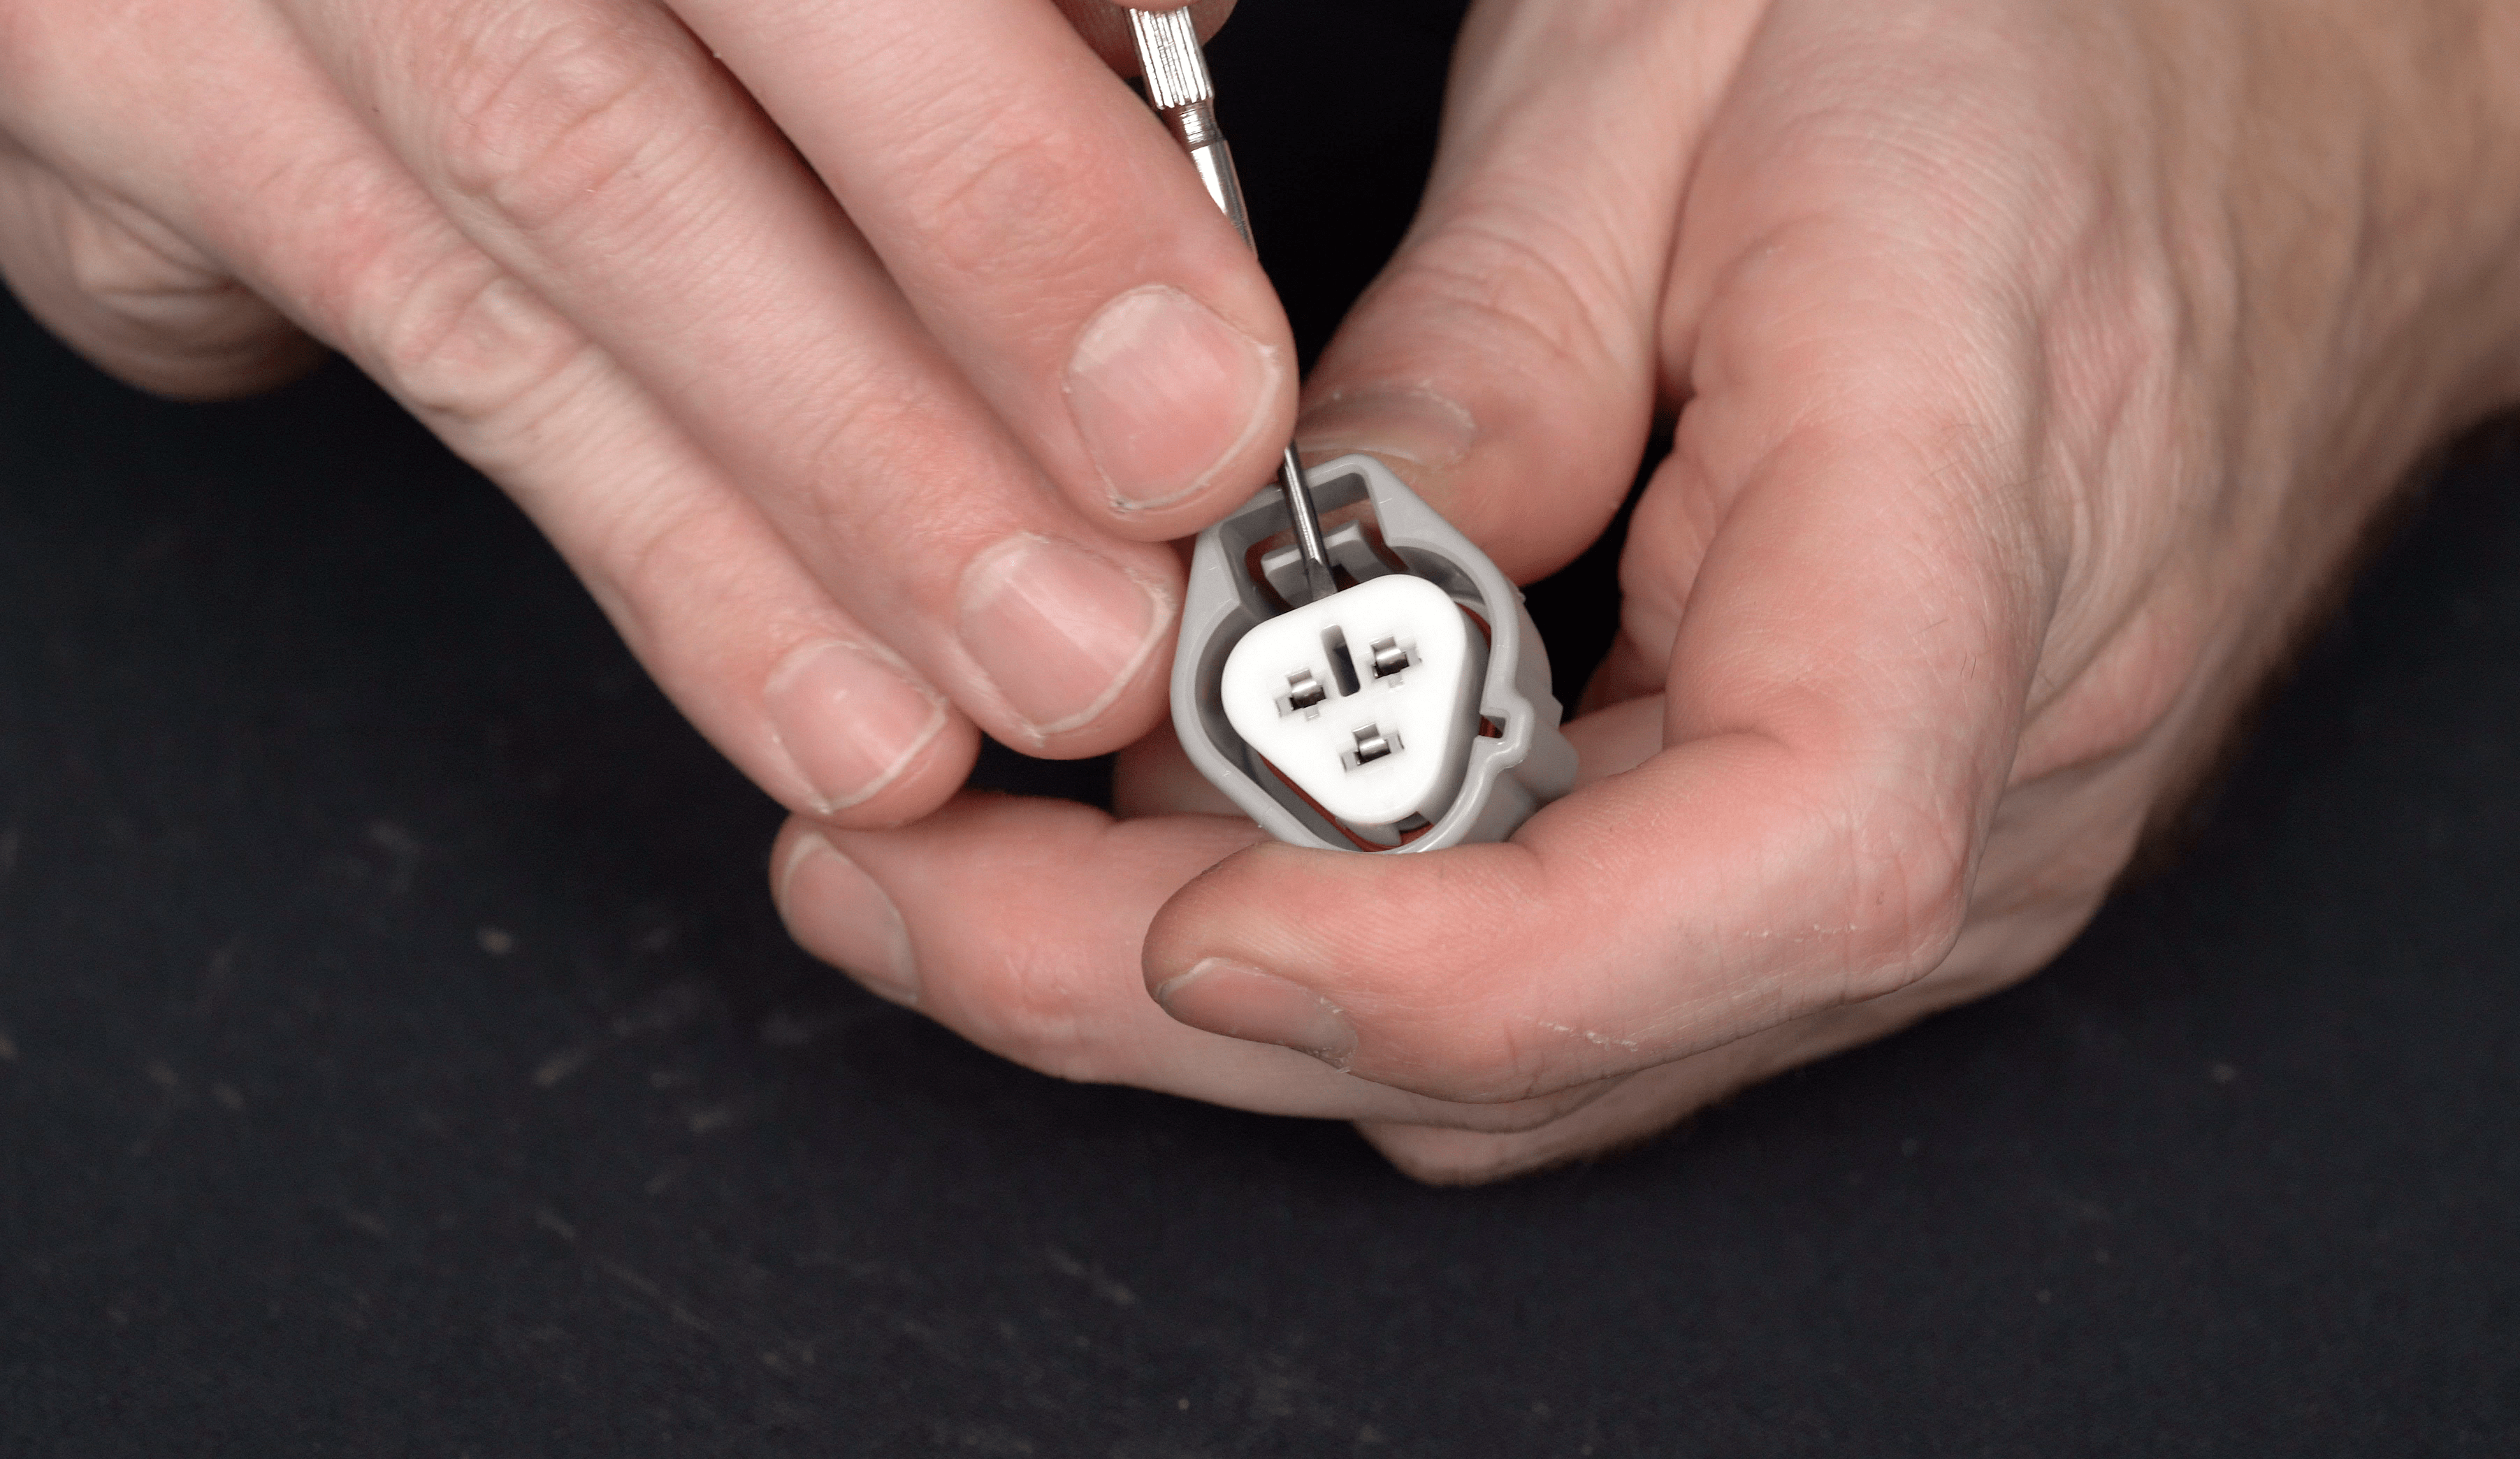
Remove the front face of your connector. In this case it's white and is acting as a secondary lock
Using your connector depin tools, gently locate the best area to pry the front face up or away. In this case, it's on the top area of the face.
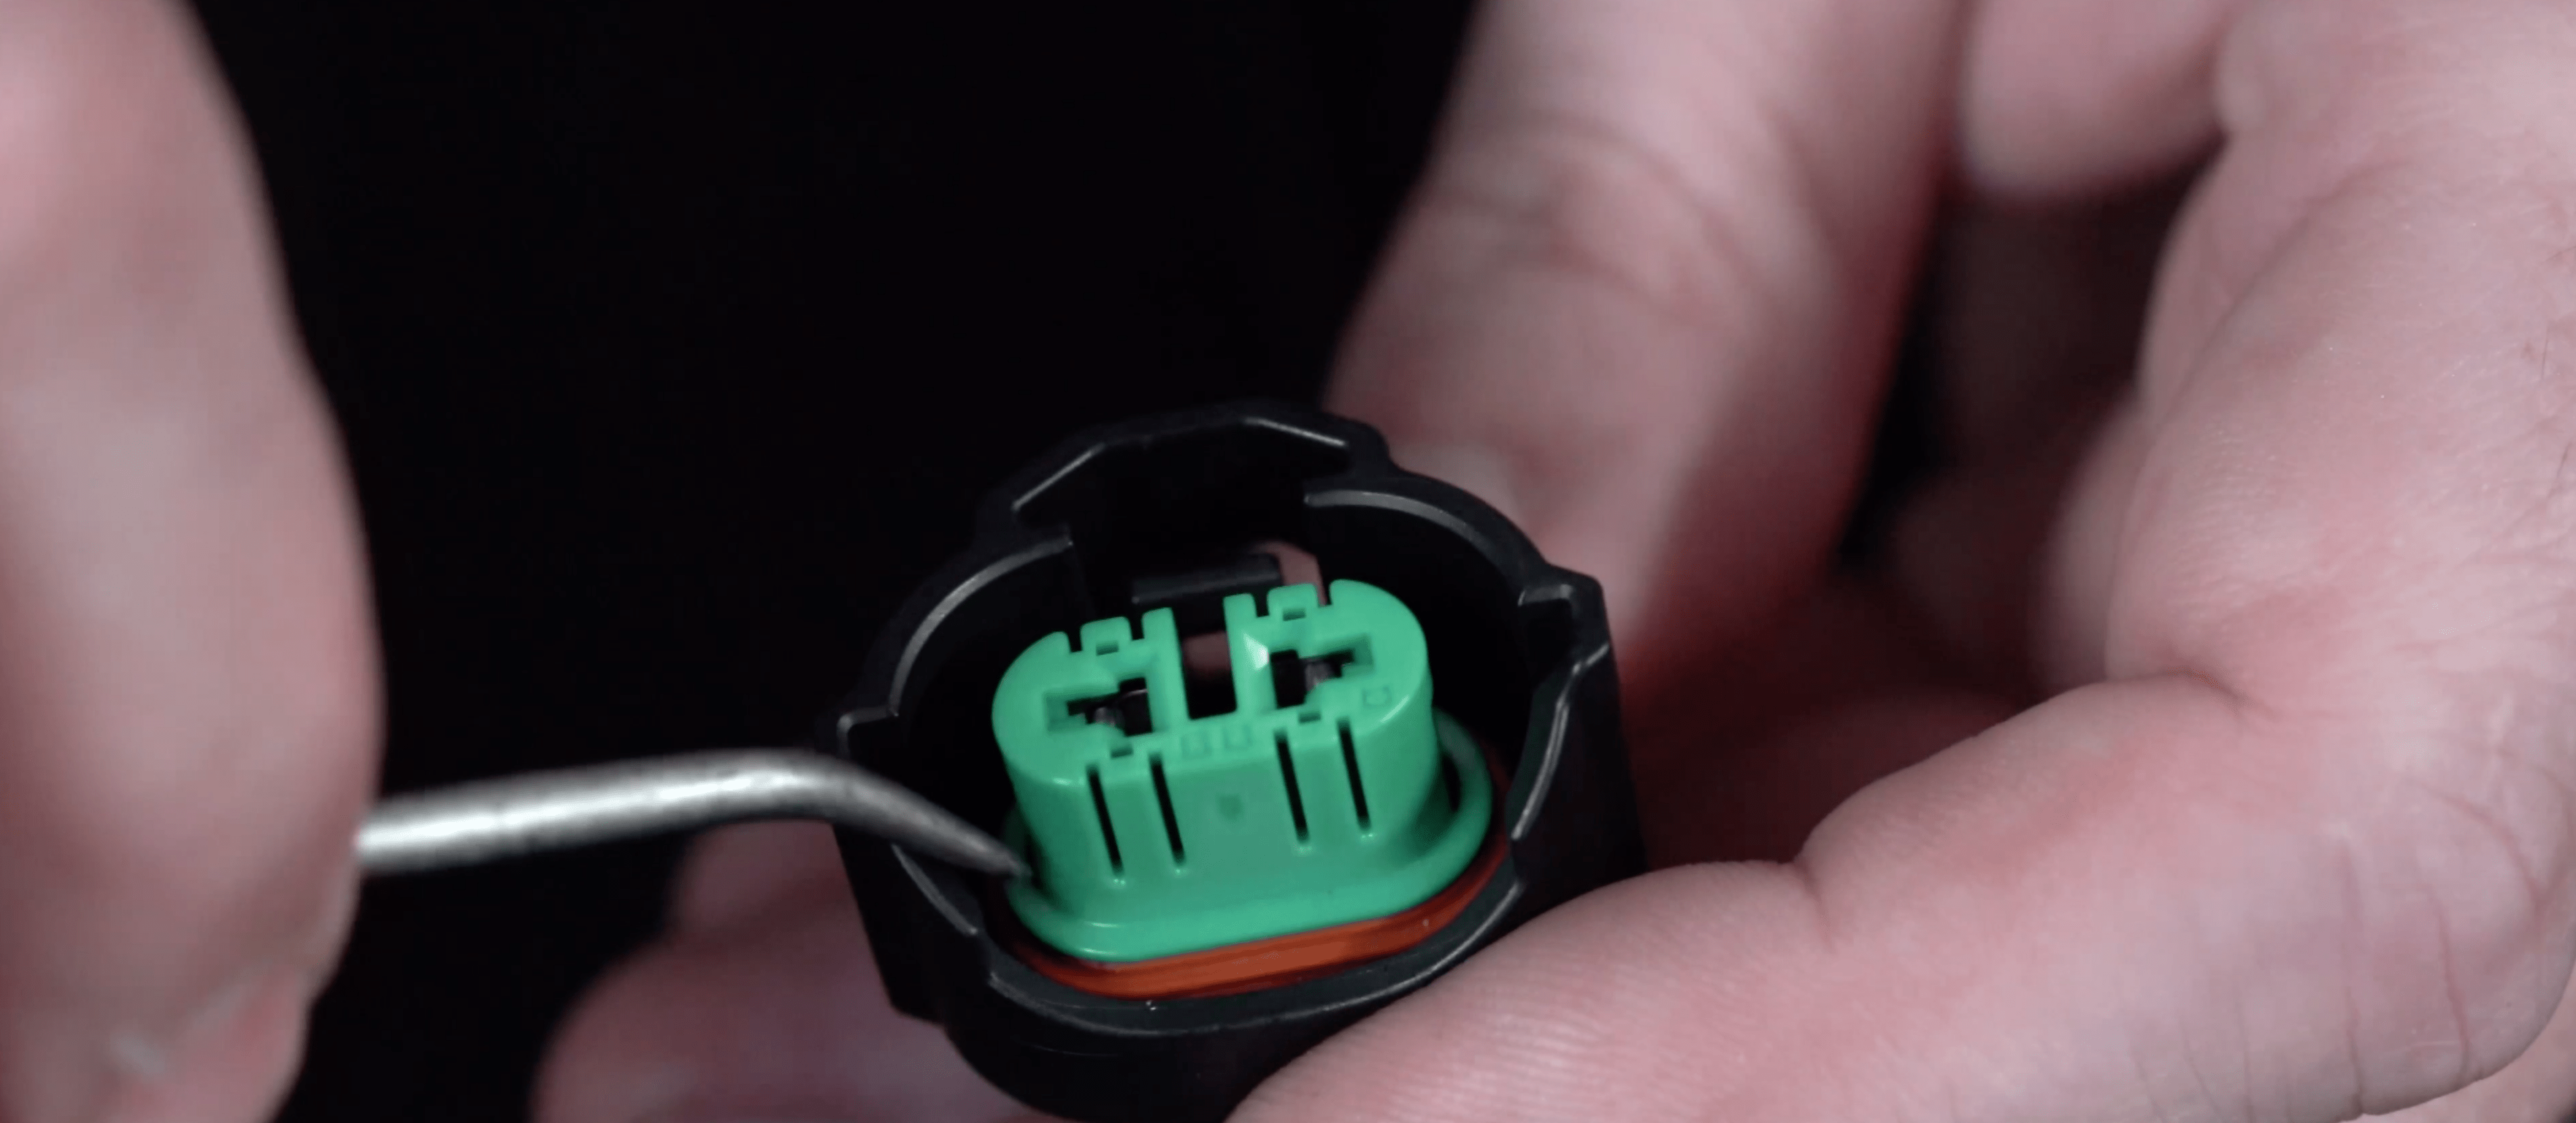
Locate the "catch" of your connector
- The "Catch" is the small, plastic tab that's usually built into the connector
- Be very gently because it is easy to break the "catch"
-Slide your tool into the "catch" and pry the "catch" up or away from the connector body
-This creates an unlocking of the terminals
-While releasing the "catch" (prying it away without breaking it), pull the terminals/wires out of the connector
Important:
You have pull out the wires at the same time as you are prying up on the catch.
For example: As you use your depin tool to pry up on the catch with one hand, your other hand should be gently and carefully pulling on the terminals/wires on the back-end of the connector


