

What No One Tells You About Crimp Repairs: Why Some Hold and Some Come Back
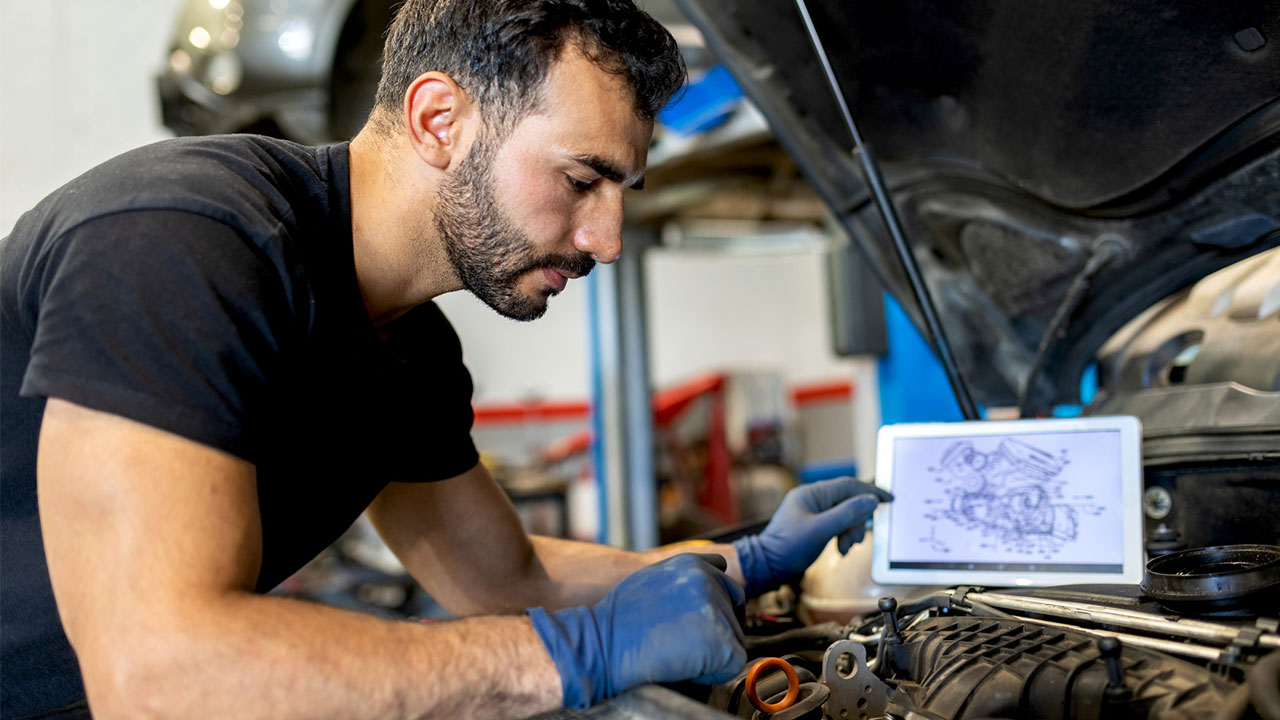
Every shop has seen it. A connector gets repaired, the vehicle goes back out, and three months later the same fault is back on the lift with the same complaint. The tech did the work. The part was correct. But the repair did not hold.
Most of the time the problem is not what was fixed. It is how it was fixed, and what it was fixed with.
Crimp repairs are one of the most common procedures in collision and electrical repair, and one of the most inconsistently executed. The margin between a repair that lasts and one that comes back within a season usually comes down to four things: the right terminal, the right tool, the right technique, and a properly seated housing. Miss any one of them and the job is not done; it just looks done.
Start With the Right Terminal for the Wire
The terminal has to match the wire gauge you are working with. This sounds straightforward, but it is where a lot of crimp repairs quietly fail. An oversized terminal on a thinner wire will not compress correctly no matter how good your technique is. The connection might pass a pull test on the bench and fail three months later when heat and vibration have had time to do their work.
Sensor circuits, oxygen sensors, temperature sensors, CAN bus lines, run on lighter gauge wire than power circuits feeding fans, pumps, and lighting. Grabbing a terminal from a bulk kit without confirming it matches the wire gauge is one of the fastest ways to build a comeback into a repair before the crimp tool even comes out.
When in doubt, match the terminal to the wire the original pigtail used. That spec exists for a reason, and it is not worth guessing around it.
The Wire Itself Is Part of the Repair
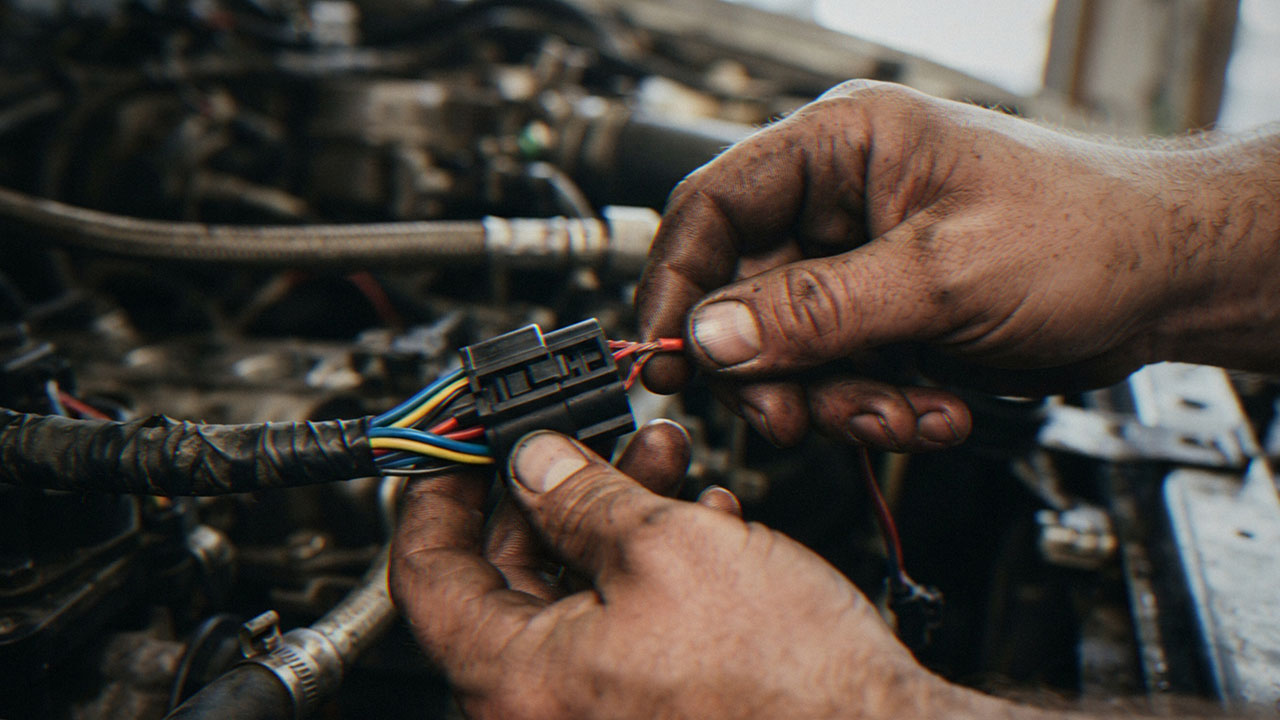
This one gets overlooked because the wire inside a pigtail does not get much attention until something goes wrong. Not all automotive wire is built the same, and the difference shows up in how a repair holds up over time.
GXL and TXL are the industry standard wire types for automotive applications, both built from cross-linked polyethylene insulation that handles temperature extremes, abrasion, and exposure to automotive fluids. That kind of insulation matters in an engine bay where heat cycles happen on every drive. For zones near exhaust manifolds or high-temperature areas, a thicker insulation spec handles the prolonged heat exposure that a standard wire would not.
A pigtail routed near the exhaust on an oxygen sensor application needs a different wire spec than one running to a door module or a tail lamp. The application determines the wire, and the wire determines how long the repair actually holds.
FindPigtails.com ships every connector fully assembled with wire that is matched to the application. The right gauge, the right insulation, the right length. The repair starts from a correct foundation rather than a generic substitute.
Use the Right Tool and Use It Correctly
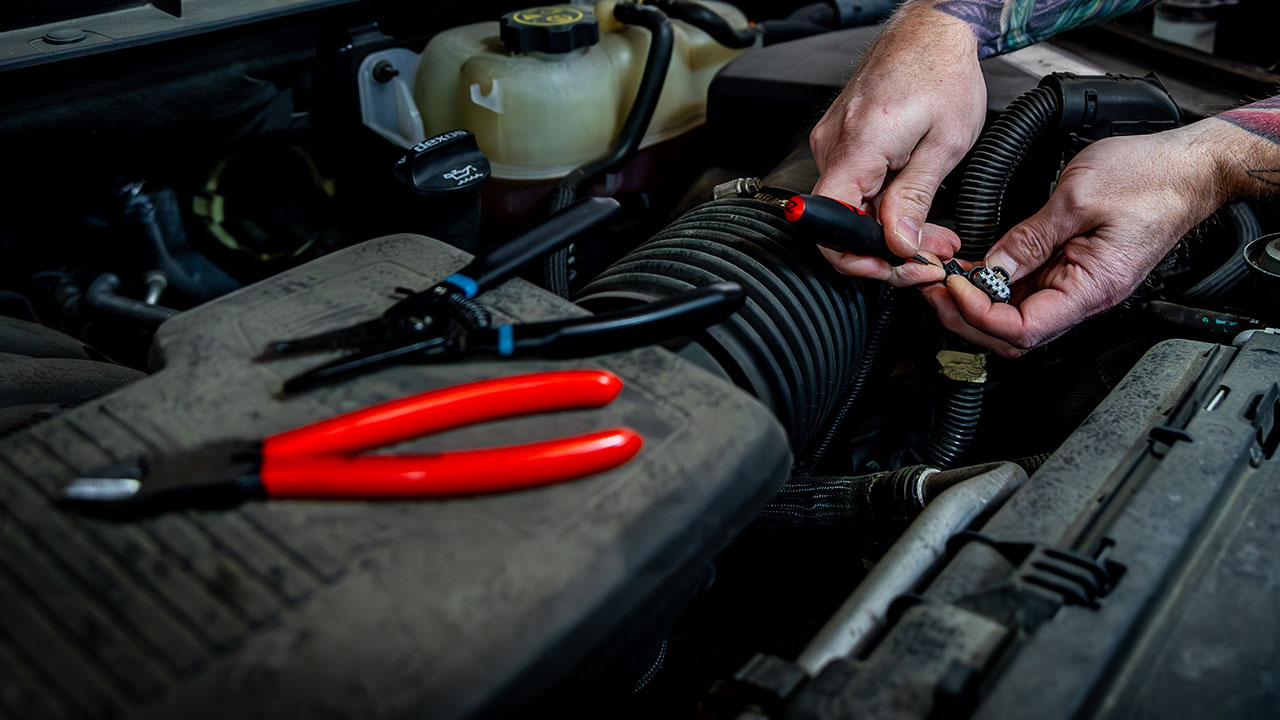
A proper ratcheting crimp tool is not optional equipment on a connector repair. It provides consistent pressure through the full crimp cycle and will not release until the correct compression is achieved. That consistency is what separates a crimp that meets spec from one that holds until the first hard vibration event.
Improvised tools- pliers, side cutters, whatever is close enough on the bench- create crimps that look fine from the outside and fail under the insulation. Uneven pressure deforms the conductor barrel and leaves the connection loose in ways you cannot see until the fault comes back.
For any shop doing connector and pigtail repairs regularly, a quality ratcheting crimper is one of the better investments on the tool list. After crimping, always do a pull test. If the wire moves at all, the crimp did not seat and needs to be redone.
Do Not Skip the Wire Seal
On connectors that see moisture exposure, which covers most underbody, engine bay, and exterior applications, the wire seal is part of the repair, not an optional extra step.
Wire seals slide onto the wire before the terminal is crimped and seat into the rear of the connector cavity when the terminal is inserted. They are what keep moisture from traveling into the housing and reaching the terminal. Skip them and the repair looks complete from the outside while leaving the terminal exposed to exactly the environment it needs to be protected from.
The seal has to go on the wire first, before the crimp, in the correct orientation. Once the terminal is crimped and seated, that step cannot be undone. Getting the sequence right the first time is the whole game on sealed connectors.
Lock the Housing Before You Call It Done
The last step is making sure the terminal is fully seated and locked in the housing. It is also the step that gets the least attention because by the time you get there the repair feels finished.
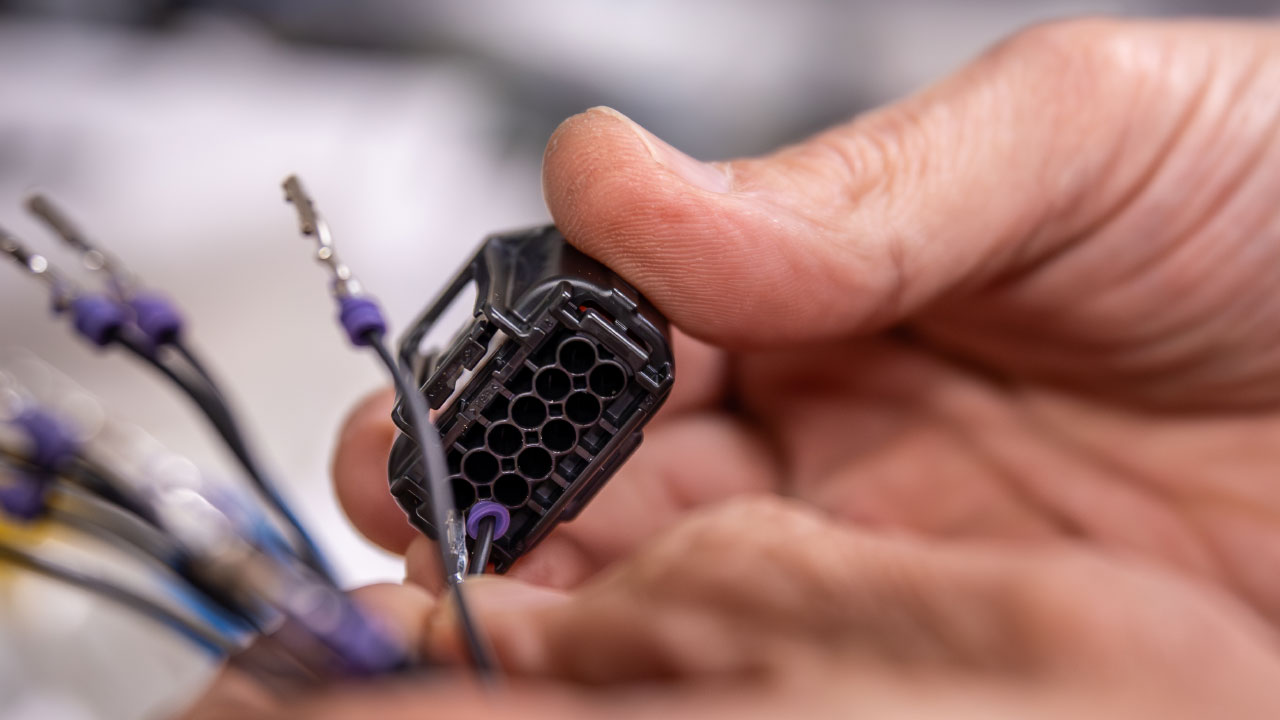
Most OEM connector housings have a primary lock that engages when the terminal seats correctly, and many use a secondary TPA lock that holds everything in place under vibration. Insert the terminal until you feel and hear the primary lock click, then close the secondary lock if the housing uses one. A gentle tug on the wire after seating confirms the terminal is not going anywhere. If it moves, it is not seated.
A terminal that is not fully locked will back out. It is not a matter of if, it is a matter of when.
What a Comeback Actually Looks Like
A late model Silverado comes back three months after a front-end collision repair with an intermittent cooling fan fault. The fan motor was replaced as part of the original job. The connector was repaired with a bulk terminal from a generic kit, a non-ratcheting crimper, no wire seal, and the secondary lock left open.
On inspection, the terminal has backed partially out of the housing. The crimp is deformed on one side. The wire seal cavity is empty. The fan motor is fine. The repair is the problem.
Four steps done incorrectly produced a comeback that took longer to diagnose than the original repair. All four are correctable. None of them require special expertise. They just require doing the job the right way the first time.

Start With the Right Pigtail
Technique matters, but it only takes you so far if the pigtail you are starting with is not correct for the application. A housing with compromised terminal cavities, wire that does not match the original gauge, or insulation that is not rated for the zone it sits in will undermine a clean crimp every time.
Starting with an OEM-style pigtail matched to the specific vehicle and application means the foundation of the repair is already correct. The housing fits, the wire gauge is right, and the insulation is rated for where it needs to go.
If you need the right pigtail confirmed for your vehicle and application, send a photo to the FindPigtails team or search by vehicle on the site. Getting that first step right makes everything that follows easier and keeps the job off the comeback list.