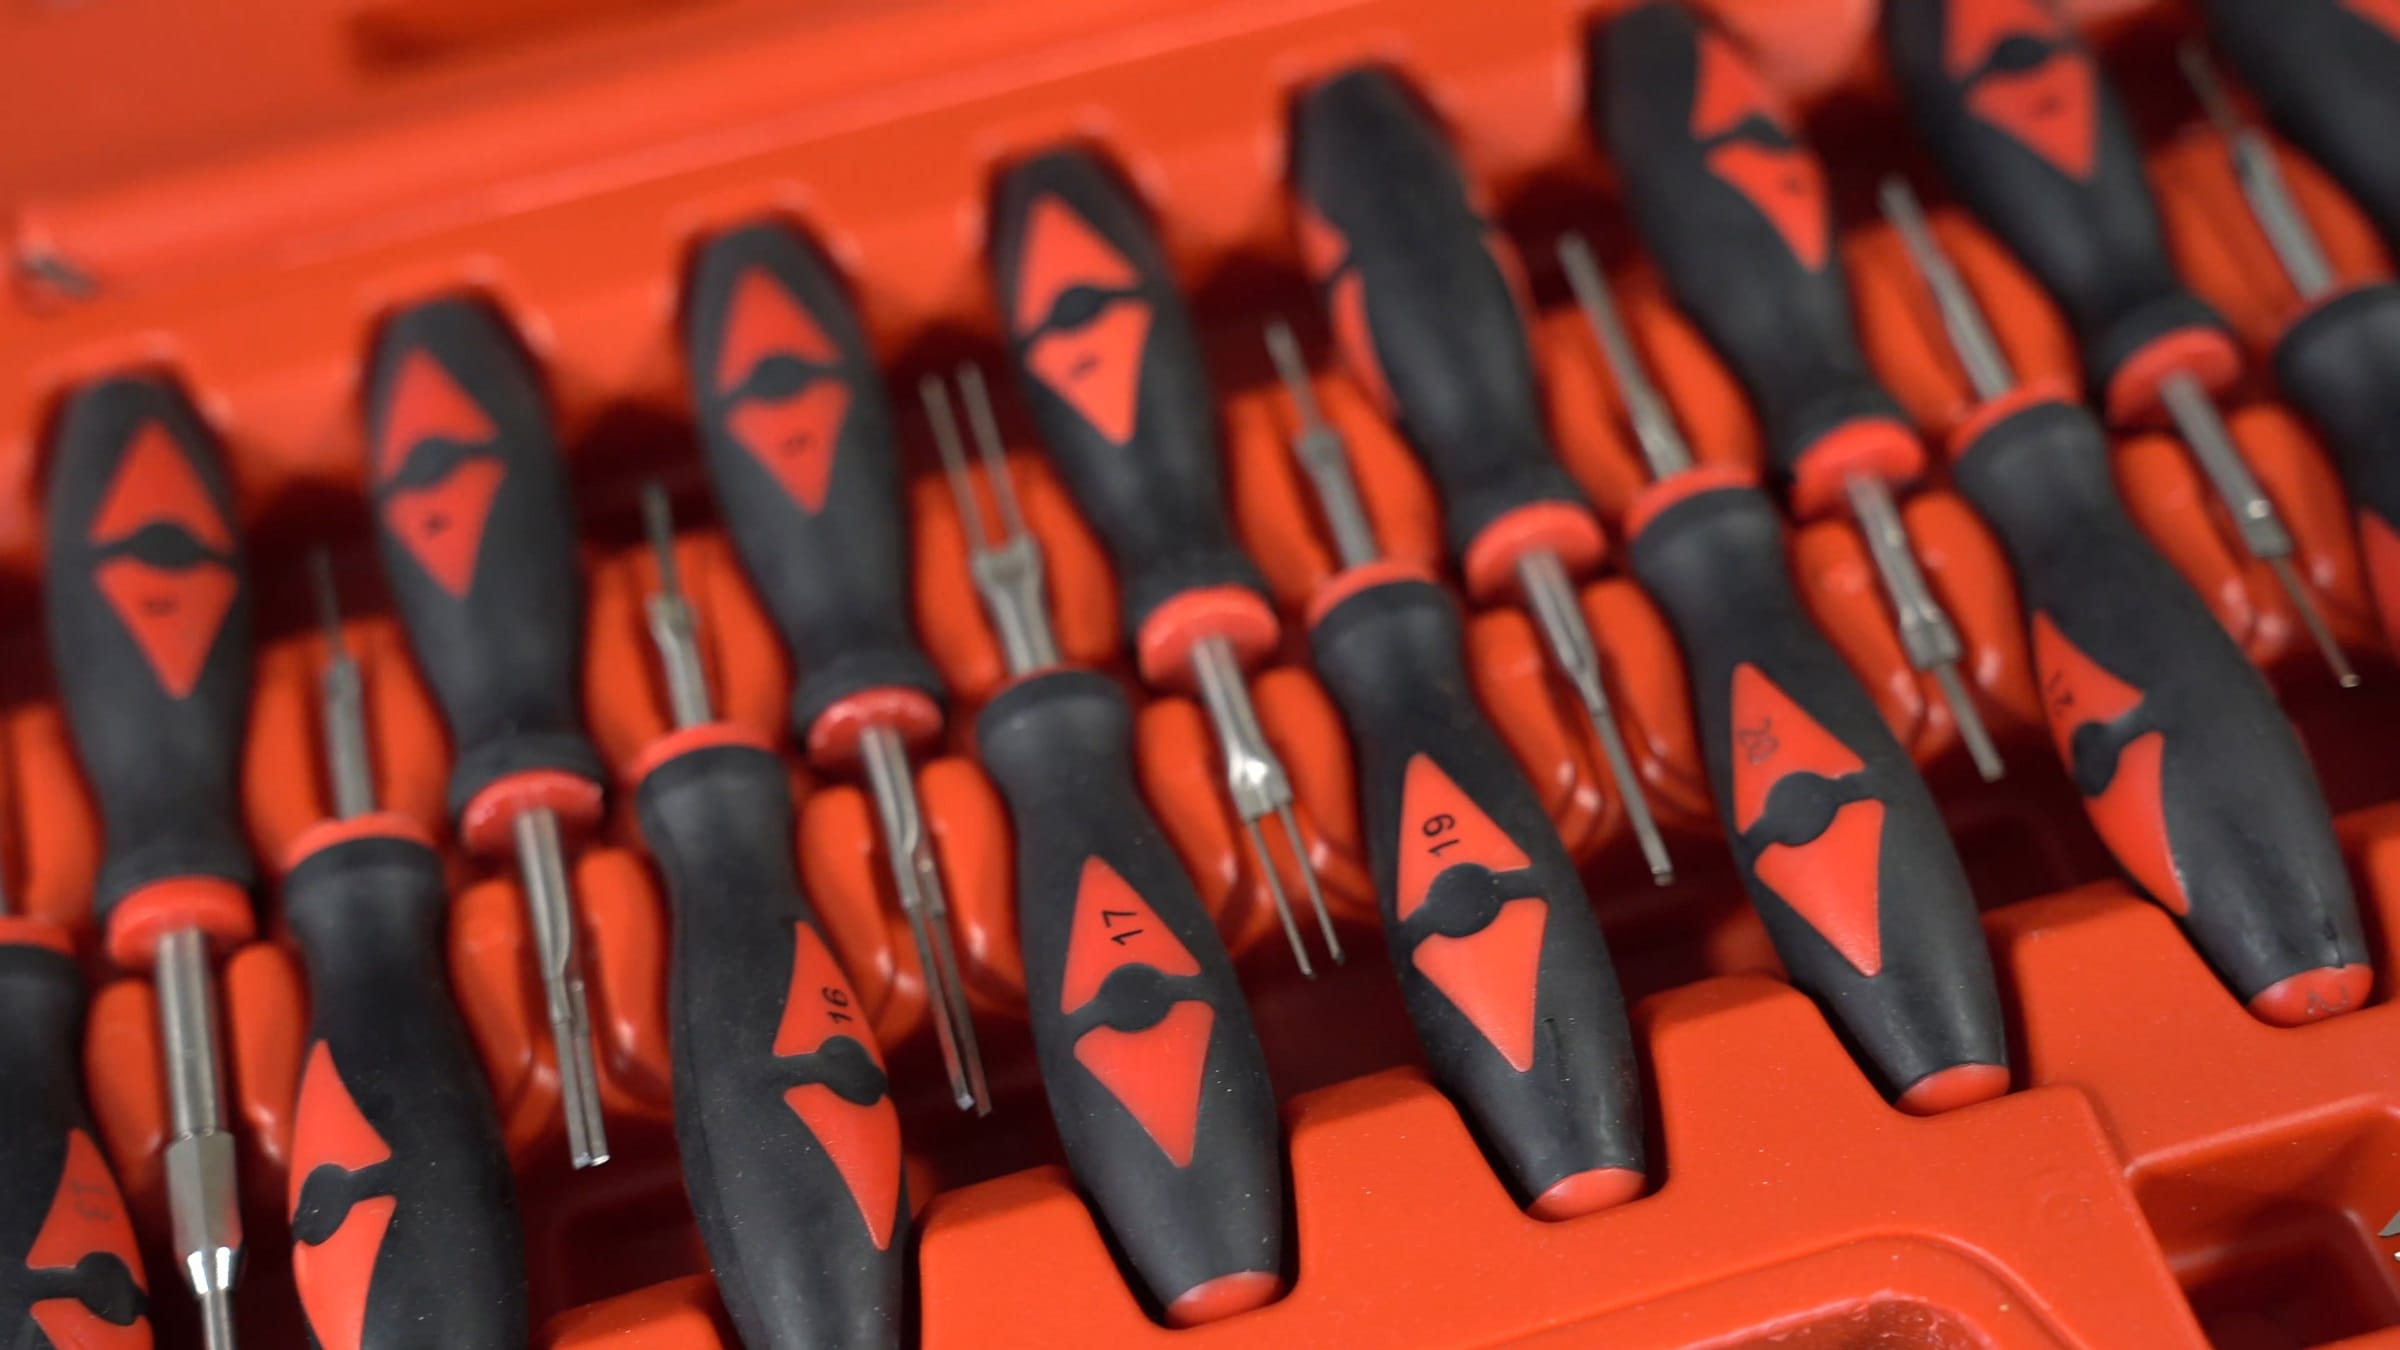
Step 1: Find the right tools
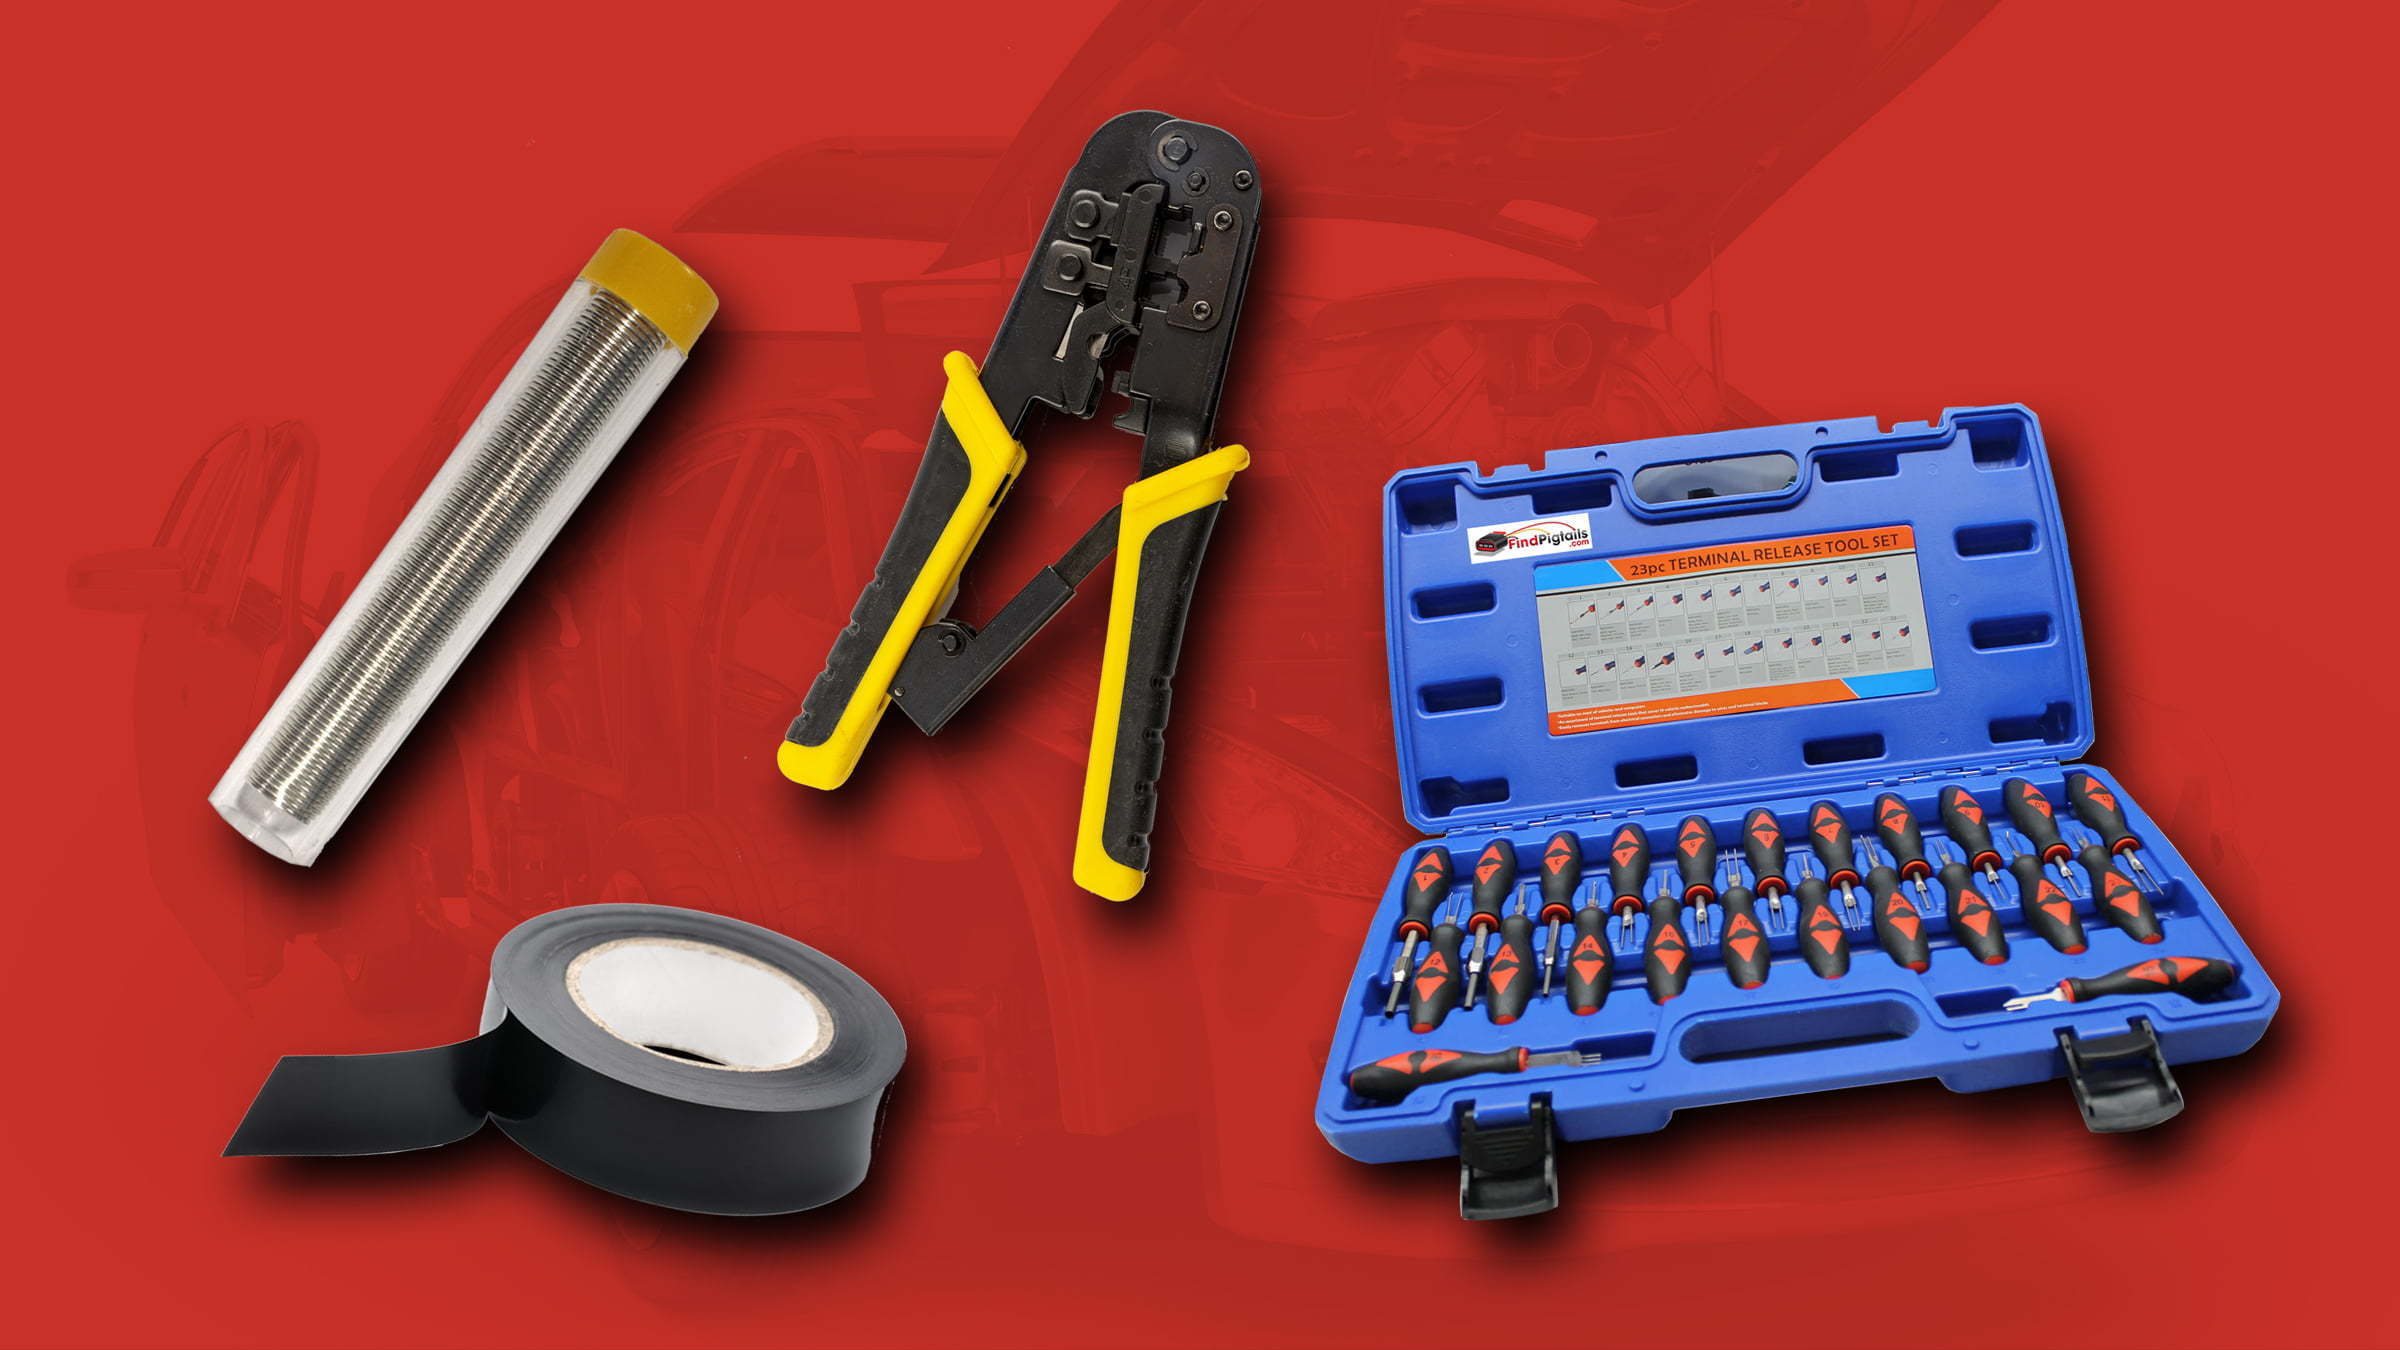
Make sure you have the right tools for your repair. Whether you utilize the depin/repin method or choose to solder and shrinkwrap your repair, having the right connector repair tools is vital. We have most of the ones you need, here. At a fraction of the price of the name-known brands but at the high quality you expect these connector, wire repair tools will do the trick.
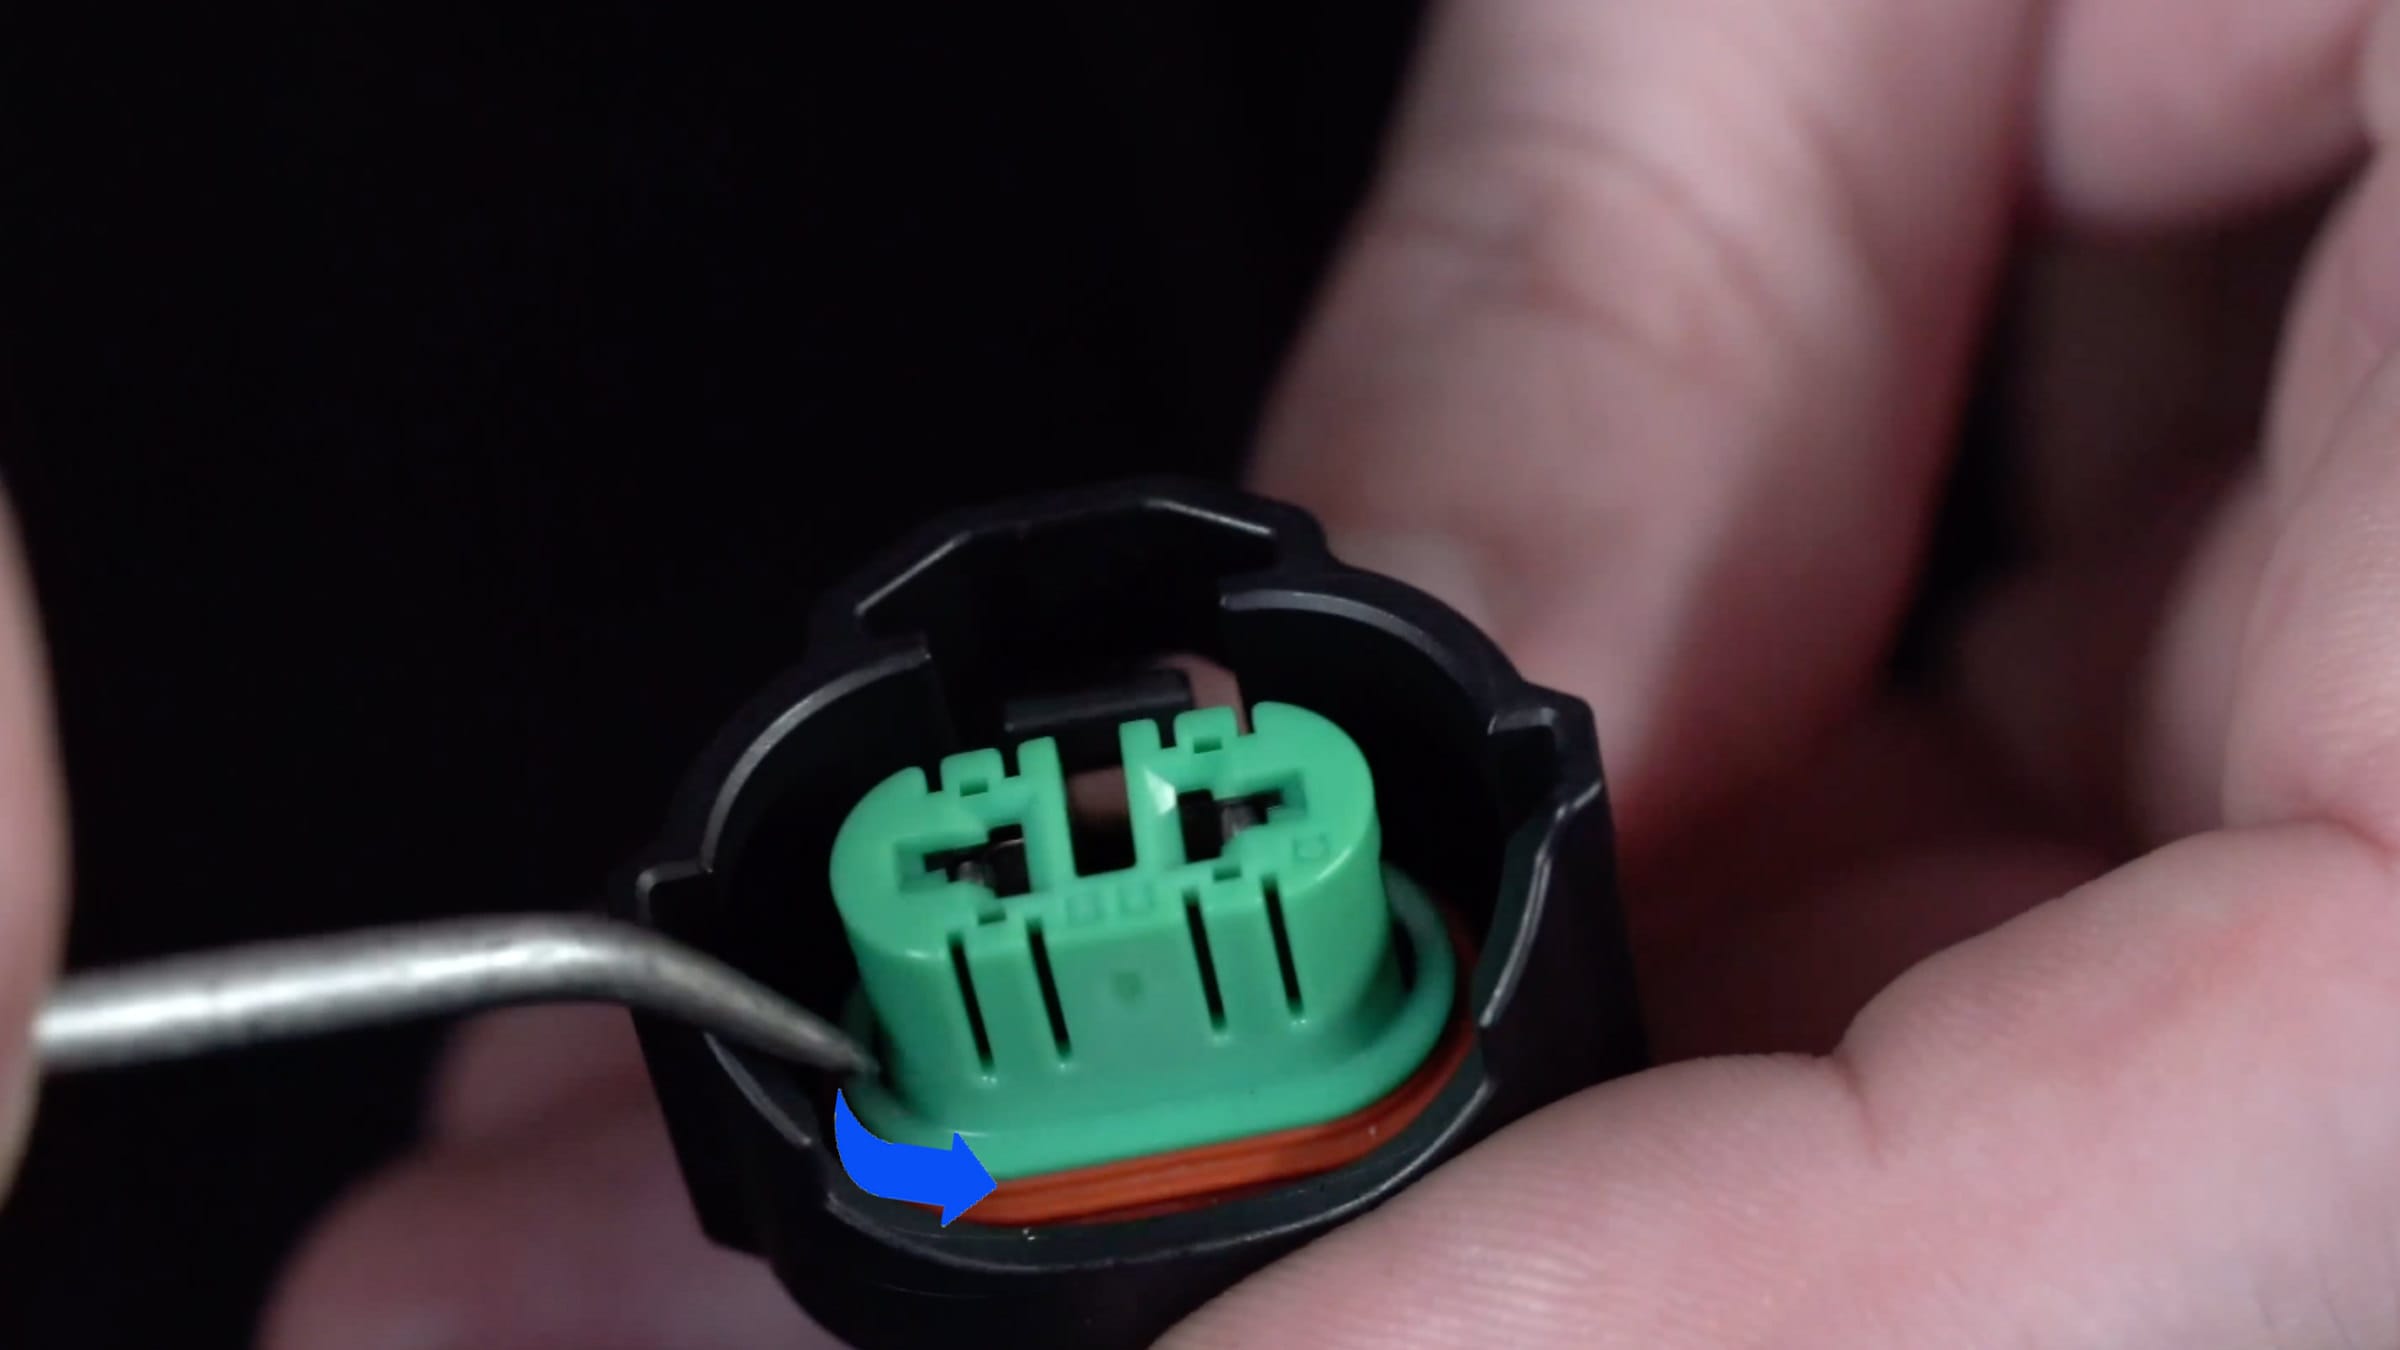
Step 2: Remove the front cap.
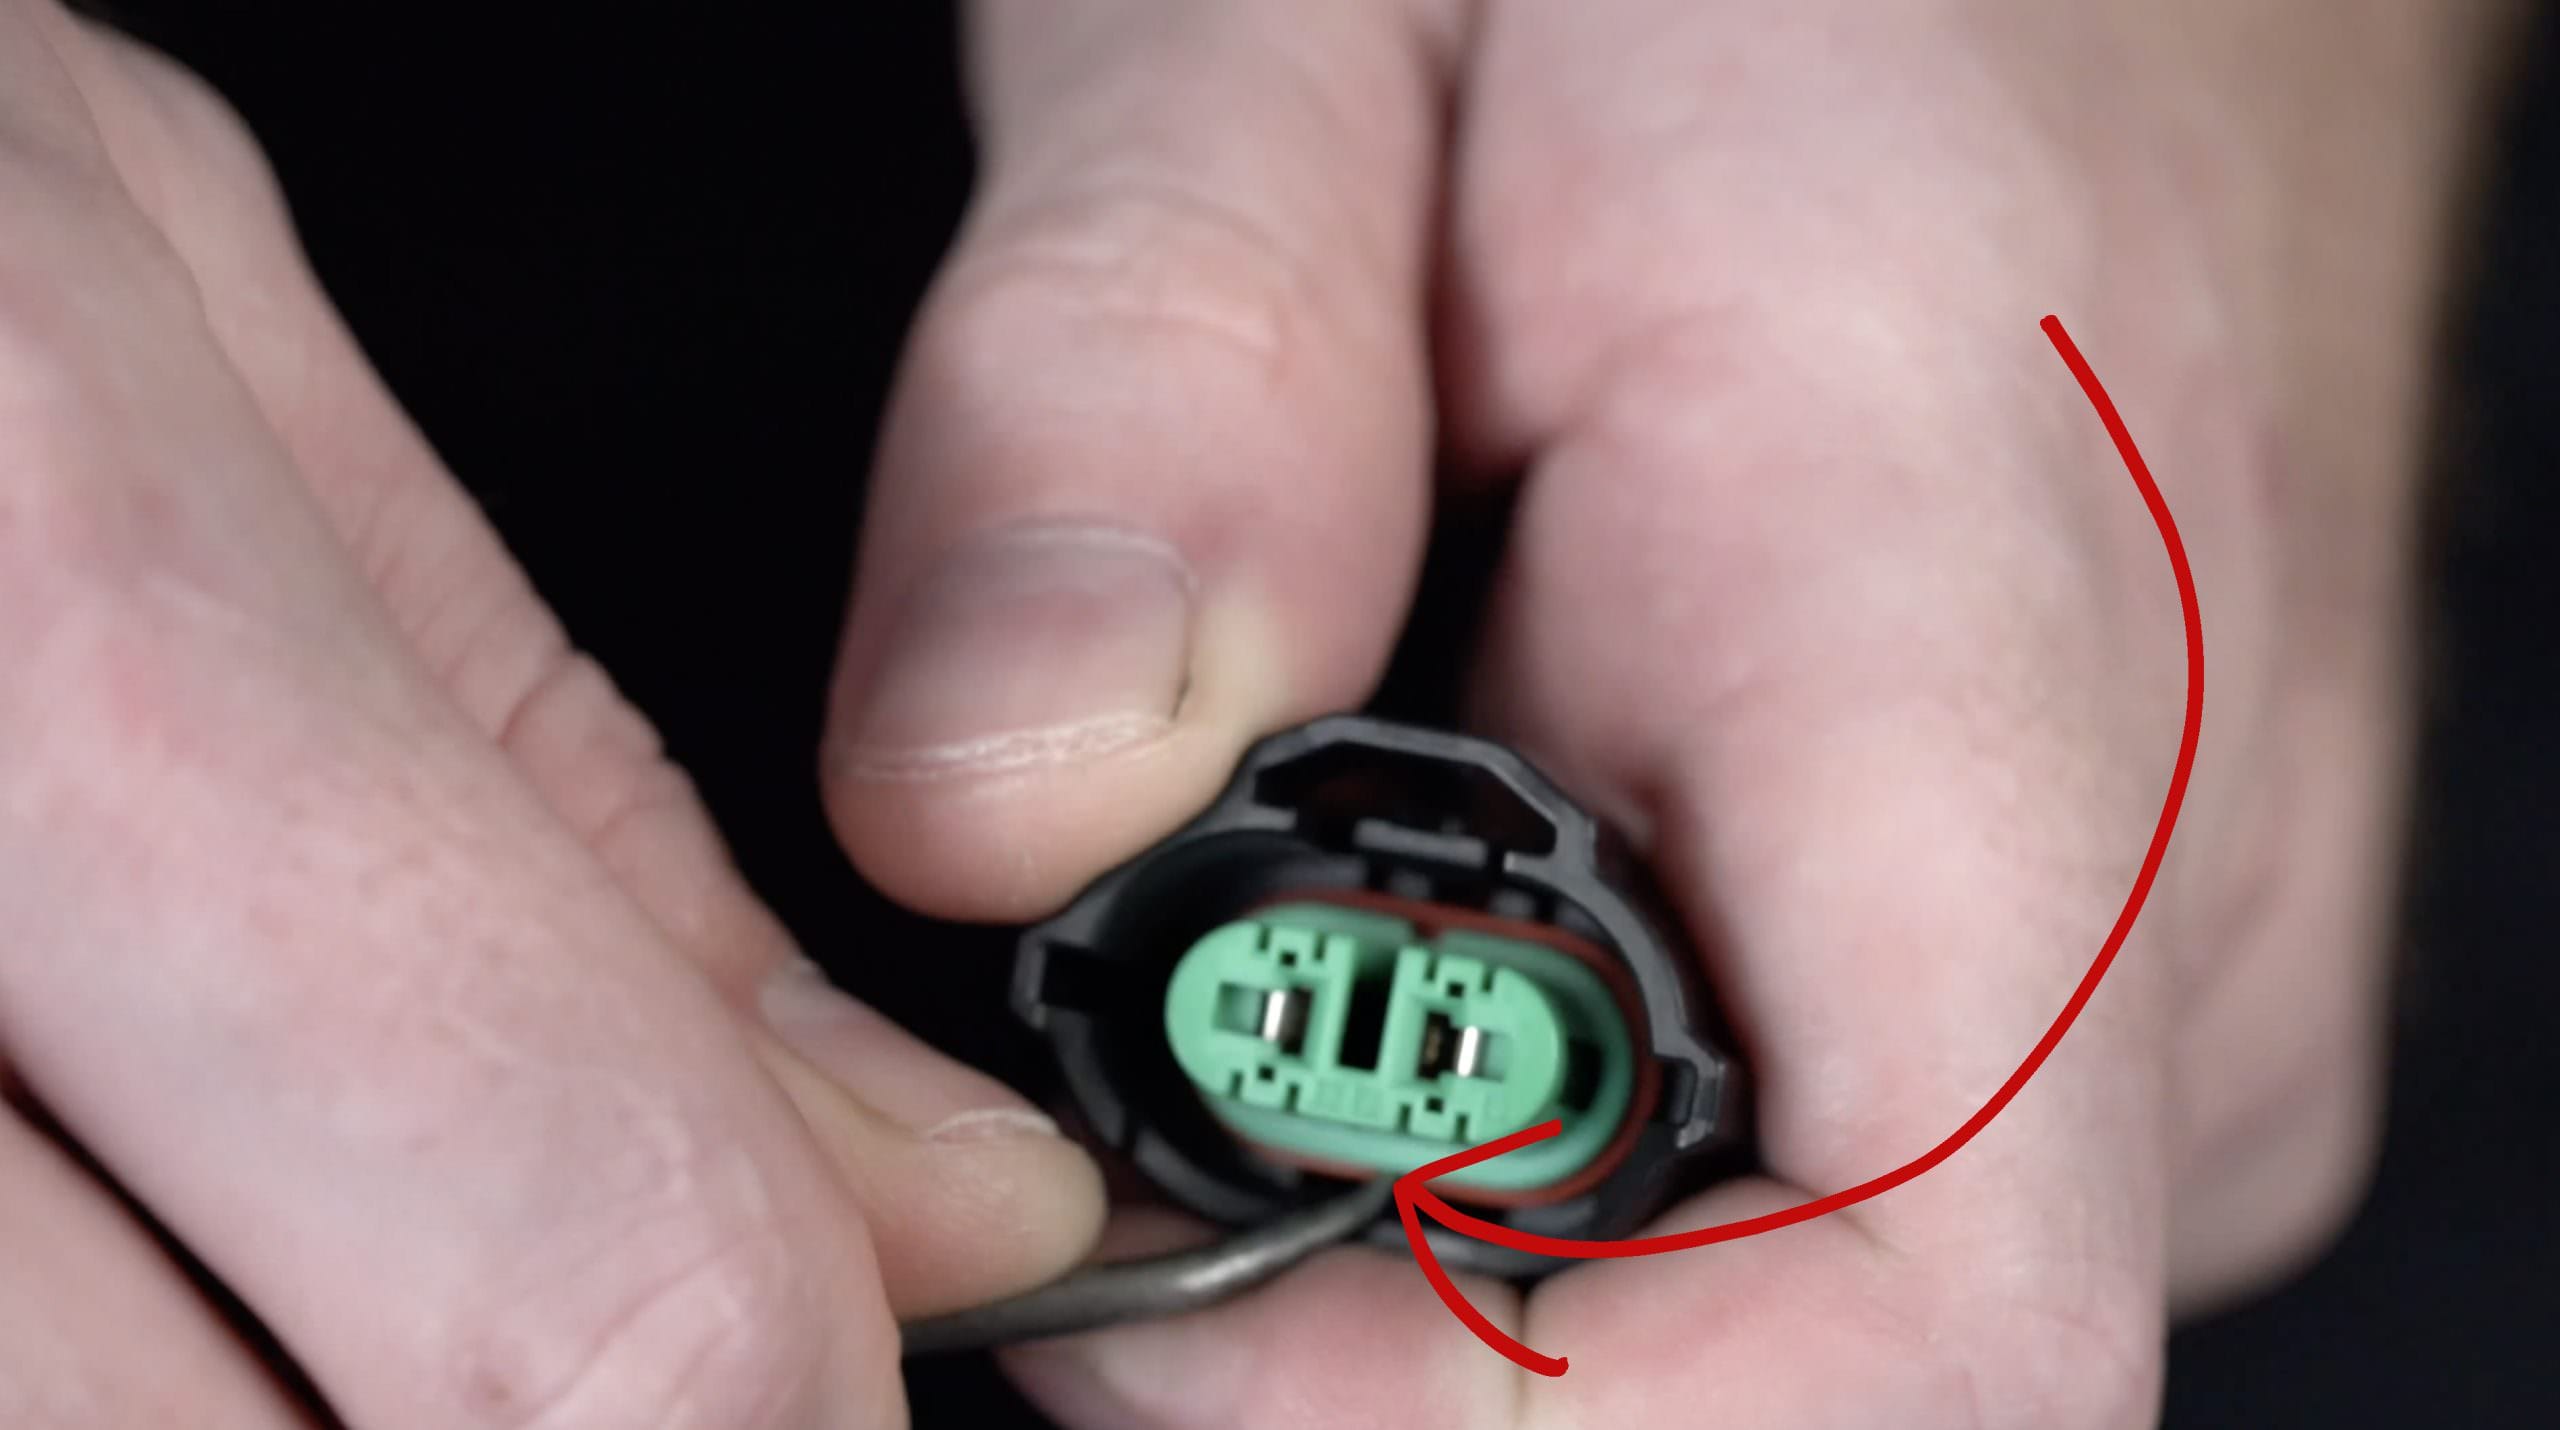
The front cap refers to the green covering (see red arrow).
Using a depin tool, carefully pull out and pull off the front cap to expose the "catches"
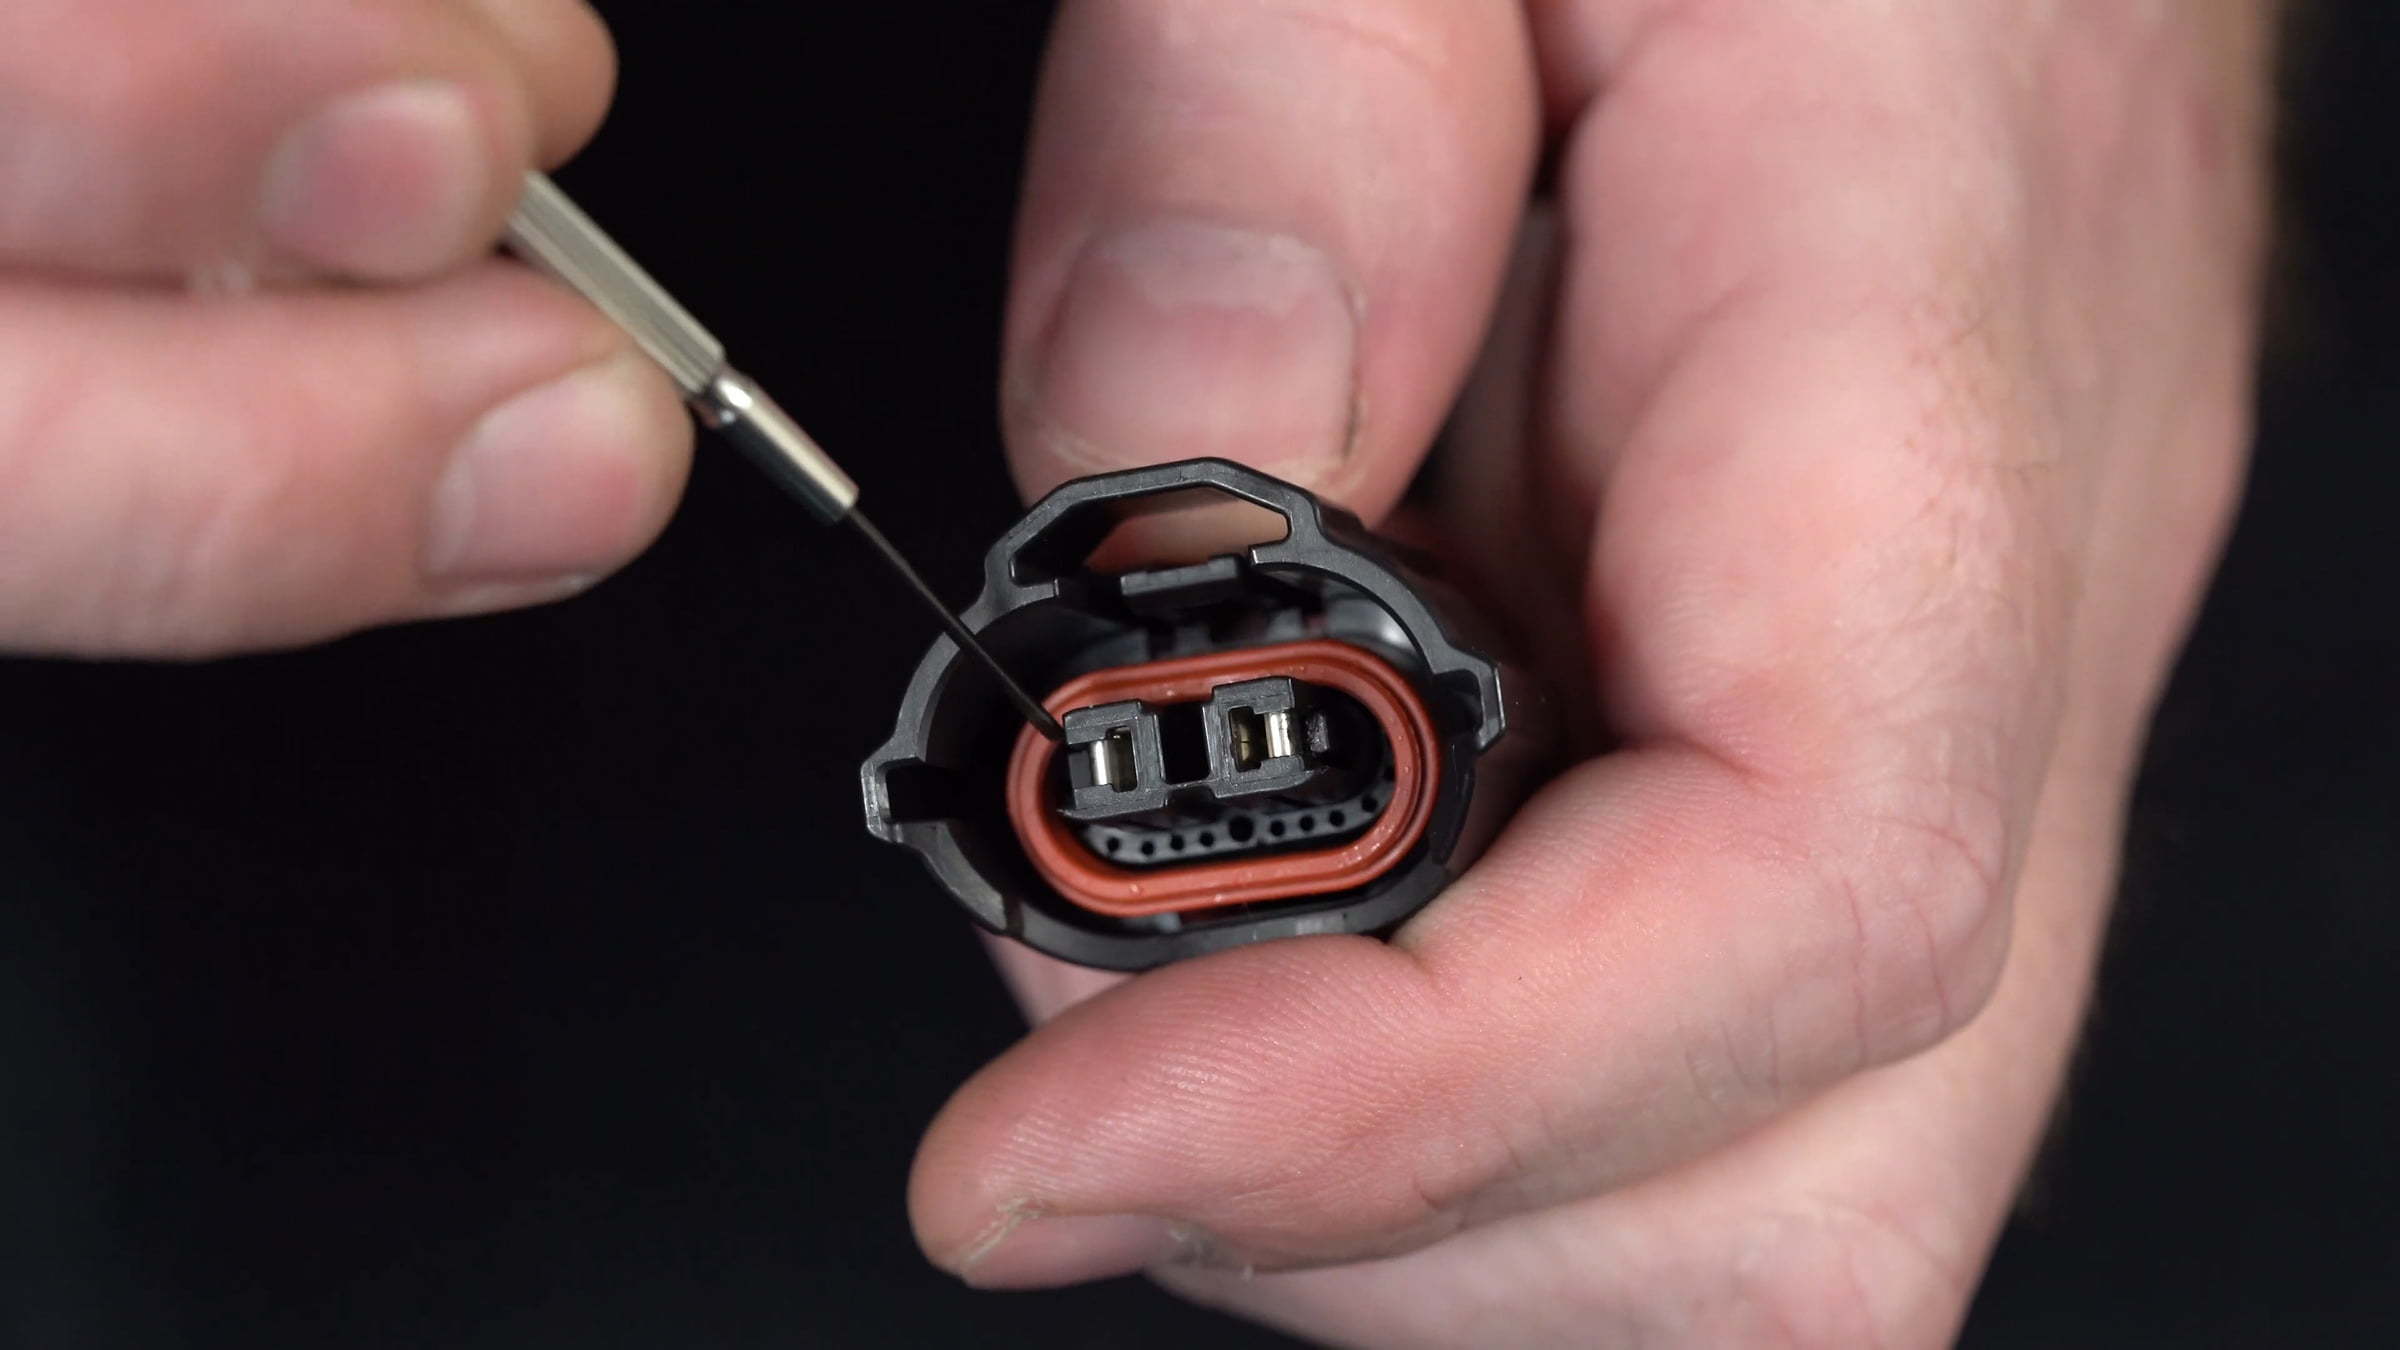
Step 3: Release the "catch"
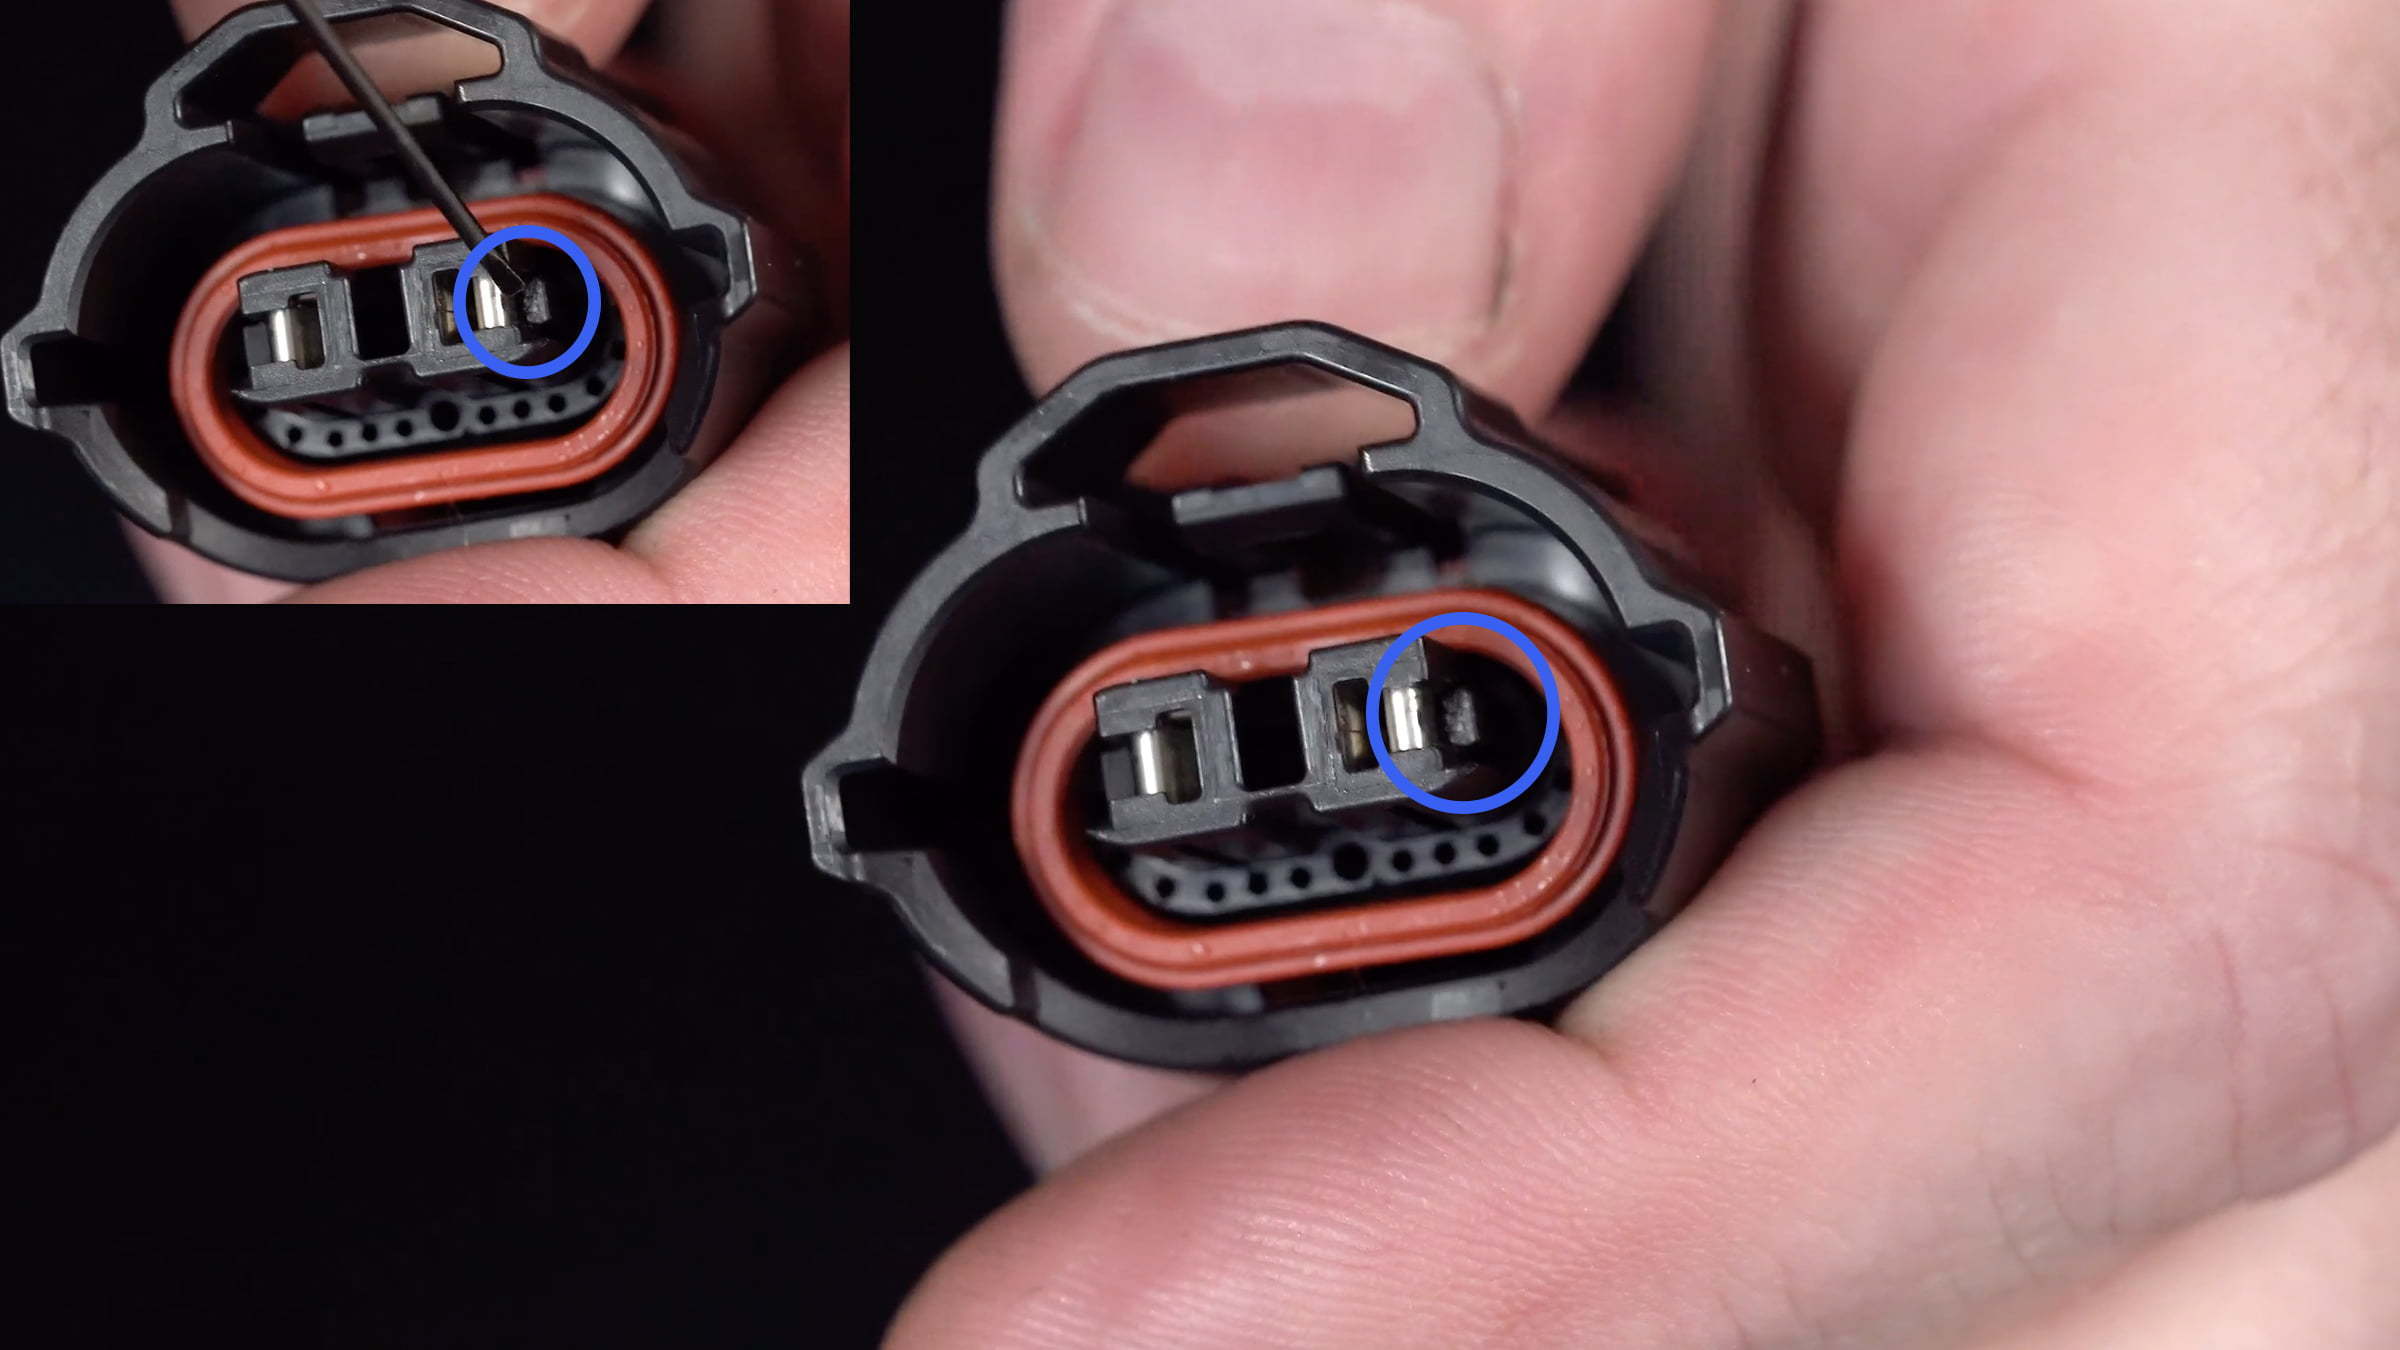
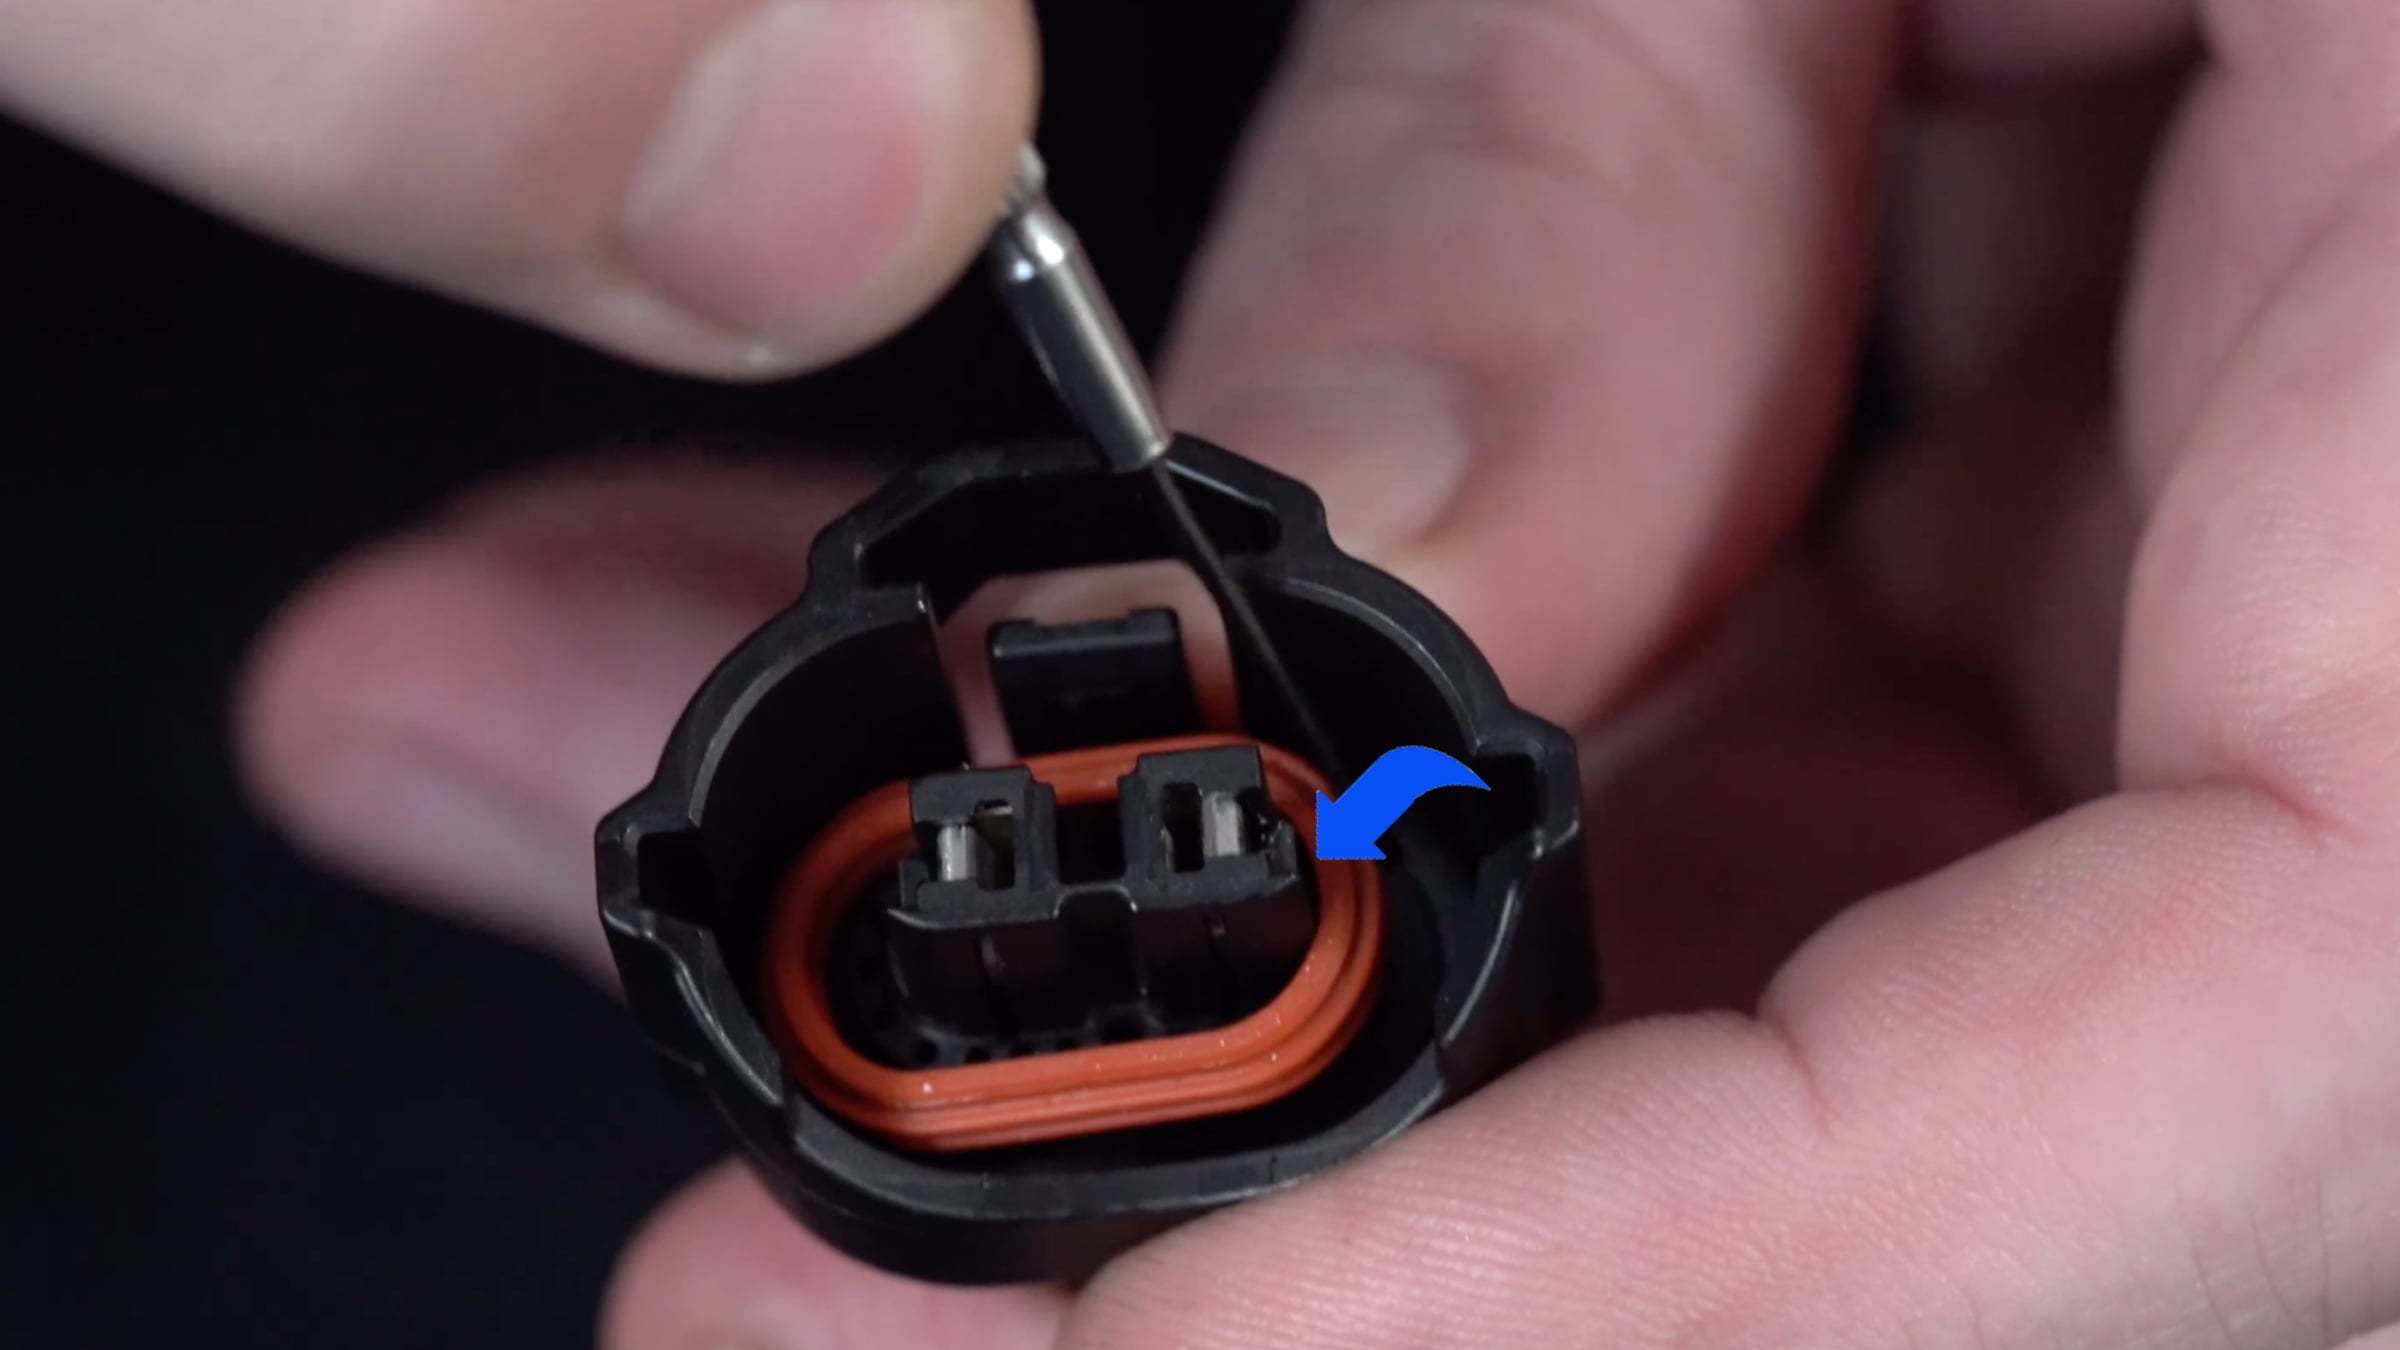
The "catches" refer to the small plastic pieces that hold the terminals/pins in place (see the blue circles).
Gently lift up the catch with either a connector depin tool or a mini screwdriver.
Step 4: Release and pull
As you release the catch by gently lifting it up or away from the terminal, simultaneously, with your other hand carefully pull the wire that corresponds with the terminal you are releasing.
*important note: pulling the wire and lifting up the catch has to be done at the same time so you do not risk damaging the pigtail by pulling with too much force.

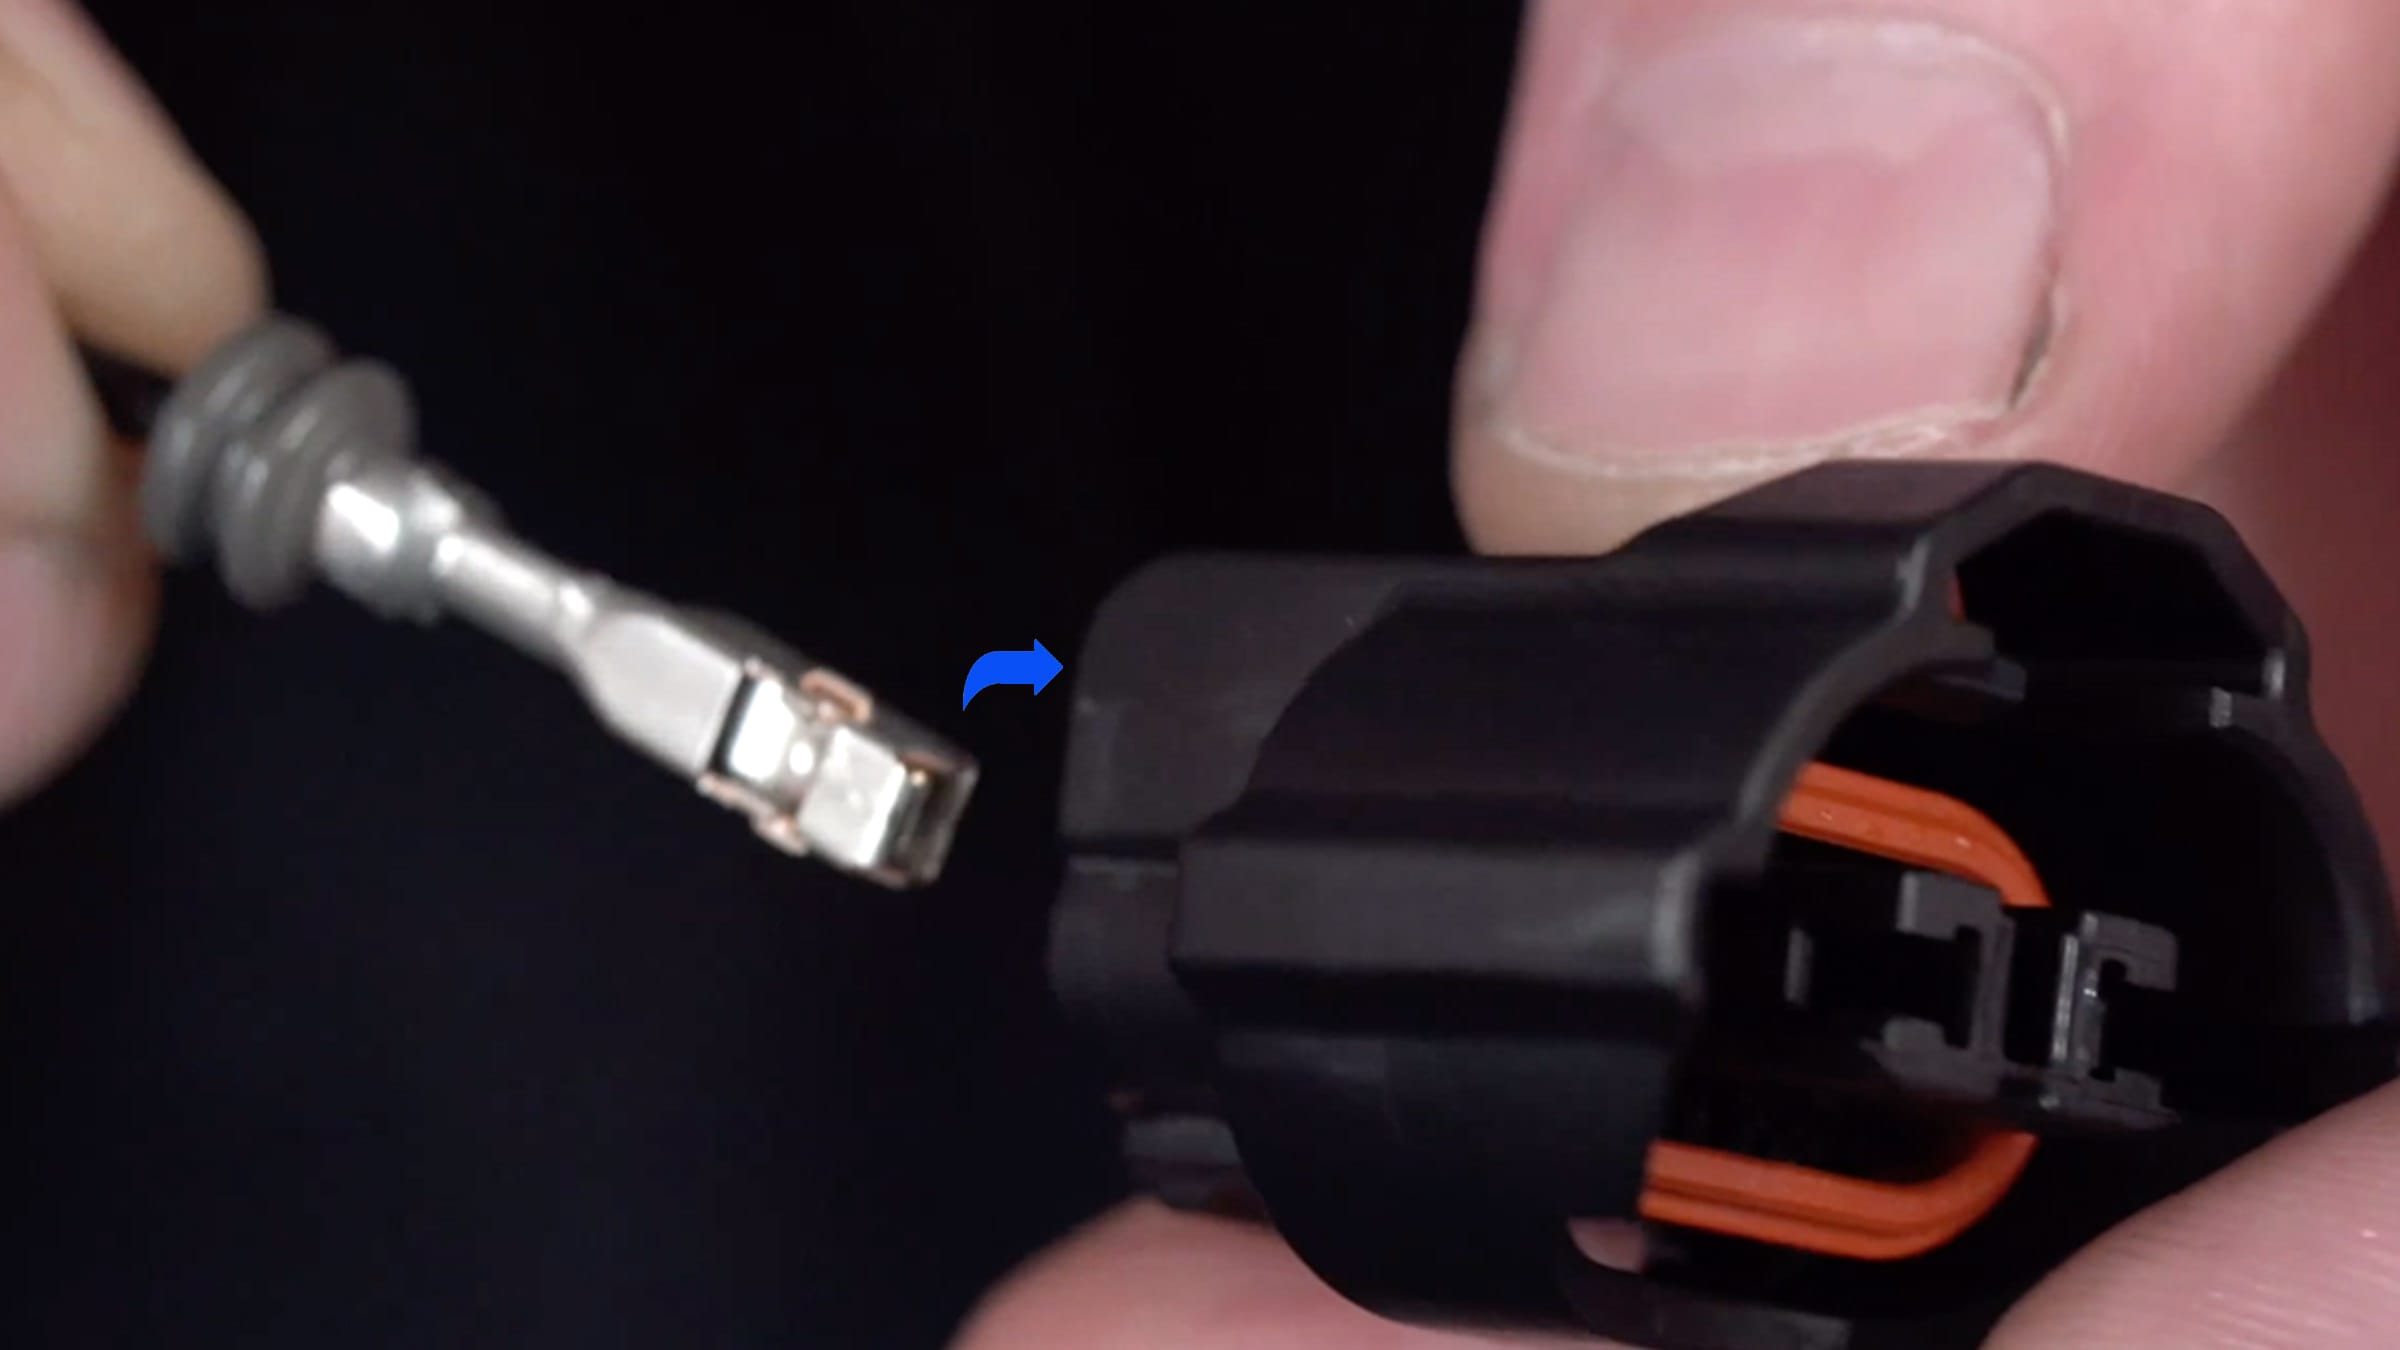
Step 5: Insert the terminal/pin back into the pigtail (rear side)
Make sure you correctly lineup the terminal so that it makes a clean fit into the back of the pigtail. You will hear a slight "click" once it's properly inserted into the slot.
Step 6: Check the "catches"
Check that each catch is sitting flush next to the terminal, securely fastened next to it with a tight fit.
Step 7: Insert green cap back on and inspect
Verify that the green cap is secure as well as all seals.
