Step 1: Quality of wires
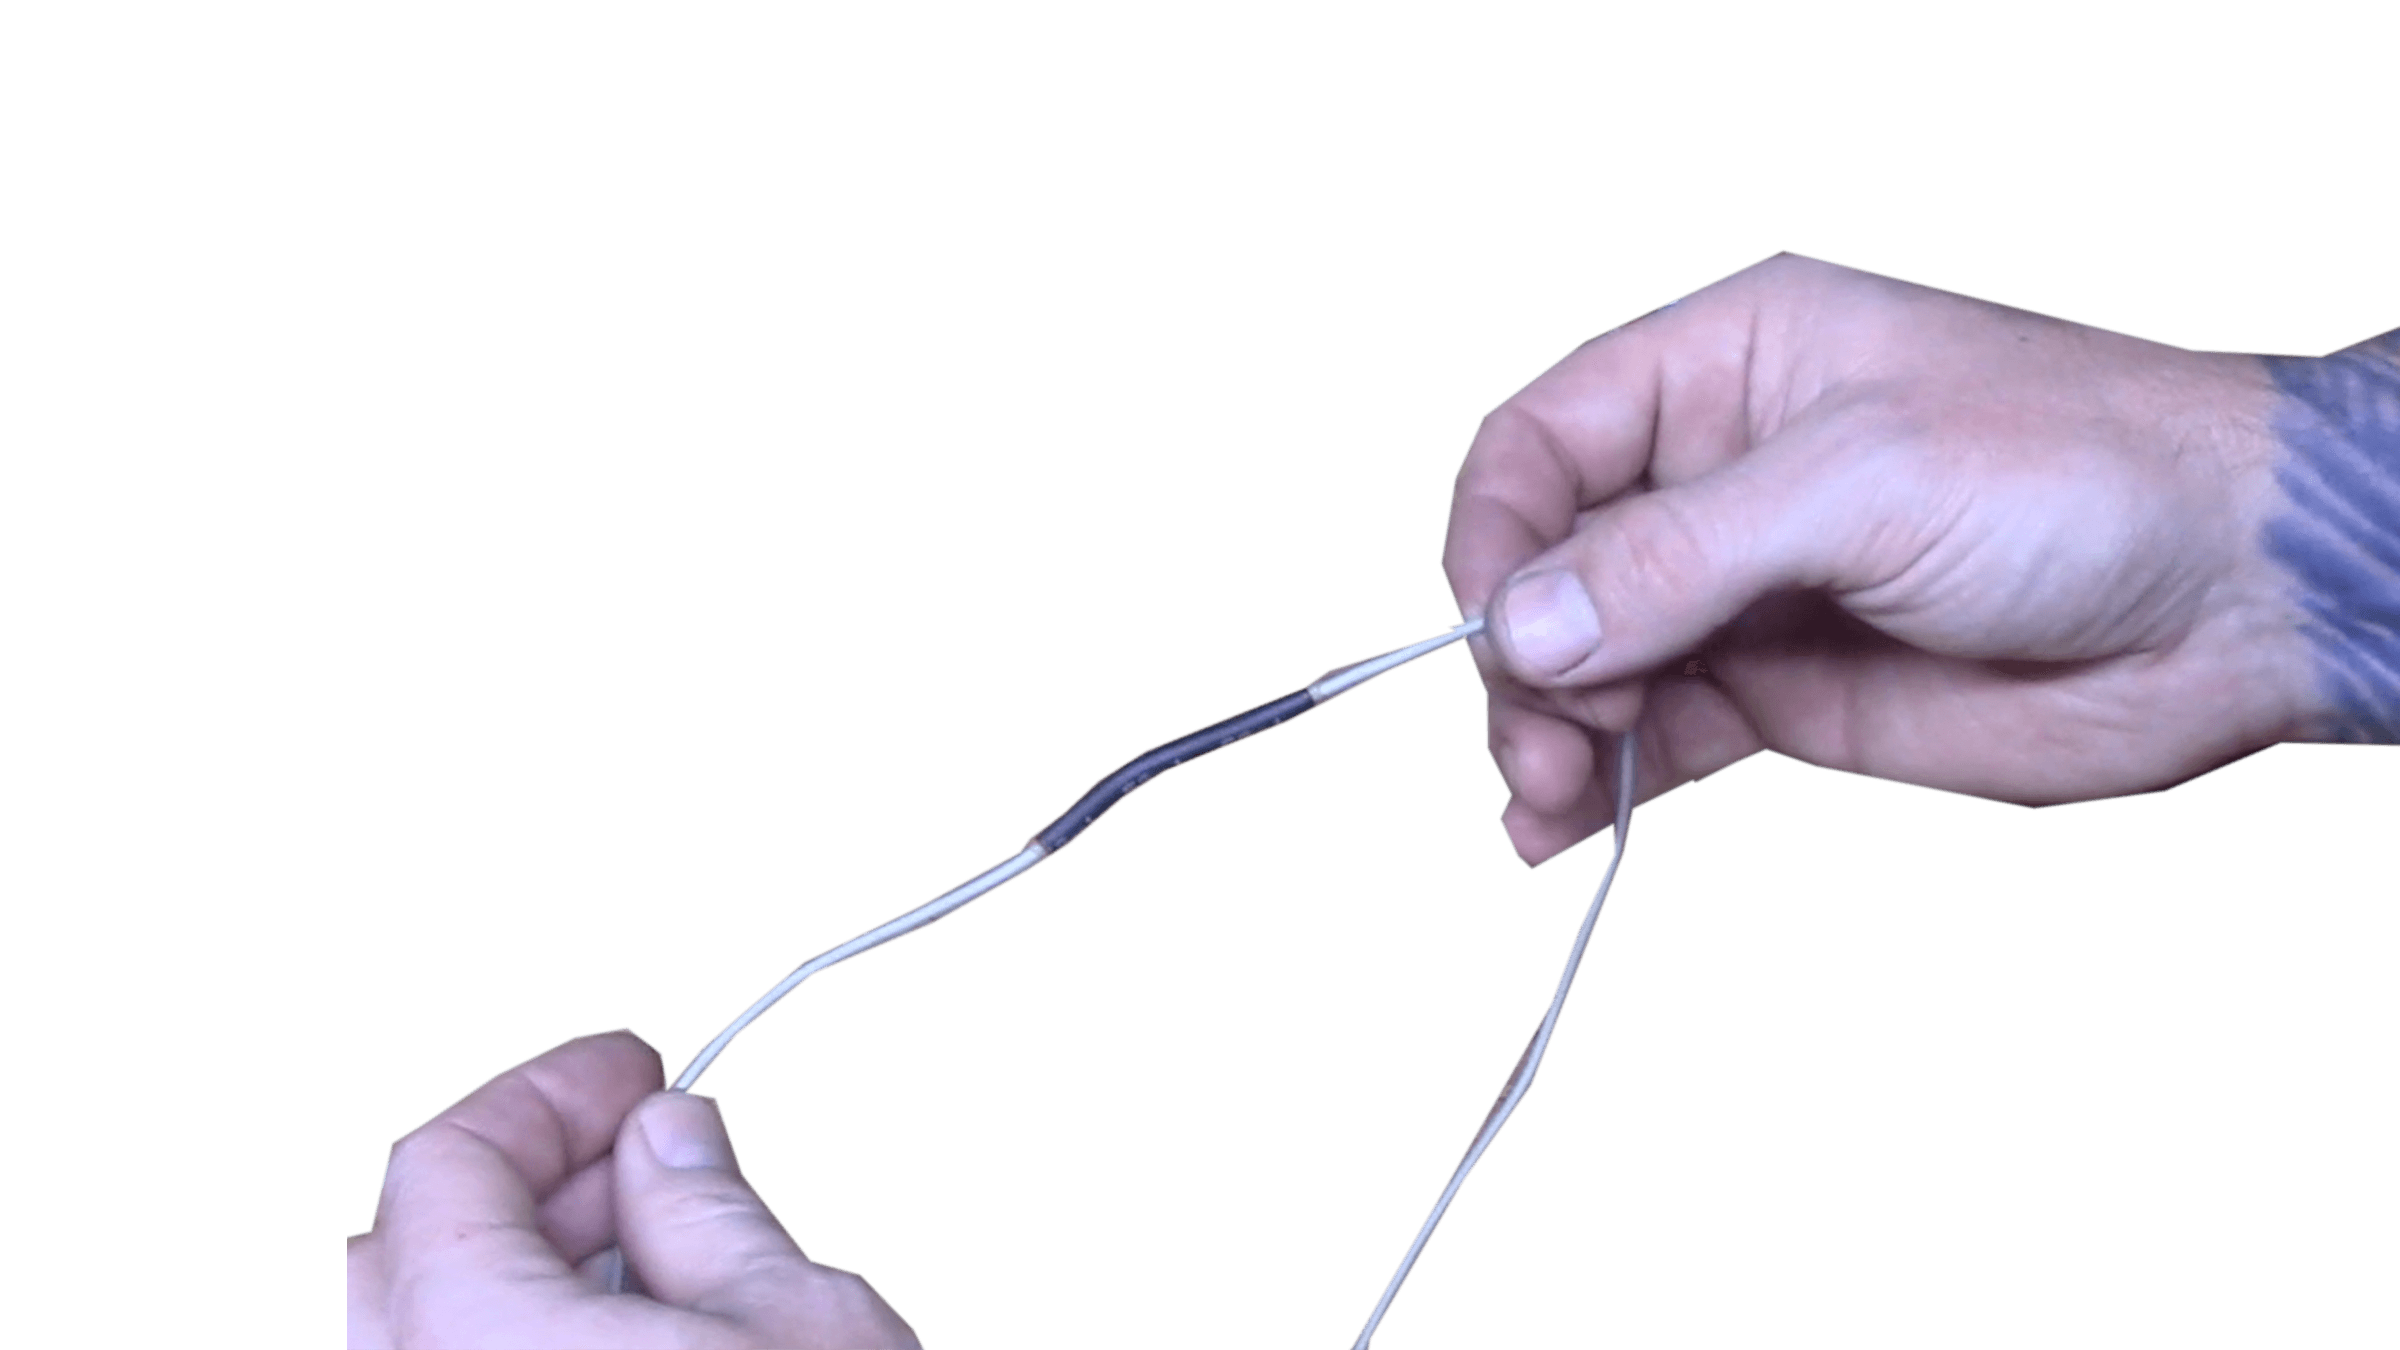
Prior to starting your wire harness or connector wiring repair it is extremely important to verify the quality of the wires you are repairing. This is especially true if you received another pigtail with 6"-10" of wire and you are electing to splice these new wires with the existing wires still attached to the vehicle.
Take a look at this video to understand why ⇢
Step 2: Proper Tools
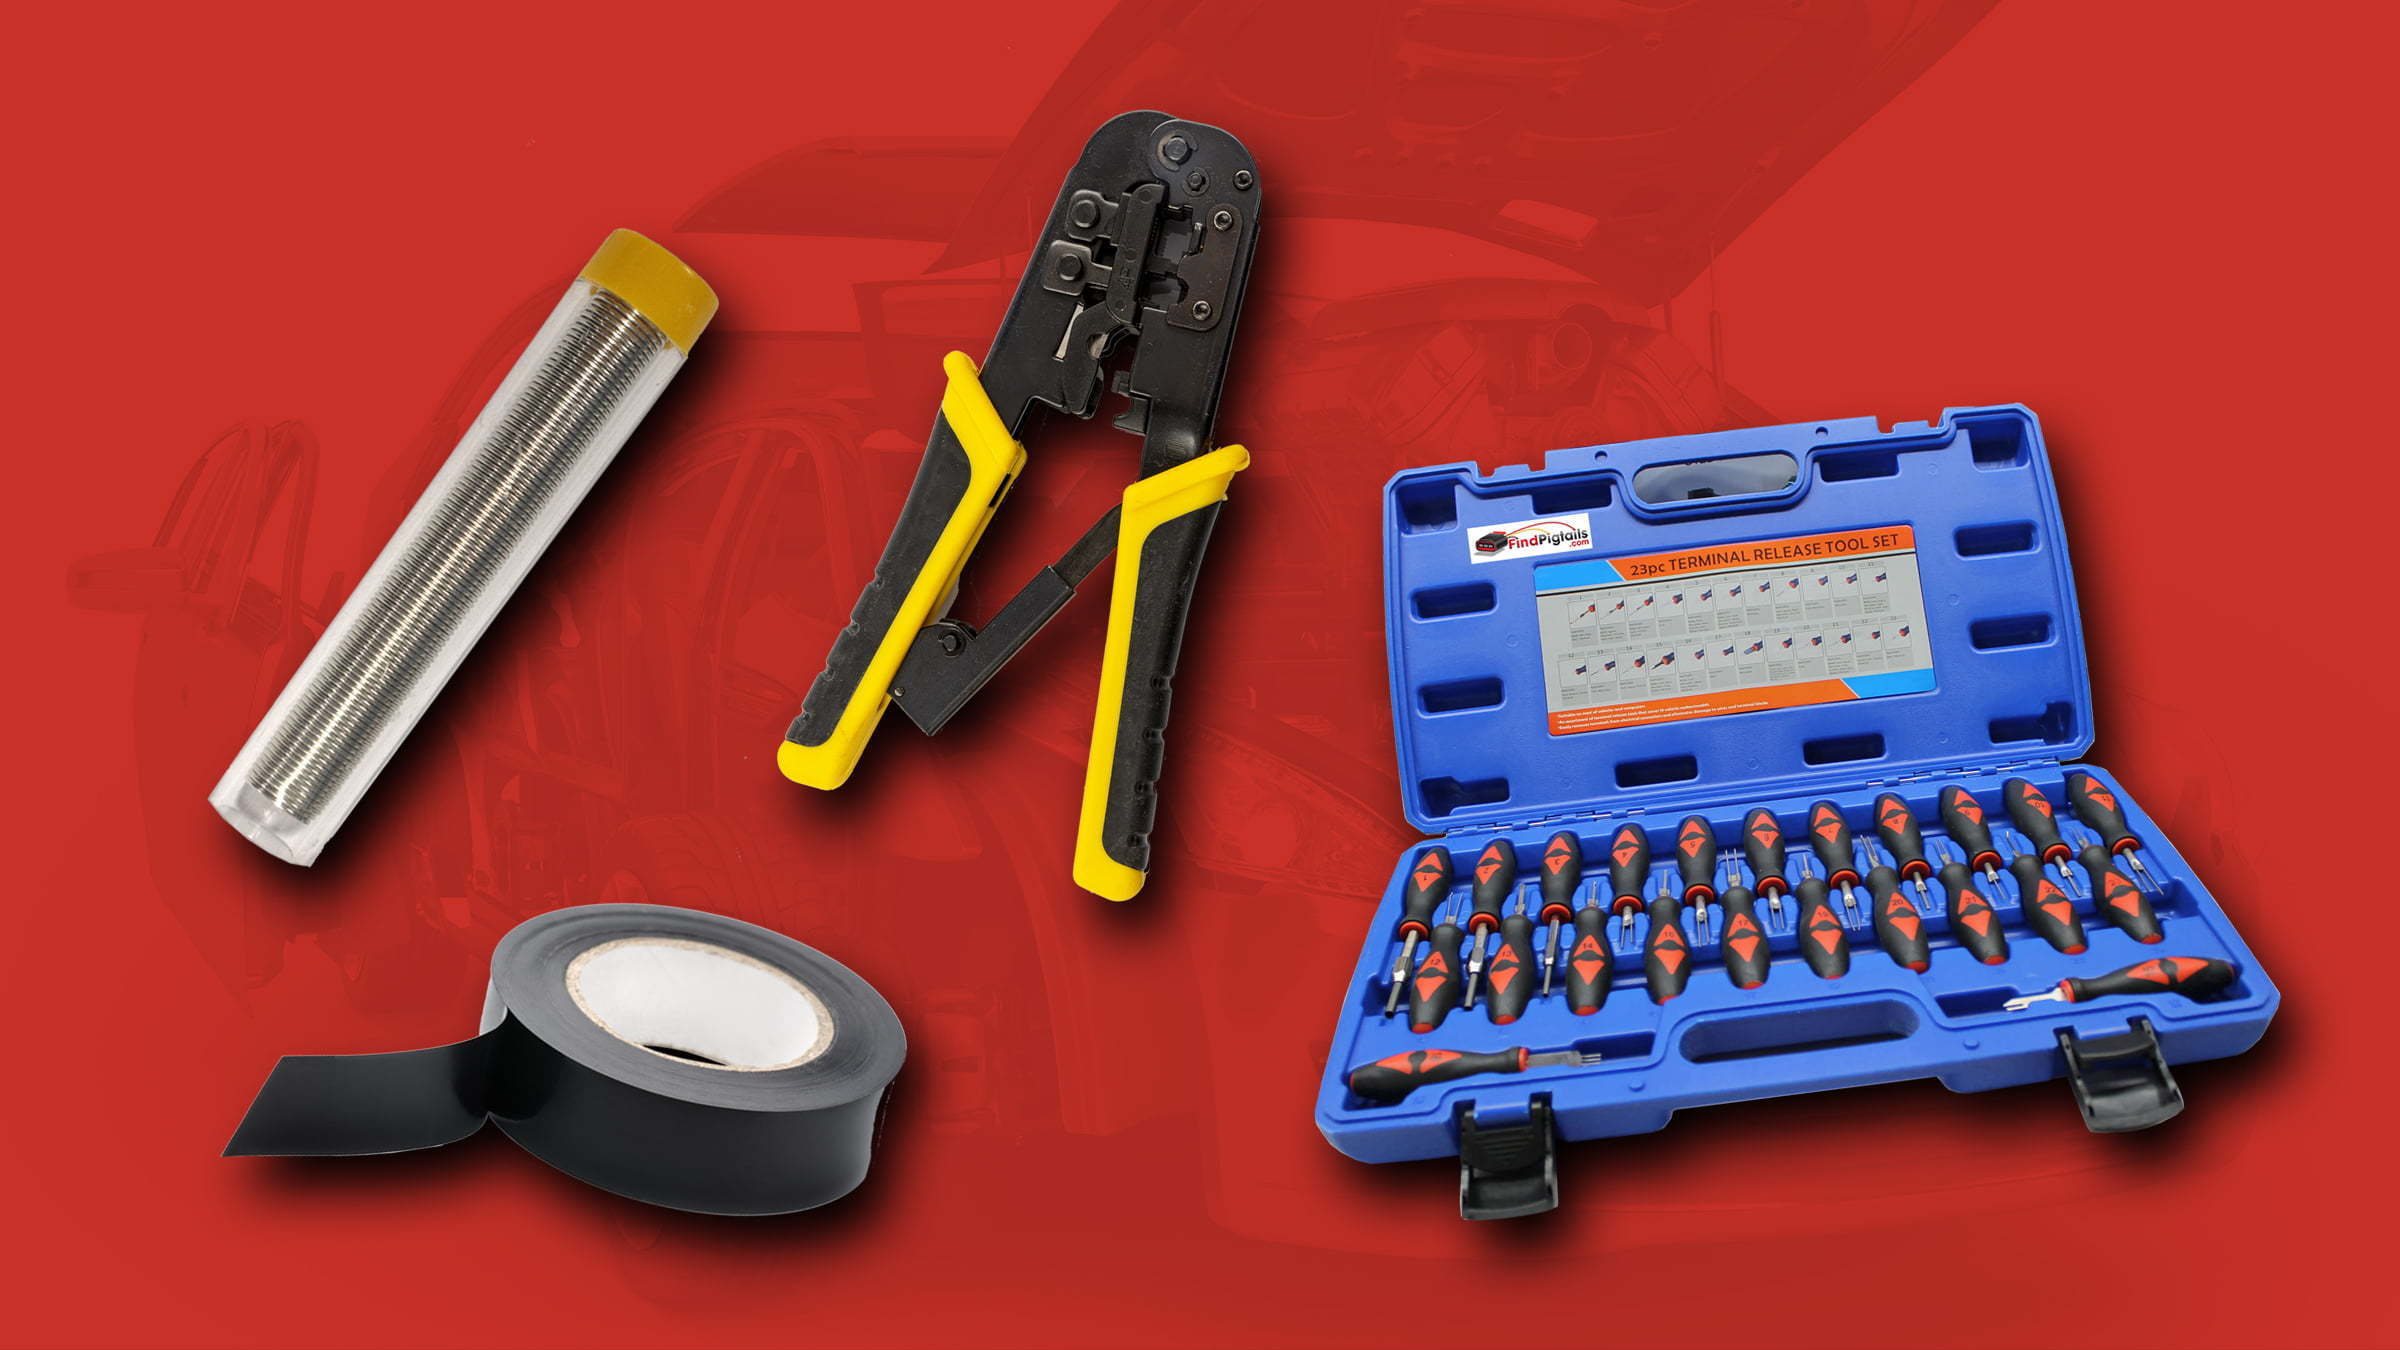
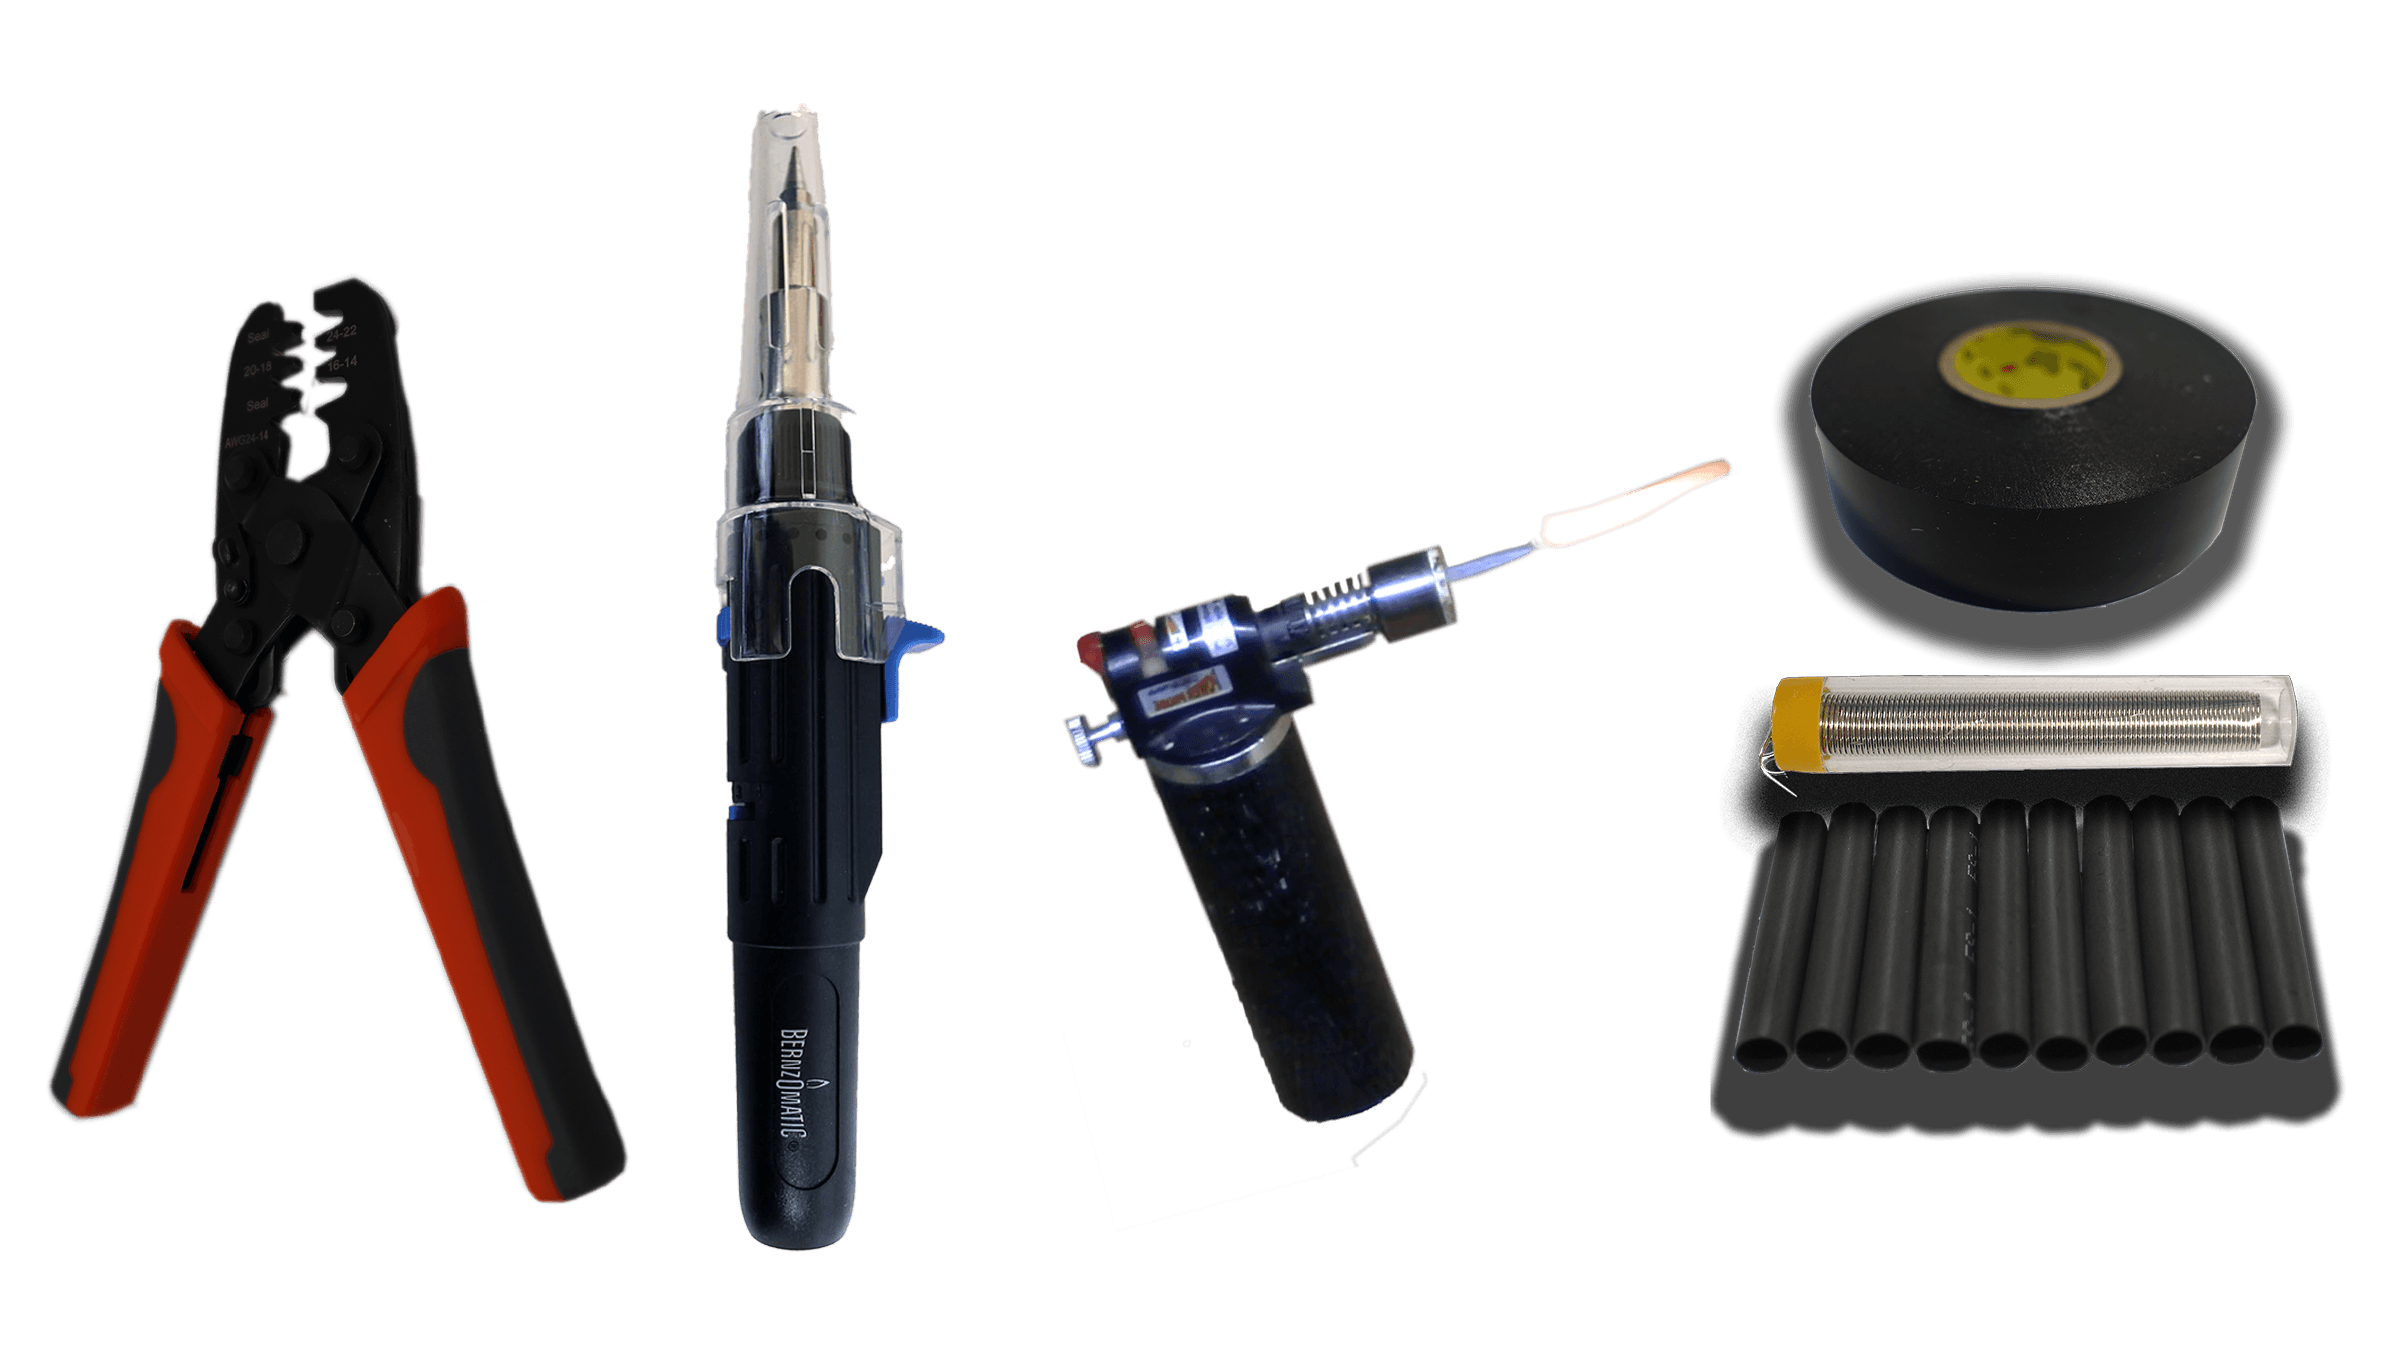
1. Solder iron/heat gun or heating torch
2. Wire cutter or crimp tool
3. Solder (quality is important)
4. Electrical tape (super 33+)
5. Heat shrink (we prefer the type that has the glue already built in)
6. Split loom
Step 3: Split and splice
1. Put your heat shrink/shrink wrap on first
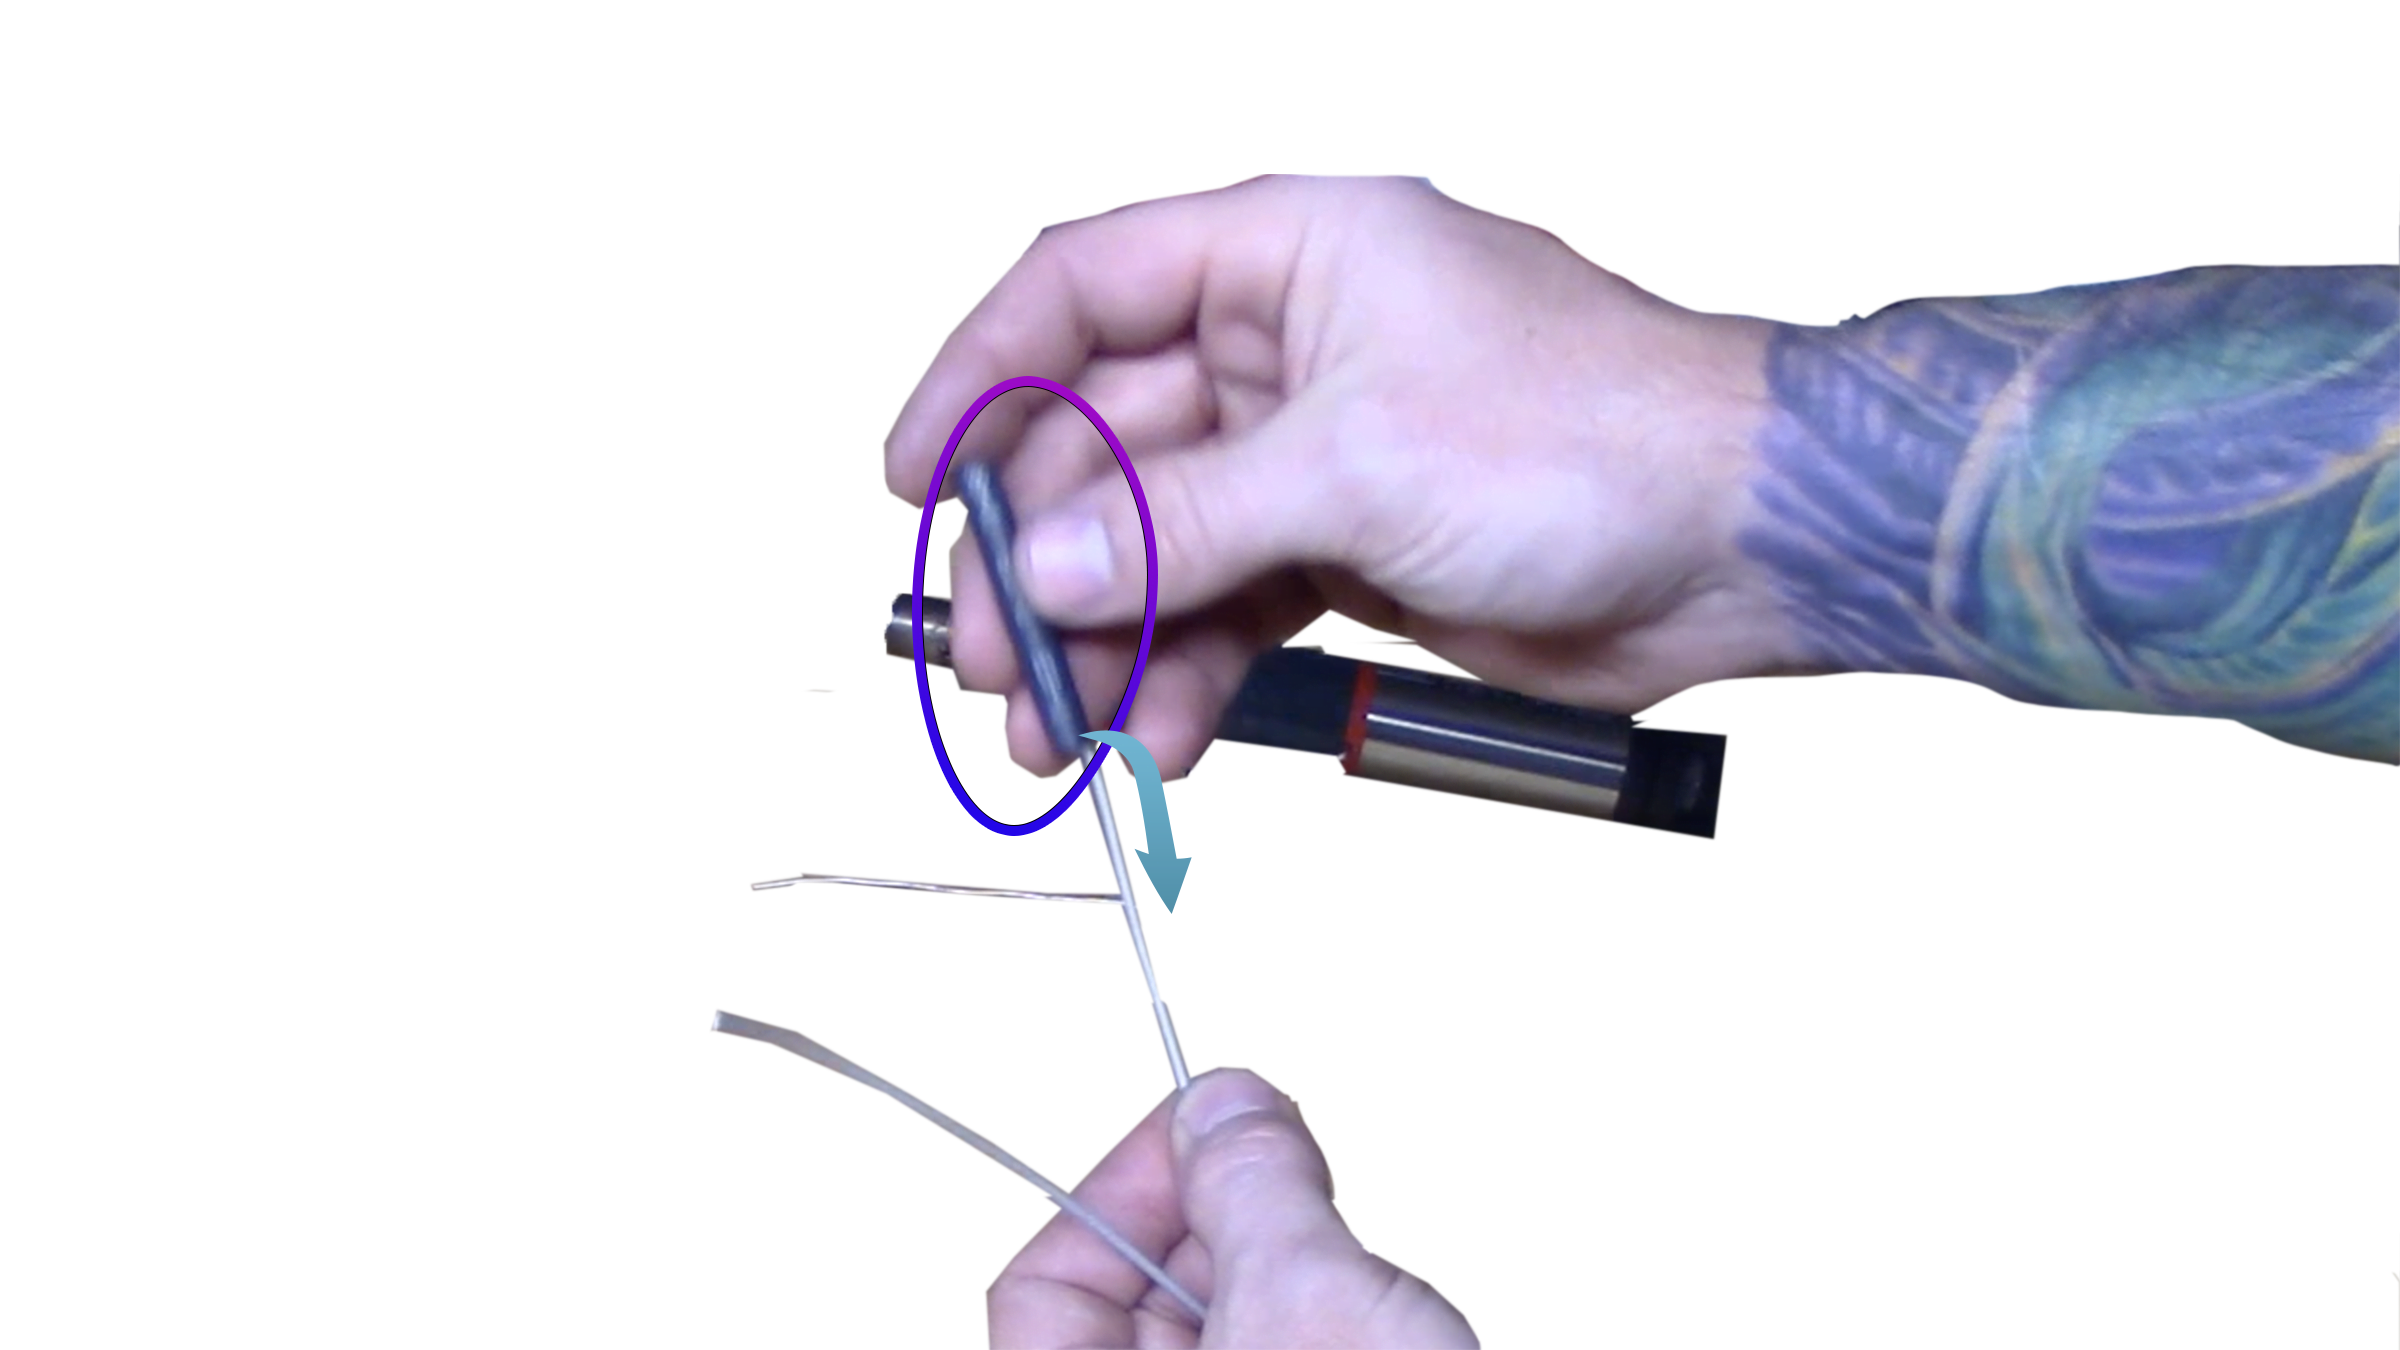
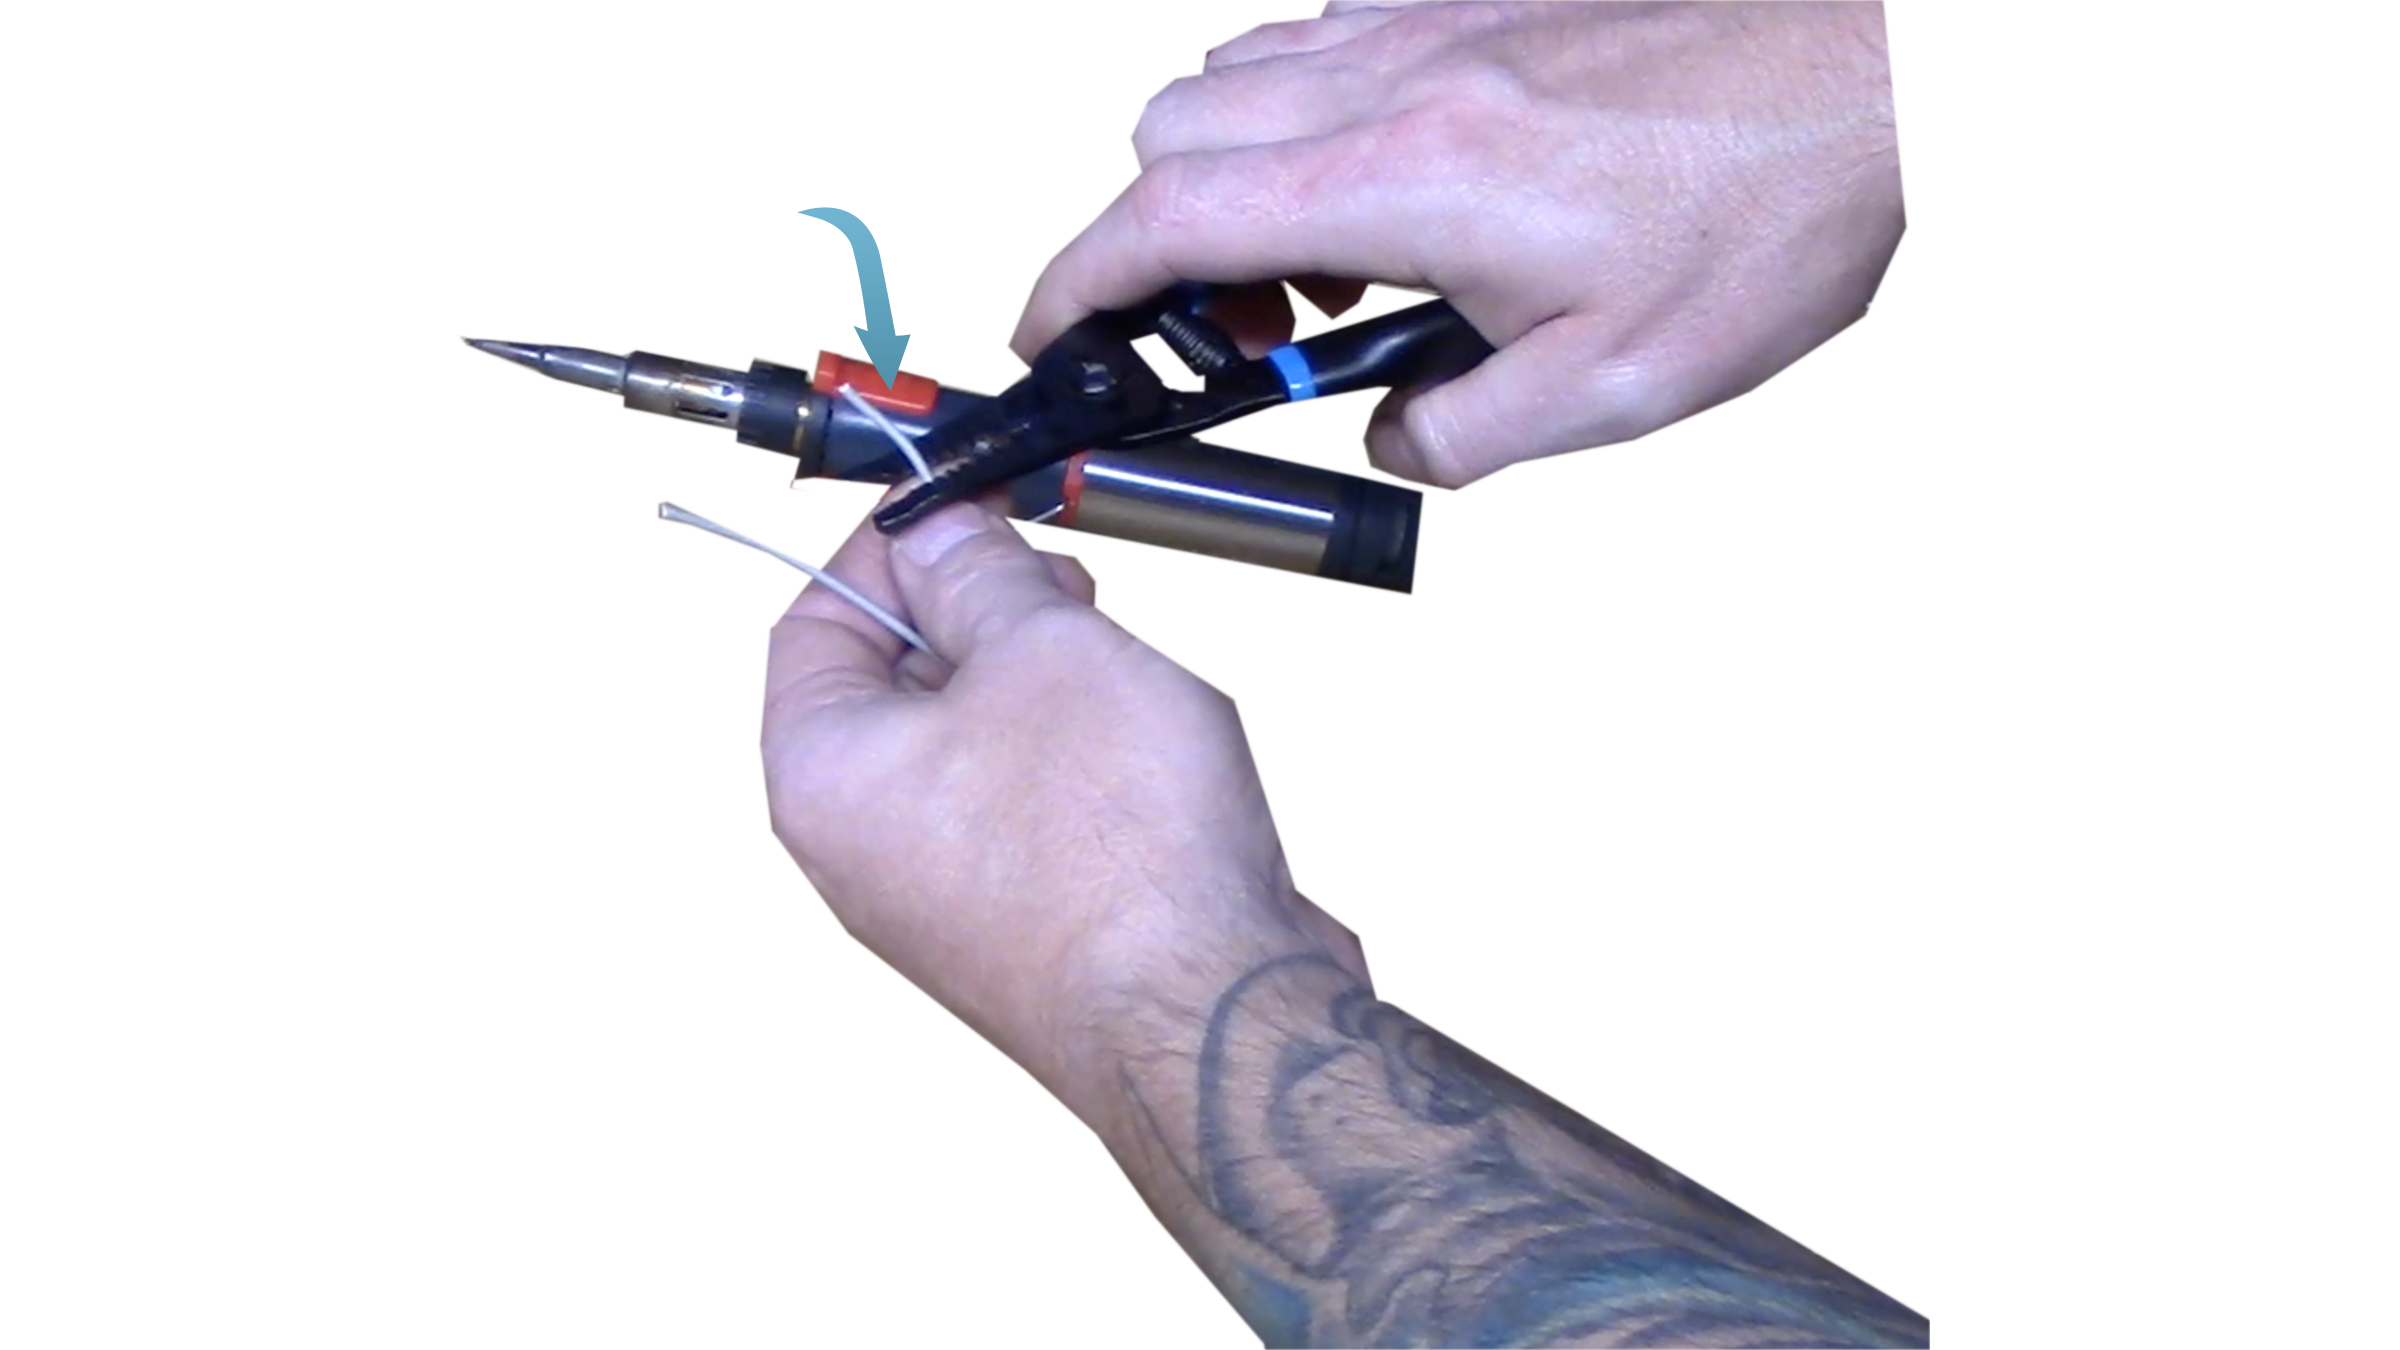
B. Make sure you have enough wire to work with (8"-10" should work) and splice about an inch back.
- don't go too far so you don't have a lot of wire "hanging" off
- don't go too short otherwise it will pull back and you will end up with the end of the wire poking through the heat shrink
*Do a repair worthy of lasting
Step 4: Connect spliced ends together
- Make sure each is split about an inch apiece and your heat shrink is on both wires.
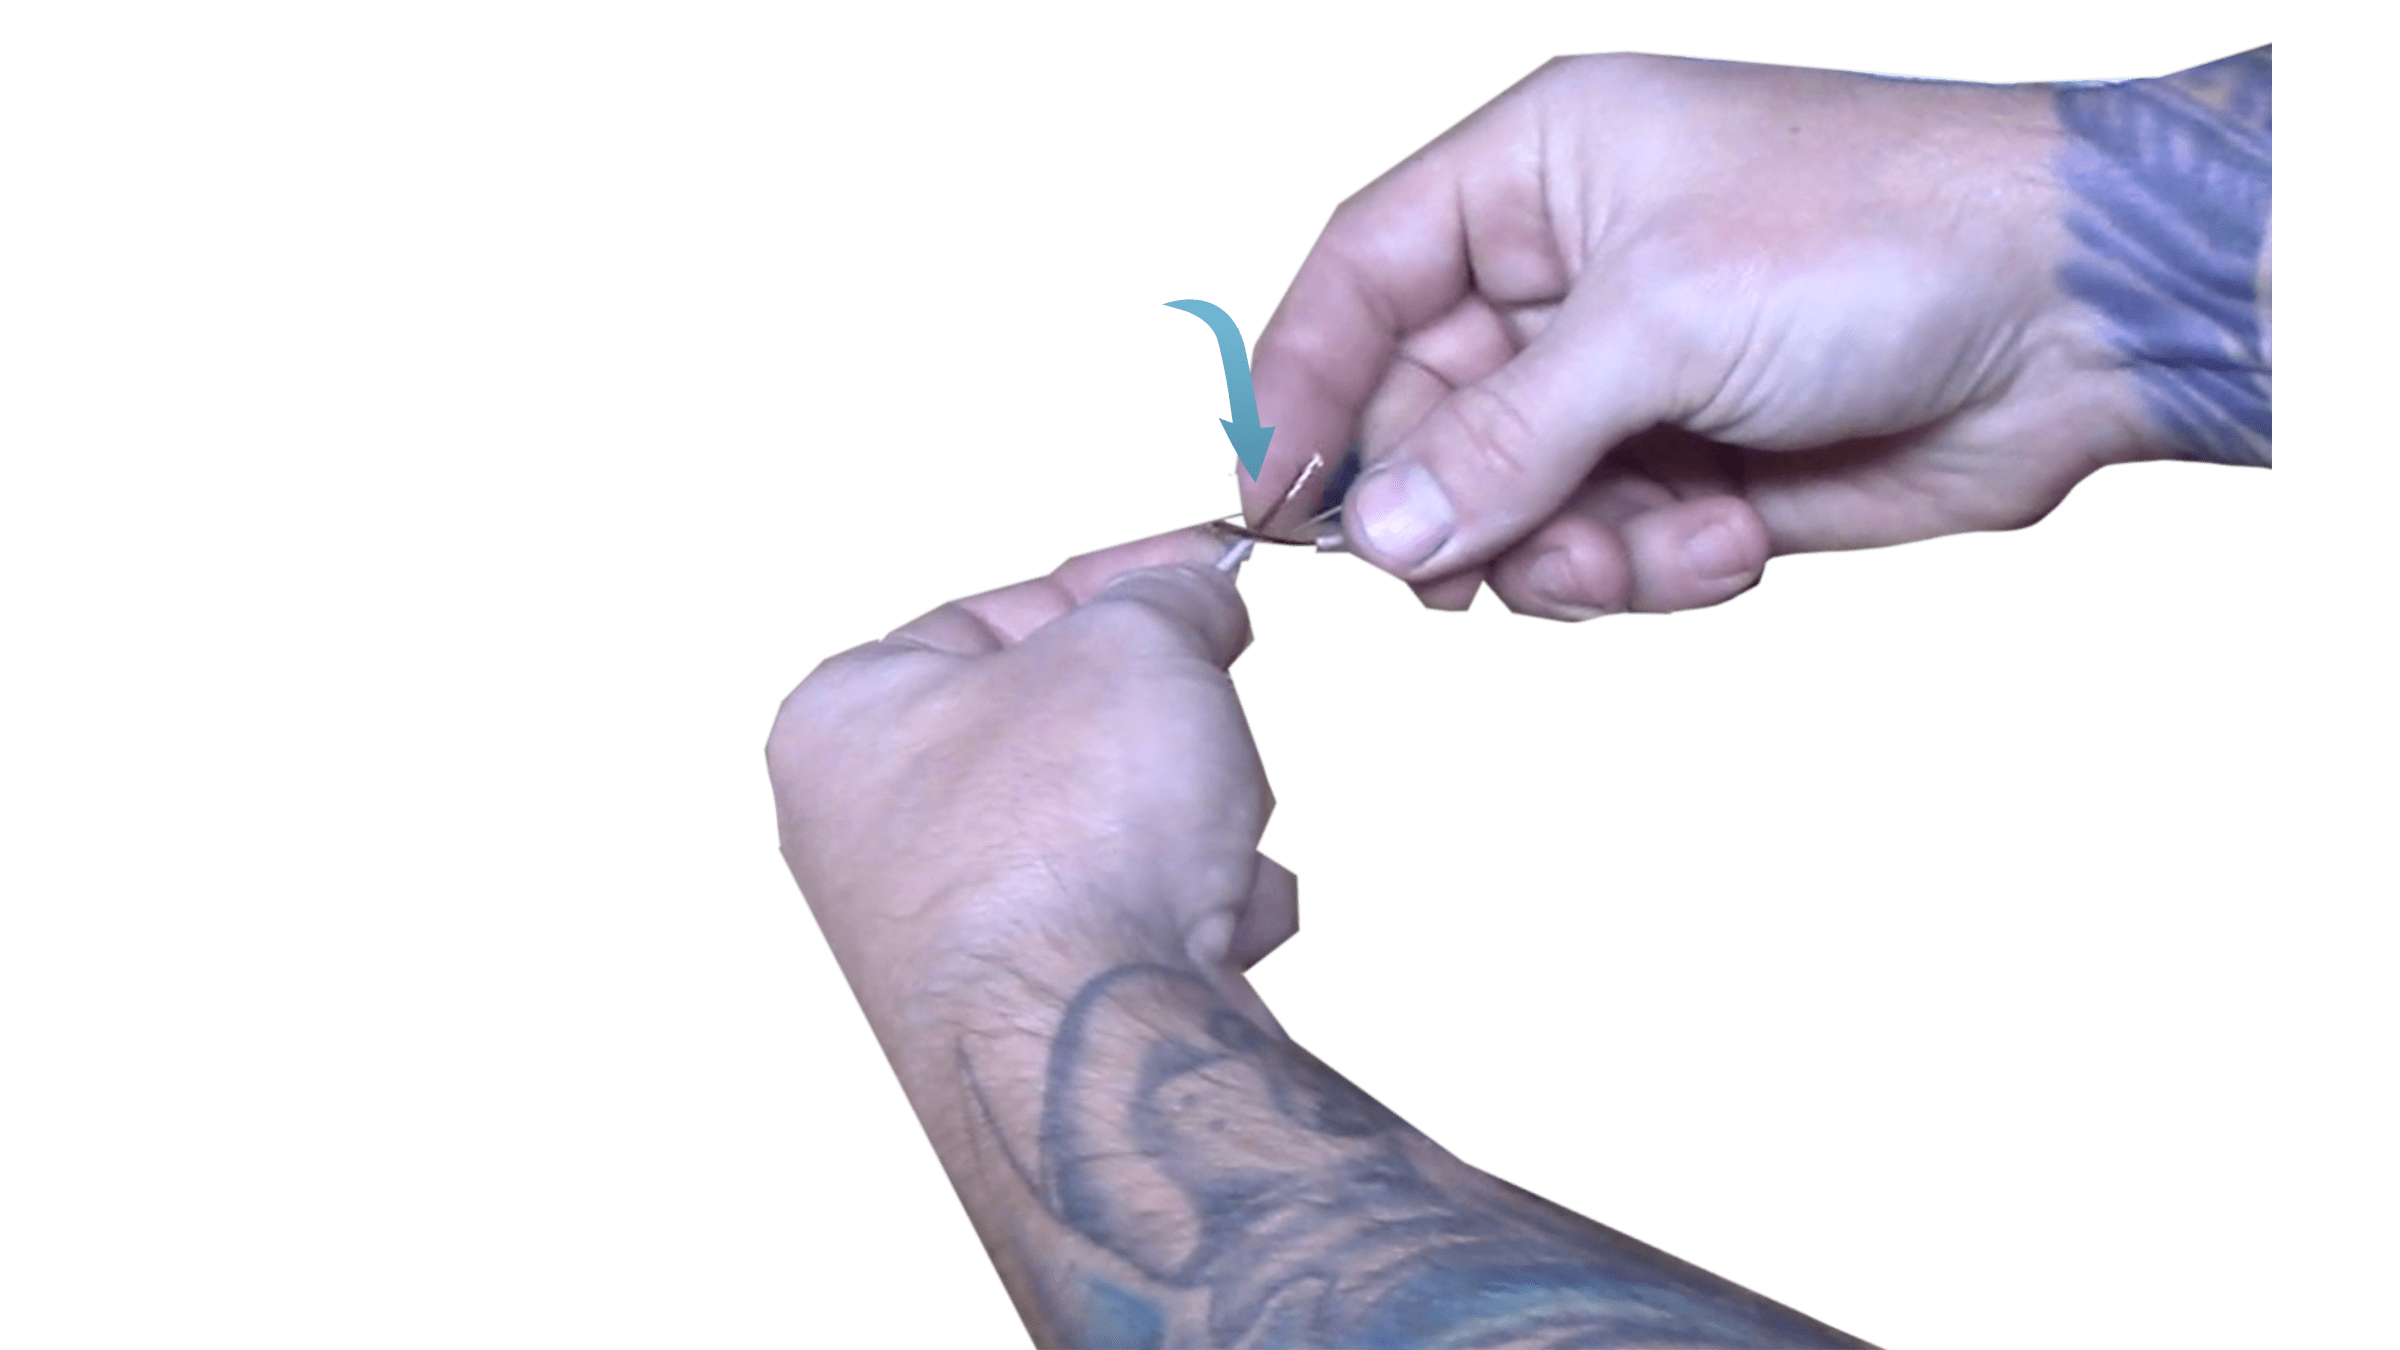
- Connect the two end pieces of the wires together. *Start with the wire just inside of the seething.
- With the wires connected (wrapped around each other) start twisting and spinning the wires together to form one piece (you will permanentley connect these together in the next step with the solder and soldering iron).
- Make sure there are smooth edges (no wires pointing out)
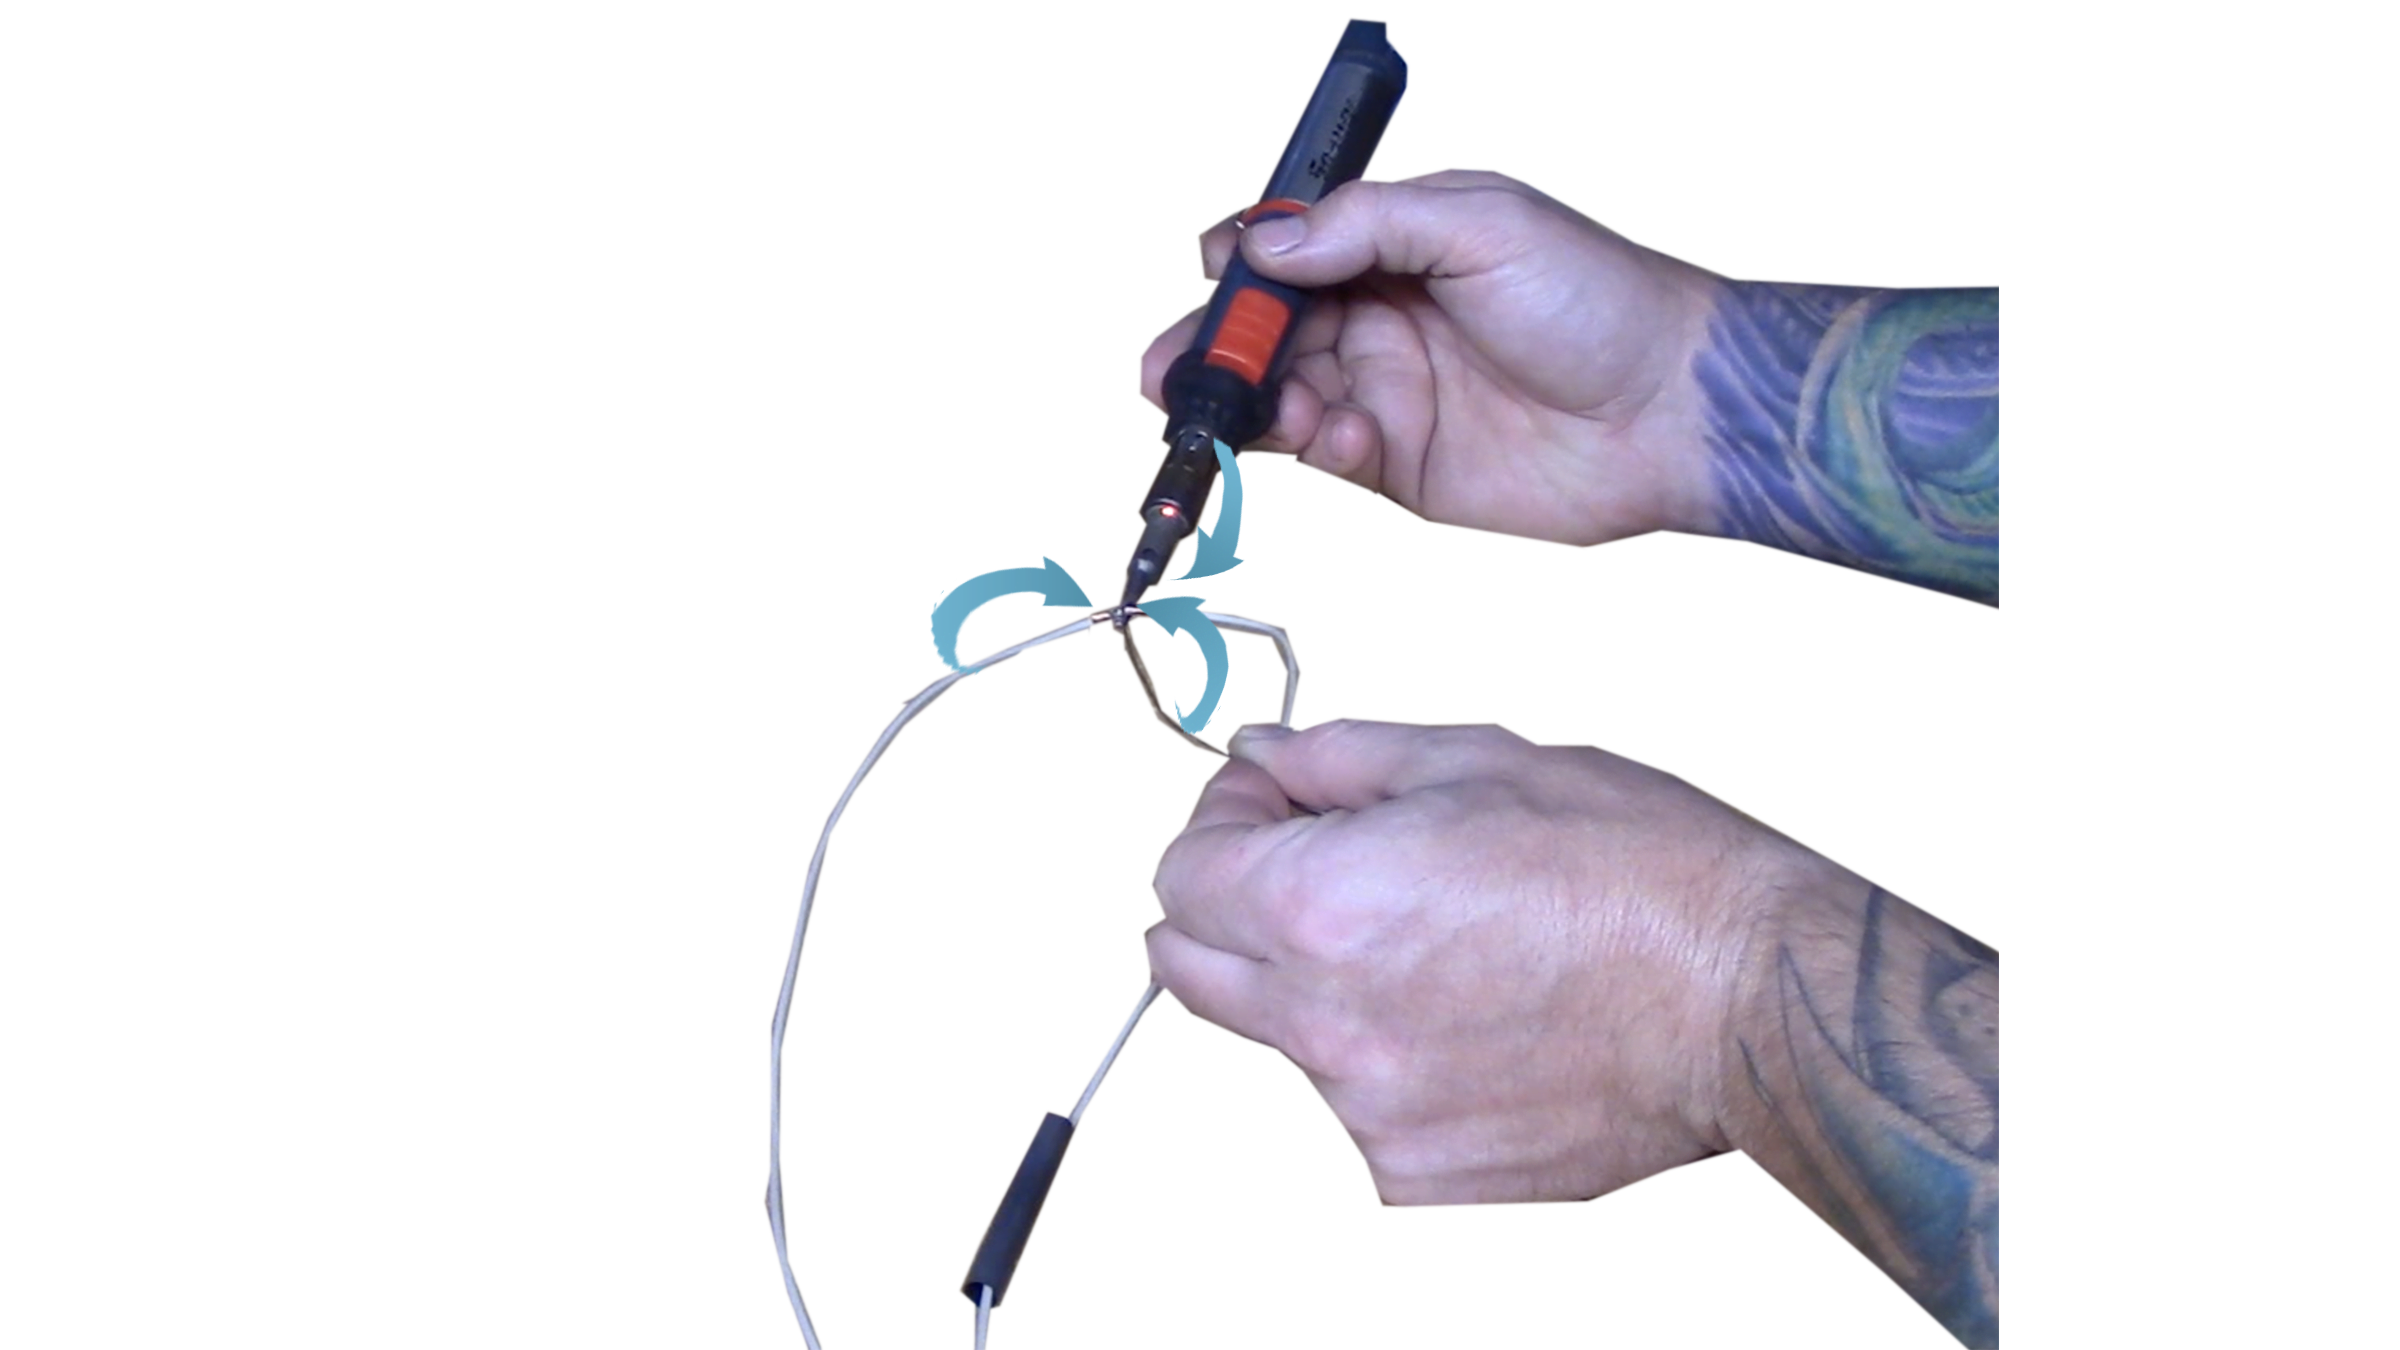
Step 5: Warm up your soldering iron/torch to create a solid connection
Make sure your heat shrink is in the middle of the two wires you're soldering together to form one.
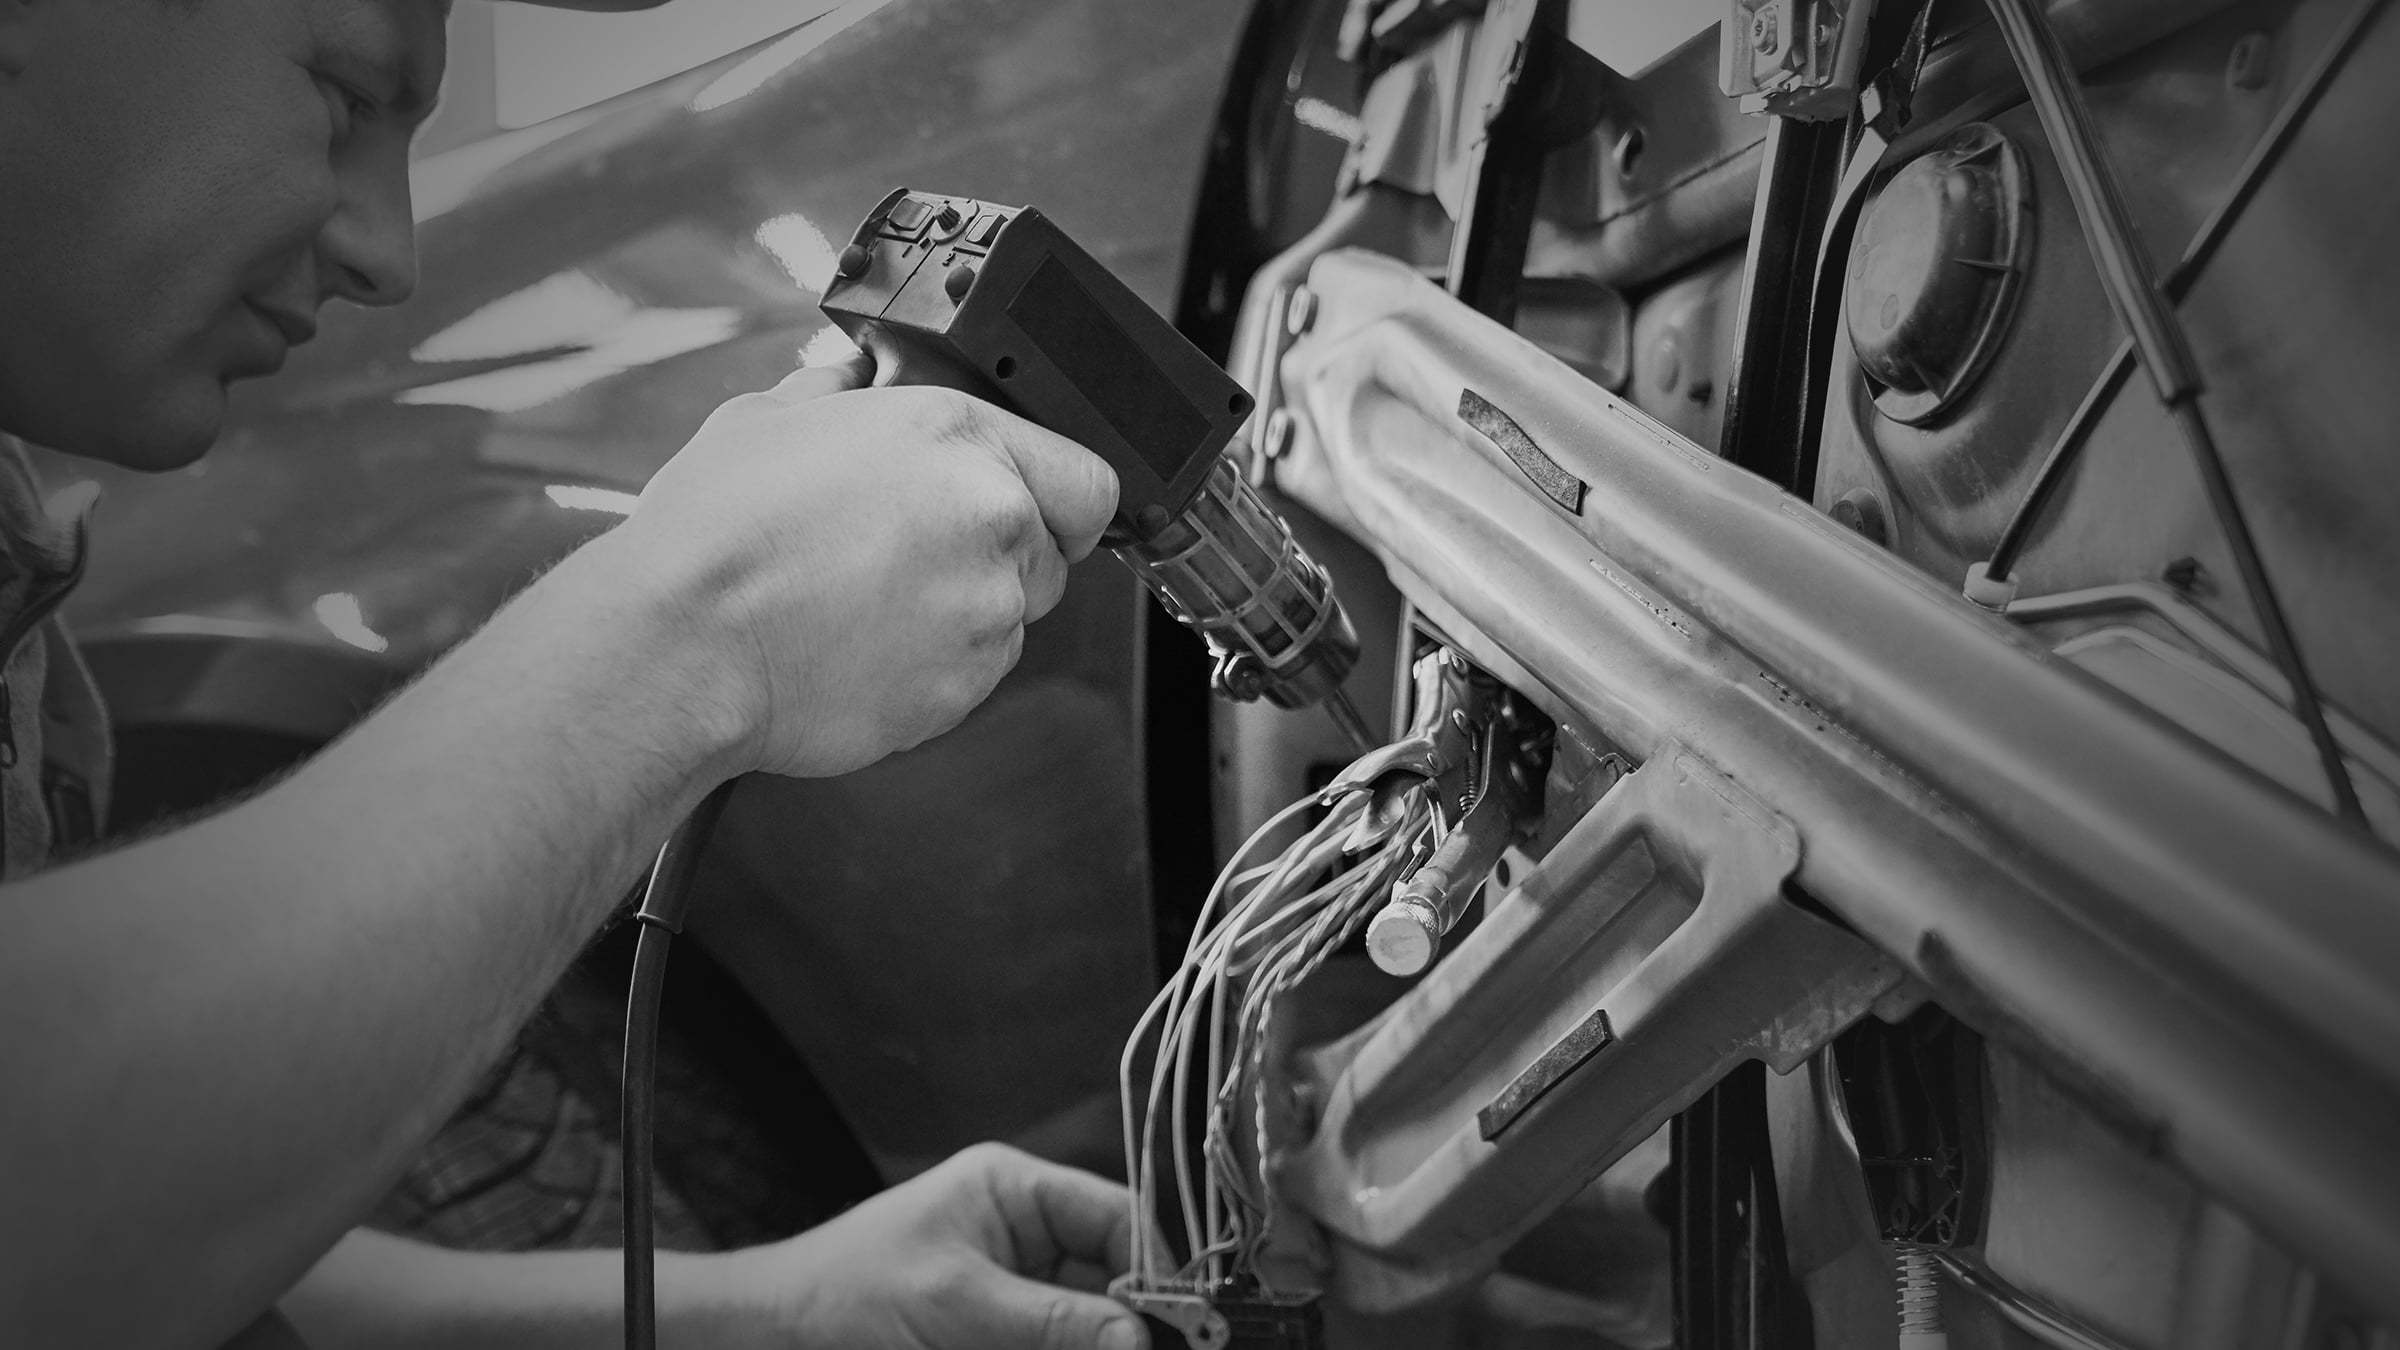
Choose your heating method/tool:
- a portable torch
- or a heat gun
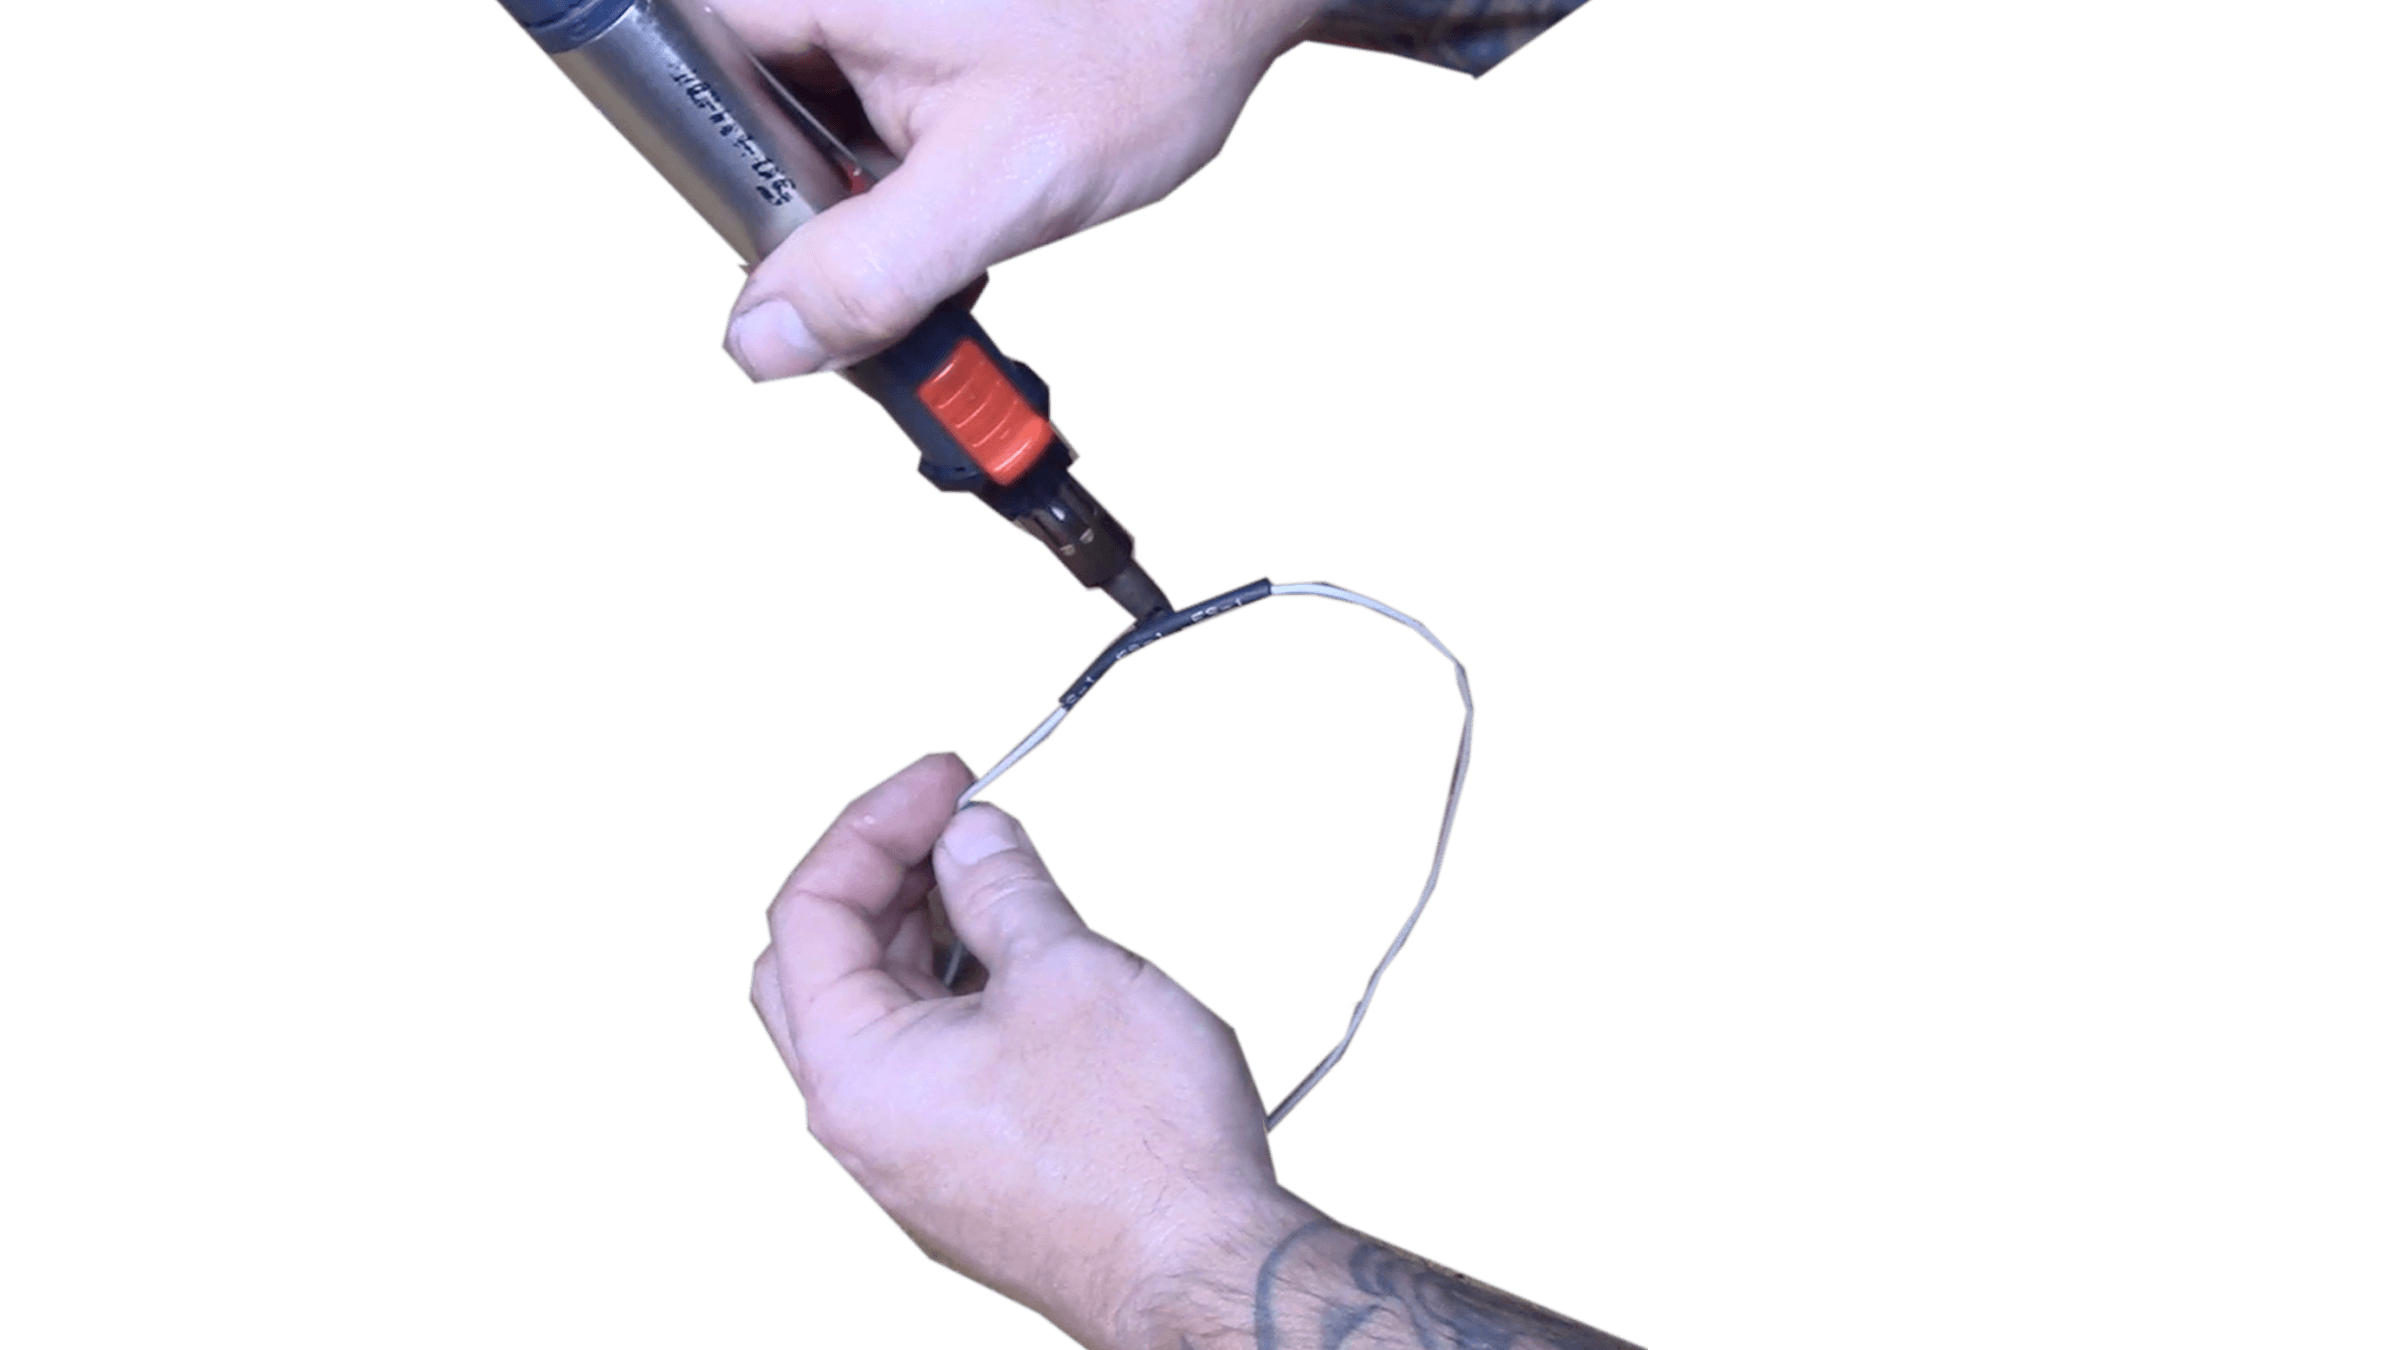
1. With your heating device hover over the connection (above the area of repair with the heat shrink). *Don't melt the heat shrink though with excess heat.
2. As the torch hovers over the heat shrink it will create a solid, weather tight connection. Since the heat shrink already has glue built in, it will seal your connection to create a solid and permanent repair that's long lasting.
3. Remember: as you're hovering over the connected area with your heating gun or torch don't stay in one area too long to avoid burning the connection.
Step 7: Inspect your final product
You're done.
1. But first inspect your repair - quality is very important. Verify that your repair is securely connected by gently performing a pull test.
2. You should have a little bit of glue sticking out of each side of the heat shrink.
3. The connection should be an even, smooth surface with no wires poking through.
Following these steps will make your repair free of any future damage or corrosion by not allowing any type of weather in, like rain.
