

Top-Selling Solder, Wire Harness, and Pigtail Repair Tools
-
Sale!
 Small Tools
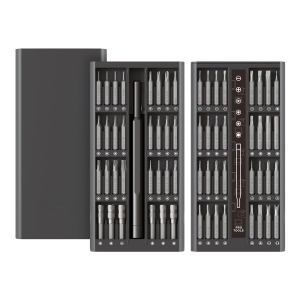
63-Piece Precision De-Pin & Terminal Release Tool Set
Original price was: $35.99.$24.99Current price is: $24.99. View product -
Sale!
 Small Tools
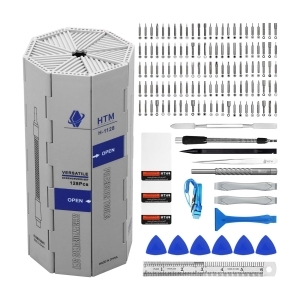
128-in-1 Precision Screwdriver & Connector Repair Kit
Original price was: $89.99.$50.00Current price is: $50.00. View product -
Sale!
 Small Tools
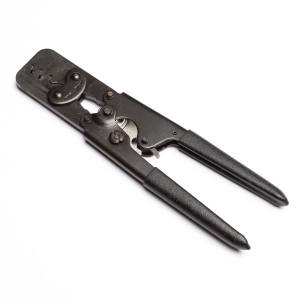
Professional Crimp Tool – For 12–18 Gauge Terminals
Original price was: $170.00.$139.99Current price is: $139.99. View product -
Sale!
 Small Tools
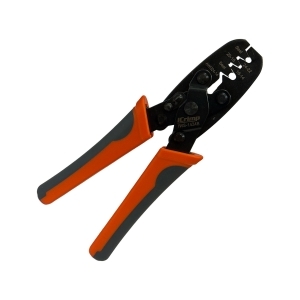
Automotive Connector Crimp Tool – Weather Pack & Metri-Pack Compatible
Original price was: $50.00.$39.99Current price is: $39.99. View product -

-
-
-
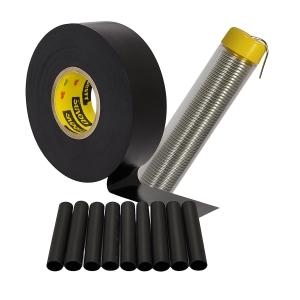
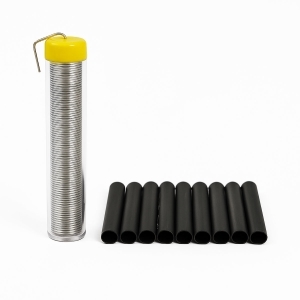
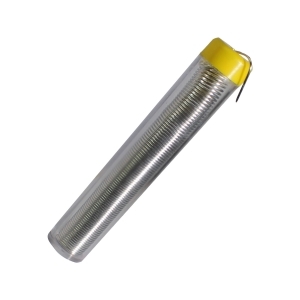
Sale!
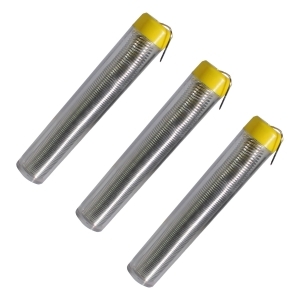 Small Tools
High-Grade Rosin-Core Solder – 60/40 Tin-Lead (3-Pack)
Original price was: $22.00.$16.50Current price is: $16.50. View product -
-
Sale!
 Accessories
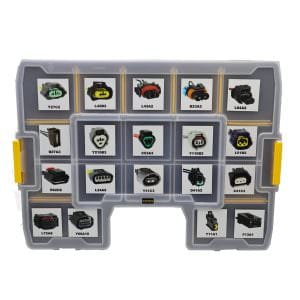
Automotive Pigtail Connector Kit, 19-Piece Assortment (Custom or Pre-Configured) (1-Pin Connector)
Original price was: $665.33.$665.00Current price is: $665.00. View product -
Sale!
 Small Tools
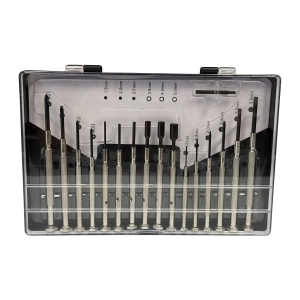
Precision 16-Piece Mini Screwdriver Kit
Original price was: $23.99.$17.99Current price is: $17.99. View product -
Sale!
 Small Tools
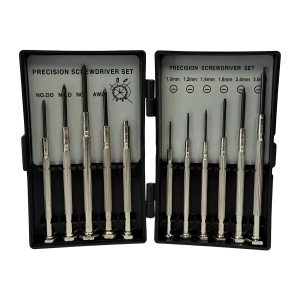
11-Piece Precision Mini Screwdriver Set – Flat & Phillips
Original price was: $15.99.$11.99Current price is: $11.99. View product

Eric Palazzolo is a founder and president of FindPigtails.com, a Houston-based company dedicated to providing high-quality automotive connectors and top-shelf customer service to its clients in the collision repair industry. He also founded metricsmule.com, a website, marketing, and automotive SEO company with a blog on marketing and SEO.